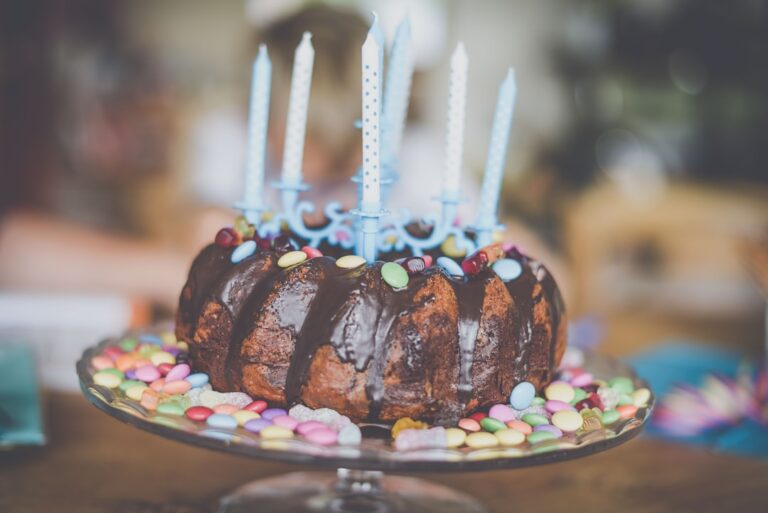
Creating ombre candles with gradual color transitions for a unique look.
Ombre candles have emerged as a captivating trend in the world of home decor and candle-making, combining artistry with functionality. The term “ombre” originates from the French word meaning “shaded,” and it aptly describes the gradual blending of one color hue to another, creating a visually stunning gradient effect. This technique has transcended various artistic mediums, from hair dyeing to painting, and has now found its way into the realm of candle-making.
The allure of ombre candles lies not only in their aesthetic appeal but also in the personal touch they can bring to any space, making them a popular choice for both novice and experienced crafters. Creating ombre candles allows for a unique expression of creativity, as the color transitions can be tailored to suit individual tastes and preferences. Whether you are looking to match your candles with your home decor or simply want to experiment with colors that evoke certain moods, the possibilities are virtually endless.
The process of making these candles can be both therapeutic and rewarding, providing an opportunity to engage with materials and techniques that yield beautiful results. As we delve deeper into the art of crafting ombre candles, we will explore the essential steps, tips, and safety precautions necessary to create your own stunning pieces.
Key Takeaways
- Ombre candles are a beautiful and trendy way to add color and style to your home decor.
- When choosing a color palette for ombre candles, consider using shades of the same color for a cohesive and elegant look.
- To prepare the wax for gradual color transitions, melt the wax in separate containers and add dye to achieve the desired shades.
- Creating the ombre effect involves carefully pouring the different colored waxes into the candle mold in a gradual and controlled manner.
- Adding scent and decorative elements such as dried flowers or glitter can enhance the visual appeal and ambiance of your ombre candles.
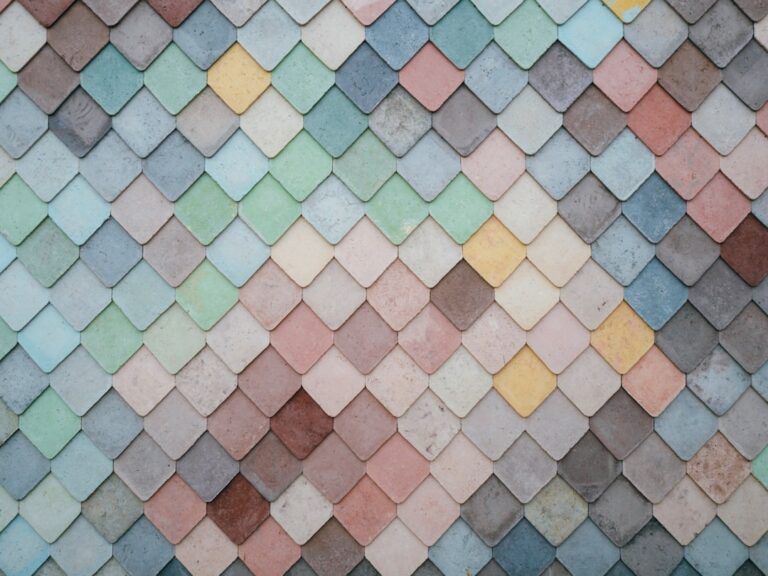
Choosing the Right Color Palette
Selecting the right color palette is a crucial first step in the creation of ombre candles. The colors you choose will not only define the visual impact of your candles but also influence the ambiance they create in your space. When considering color combinations, it is essential to think about the mood you wish to evoke.
For instance, soft pastels like pinks and blues can create a calming atmosphere, while vibrant hues such as reds and oranges can energize a room. Additionally, you may want to consider seasonal themes; warm tones like golds and browns are perfect for autumn, while cool blues and whites can evoke a wintery feel. Another important aspect of choosing a color palette is understanding how colors interact with one another.
Complementary colors—those that are opposite each other on the color wheel—can create striking contrasts when blended in an ombre effect. For example, a transition from deep purple to bright yellow can be visually arresting. Alternatively, analogous colors—those that are next to each other on the color wheel—can produce a more harmonious and subtle gradient.

A blend from teal to blue-green can create a serene and cohesive look. Experimenting with different combinations on paper or using digital design tools can help visualize how your chosen colors will work together before committing them to wax.
Preparing the Wax for Gradual Color Transitions

Once you have settled on a color palette, the next step involves preparing the wax for your ombre candles. The type of wax you choose will significantly affect the final appearance and burn quality of your candles. Paraffin wax is commonly used due to its affordability and ease of use, but natural alternatives like soy wax or beeswax are increasingly popular for their eco-friendliness and cleaner burn.
Each type of wax has its own melting point and characteristics, so it’s essential to follow specific guidelines for preparation. To achieve a smooth gradient effect, it is vital to melt your wax properly. Begin by measuring out the amount of wax needed for your candle size and placing it in a double boiler or a dedicated candle melting pot.
Heat the wax slowly over low to medium heat until it reaches a temperature between 170°F and 180°F (77°C to 82°C). At this stage, you can add dye chips or liquid dyes specific for candle-making. It’s advisable to start with a small amount of dye and gradually increase until you reach your desired shade.
For ombre candles, prepare multiple batches of wax in varying shades that correspond to your chosen palette; this will allow for seamless transitions between colors.
Creating the Ombre Effect
Creating the ombre effect in your candles requires careful layering of the different colored waxes. Once you have prepared your various shades, it’s time to start pouring them into your candle molds or containers. Begin with the darkest shade at the bottom; this will serve as the foundation for your ombre effect.
Pour the first layer into your mold and allow it to cool slightly until it reaches a semi-solid state—this typically takes about 10-15 minutes depending on the thickness of the layer. After the first layer has set, it’s time to pour the next shade. To ensure a smooth transition between colors, pour this layer gently over the first layer at an angle or use a spoon to help control the flow of wax.
This technique minimizes disruption to the underlying layer while allowing for blending at the edges where they meet. Continue this process with each subsequent layer, gradually lightening the color until you reach the topmost layer, which should be the lightest shade in your palette. The key is patience; allowing each layer to set properly before adding the next will yield a more defined ombre effect.
Adding Scent and Other Decorative Elements
In addition to color, scent plays a significant role in enhancing the overall experience of your ombre candles. The right fragrance can transform a simple candle into an aromatic delight that complements its visual appeal. When selecting scents, consider how they align with your color choices and intended mood.
For example, fresh citrus scents may pair well with bright yellows and greens, while warm vanilla or cinnamon fragrances might be more suitable for deeper reds and browns. To incorporate scent into your ombre candles, add fragrance oils during the melting process when you introduce dye to the wax. Typically, you should use about 1 ounce of fragrance oil per pound of wax; however, this can vary based on personal preference and specific oil recommendations.
Additionally, decorative elements such as dried flowers, herbs, or glitter can be added between layers for added visual interest. These elements should be placed carefully so they do not interfere with the pouring process but still remain visible through the translucent layers of wax.
Tips for Achieving a Smooth Transition

Achieving a smooth transition between colors in ombre candles requires attention to detail and some practice. One effective tip is to use a heat gun or hairdryer on low heat after pouring each layer; this helps soften the surface slightly before adding the next layer, allowing for better adhesion between colors. Be cautious not to overheat as this can cause previous layers to melt too much and disrupt your design.
Another technique involves using a skewer or toothpick to gently swirl colors together at their meeting point before they fully set. This creates a more blended look rather than distinct lines between layers. Additionally, consider experimenting with different pouring techniques; for instance, pouring from varying heights can create different effects in how colors blend together.
Ultimately, practice is key—each attempt will teach you more about how different waxes behave and how best to manipulate them for your desired outcome.
Safety Precautions When Making Ombre Candles

While making ombre candles can be an enjoyable craft, it is essential to prioritize safety throughout the process. Working with hot wax poses risks such as burns or fire hazards if proper precautions are not taken. Always work in a well-ventilated area to avoid inhaling fumes from melting wax or fragrance oils.
It is advisable to wear protective gear such as gloves and goggles when handling hot materials. Additionally, ensure that all equipment used is specifically designed for candle-making; this includes melting pots, thermometers, and pouring pitchers. Avoid using kitchen utensils that may retain wax residue or scents that could contaminate food items later on.
Keep flammable materials away from your workspace and never leave melting wax unattended on heat sources. By adhering to these safety measures, you can enjoy crafting your ombre candles without unnecessary risks.
Displaying and Enjoying Your Unique Ombre Candles
Once your ombre candles have cooled completely and set properly, it’s time to showcase your creations! The unique gradient effects make these candles not only functional but also striking decorative pieces that can enhance any room’s aesthetic. Consider placing them on decorative trays or within candle holders that complement their colors.
Grouping several ombre candles together can create an eye-catching centerpiece for dining tables or mantels. In addition to their visual appeal, these candles can also serve as thoughtful gifts for friends and family. Personalizing them with specific color palettes or scents that resonate with loved ones adds an extra layer of meaning to your creations.
Whether used for relaxation during quiet evenings at home or as part of festive gatherings, ombre candles offer both beauty and ambiance that enrich any environment. As you light them up, take a moment to appreciate not only their glow but also the creativity and effort that went into crafting each unique piece.
If you’re interested in creating ombre candles with gradual color transitions for a unique look, you may also want to check out this article on using dyes and pigments for candle coloring. This article provides helpful tips and techniques for achieving vibrant and custom colors in your candles. It’s a great resource for anyone looking to experiment with different color combinations and create stunning ombre effects.
FAQs
What is ombre?
Ombre is a French word that means “shaded” or “shading.” In the context of design and art, ombre refers to a gradual transition of color from light to dark.
What are ombre candles?
Ombre candles are candles that have been designed to have a gradual color transition from one shade to another. This creates a unique and visually appealing look.
How can I create ombre candles?
To create ombre candles, you can use different colored wax or dyes to achieve the gradual color transition. By carefully layering the colors and blending them together, you can create a beautiful ombre effect on your candles.
What materials do I need to create ombre candles?
To create ombre candles, you will need wax, candle wicks, candle dye or color blocks, a double boiler or microwave-safe container for melting the wax, and candle molds or containers to pour the wax into.
Are ombre candles difficult to make?
Creating ombre candles requires some patience and attention to detail, but it is not overly difficult. With the right materials and a bit of practice, you can achieve beautiful ombre candles with gradual color transitions.