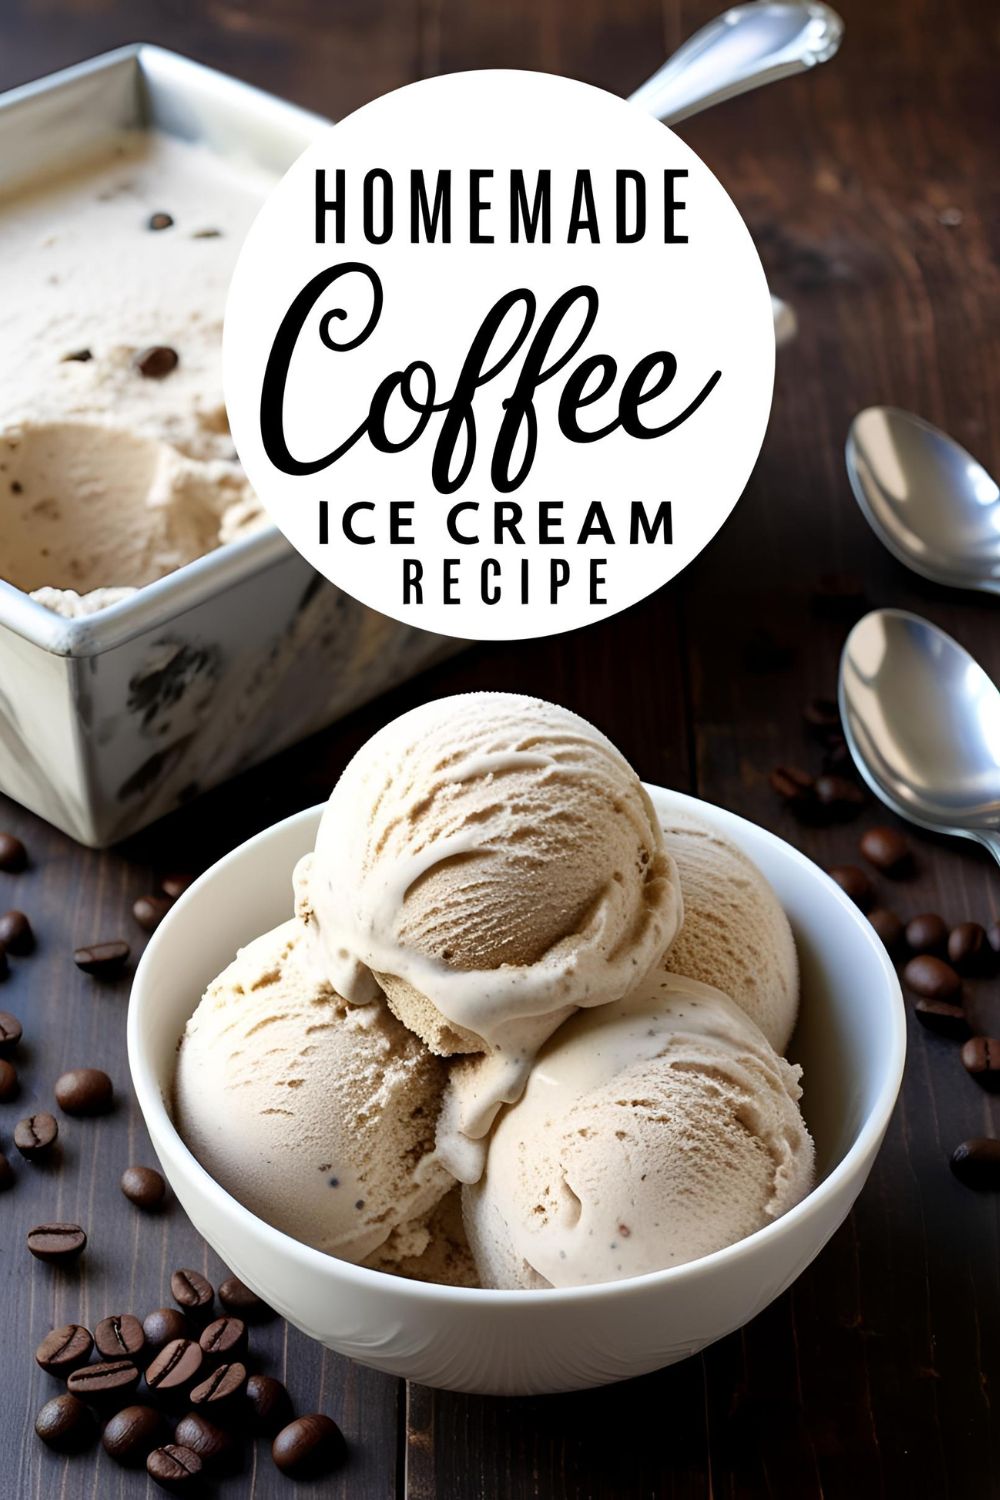
Homemade Coffee Ice Cream Recipe: Creamy, Bold, and Better Than Store-Bought
A Quick, Catchy Intro with a Viral Hook
Ever found yourself staring into the abyss of your freezer, desperately seeking that perfect scoop of coffee ice cream, only to be met with disappointment? We’ve all been there. But what if I told you that the creamiest, most indulgent coffee ice cream is just a few steps away in your own kitchen? No more settling for subpar pints—let’s make magic happen.
Why This Recipe Is Awesome
This coffee ice cream recipe is a game-changer. It’s rich, ultra-creamy, and boasts a bold coffee flavor that rivals any gourmet scoop. With just a handful of ingredients and a straightforward process, you’ll impress guests and satisfy your caffeine cravings in one fell swoop. Plus, it’s customizable—make it as strong or as subtle as you like.
Ingredients
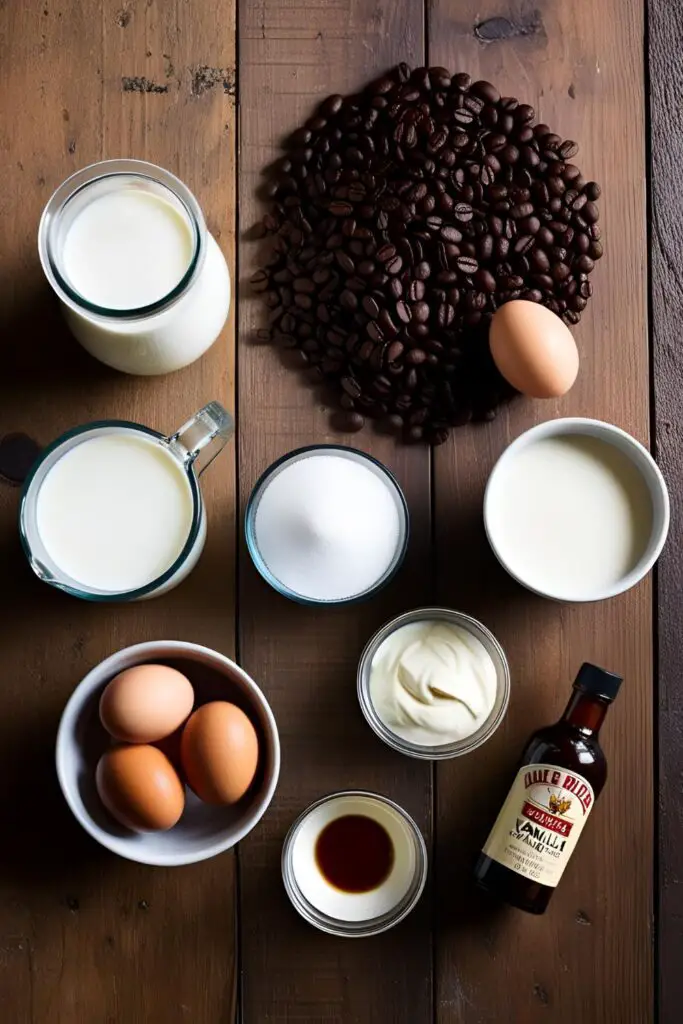
- 1½ cups whole milk
- ¾ cup granulated sugar
- 1½ cups whole coffee beans (use decaf if you’re caffeine-sensitive)
- Pinch of salt
- 1½ cups heavy cream, divided
- 5 large egg yolks
- ¼ teaspoon vanilla extract
- ¼ teaspoon finely ground coffee (optional, for extra kick)
Substitutions:
- Swap whole milk with almond or oat milk for a dairy-free version.
- Use instant espresso powder if whole beans aren’t available.
- Replace granulated sugar with coconut sugar for a different sweetness profile.
Tools & Kitchen Gadgets Used
To make this delightful treat, you’ll need:
- Medium saucepan – for heating your base.
- Mixing bowls – to combine ingredients.
- Whisk – essential for mixing.
- Fine mesh sieve – to strain out coffee grounds.
- Ice cream maker – churns your mixture into creamy perfection.
- Ice cream scoop – for serving.
- Storage container – to freeze and store your ice cream.
Note: Investing in a quality ice cream maker and scoop can elevate your homemade ice cream experience.
Step-by-Step Instructions
- Infuse the Milk: In a medium saucepan, combine whole milk, sugar, coffee beans, and a pinch of salt. Warm over medium heat until steaming, not boiling. Remove from heat, cover, and let steep for 1 hour.
- Strain the Mixture: After steeping, strain the mixture through a fine mesh sieve into a bowl, discarding the beans. Return the infused milk to the saucepan.
- Prepare the Custard: In a separate bowl, whisk together the egg yolks. Gradually add the warm coffee-infused milk to the yolks, whisking constantly to temper.
- Cook the Custard: Pour the mixture back into the saucepan. Cook over medium heat, stirring constantly with a wooden spoon, until the custard thickens and coats the back of the spoon.
- Combine with Cream: Remove from heat and stir in the remaining heavy cream and vanilla extract. For an extra coffee punch, add the finely ground coffee.
- Chill the Mixture: Transfer the custard to a bowl, cover, and refrigerate until thoroughly chilled, preferably overnight.
- Churn the Ice Cream: Pour the chilled mixture into your ice cream maker and churn according to the manufacturer’s instructions until it reaches a soft-serve consistency.
- Freeze: Transfer the churned ice cream to a storage container. Freeze for at least 4 hours, or until firm.
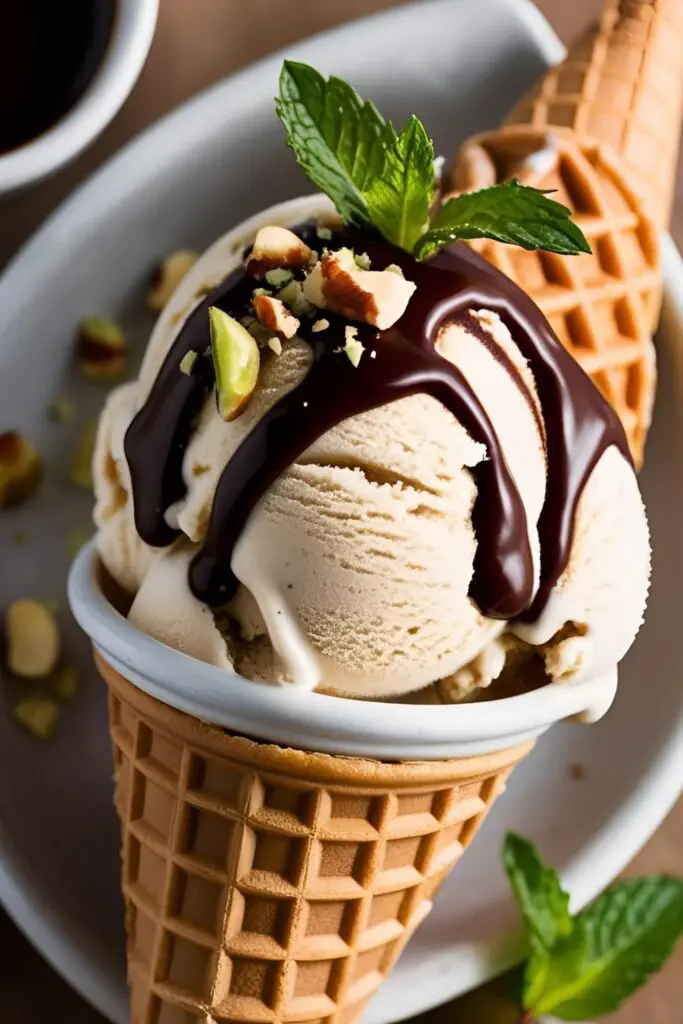
- Serve and Enjoy: Scoop into bowls or cones and savor the homemade goodness.
Calories & Nutritional Info
Per serving (½ cup):
- Calories: ~303
- Total Fat: 23g
- Saturated Fat: 14g
- Cholesterol: 85mg
- Sodium: 56mg
- Total Carbohydrates: 20g
- Sugars: 17g
- Protein: 4g
Note: Nutritional values are approximate and can vary based on specific ingredients used.
Common Mistakes to Avoid
- Overheating the Custard: Cooking the custard over high heat can scramble the eggs. Always cook over medium heat and stir constantly.
- Skipping the Chill: Not chilling the mixture thoroughly before churning can result in icy texture. Patience is key.
- Overchurning: Churning too long can incorporate excess air, leading to a grainy texture. Follow your ice cream maker’s instructions.
- Using Low-Fat Dairy: Opting for low-fat milk or cream can compromise creaminess. Stick with full-fat versions for best results.
Variations & Customizations
- Mocha Delight: Add ½ cup of melted dark chocolate to the custard before chilling for a mocha twist.
- Nutty Espresso: Fold in chopped toasted almonds or hazelnuts during the last few minutes of churning.
- Spiked Coffee: Stir in a tablespoon of coffee liqueur or bourbon before freezing for an adult-only version.
FAQ Section
Q: Can I make this without an ice cream maker?
A: Yes! After chilling the mixture, pour it into a shallow container, freeze, and stir every 30 minutes until it reaches desired consistency.
Q: How long does homemade coffee ice cream last?
A: Stored in an airtight container, it can last up to 2 weeks in the freezer.
Q: Can I use instant coffee instead of whole beans?
A: Absolutely. Dissolve 1½ tablespoons of instant coffee in the milk before heating.
Q: Is it safe to consume raw eggs in ice cream?
A: This recipe cooks the egg yolks, making it safe. Ensure the custard reaches 160°F to pasteurize.
Q: Can I make this dairy-free?
A: Yes. Substitute dairy milk and cream with plant-based alternatives like coconut milk and almond cream.
Q: How can I make it sweeter or less sweet?
A: Adjust the sugar to taste. Start with ¾ cup and modify based on preference.
Q: Can I add mix-ins like chocolate chips or cookie pieces?
A: Definitely! Add them during the last few minutes of churning.
Final Thoughts
There you have it—a foolproof coffee ice cream recipe that’s bound to impress. Once you taste the rich, creamy, and bold flavors of your homemade creation, store-bought versions will pale in comparison. So, grab your apron, channel your inner barista, and churn out some magic. Don’t forget to share your delightful creations with us!