DIY Soy Wax Candles – Step-by-Step Instructions For Beginners
Beginners looking to create their own ambiance can enjoy the art of candle making with DIY soy wax candles. This guide will equip you with easy-to-follow steps to craft beautiful, scented candles in your favorite fragrances. With the right materials and a bit of creativity, you can produce a safe and eco-friendly alternative to traditional candles. Stay tuned as we walk you through the process, from selecting the right soy wax to pouring your finished product!
Benefits of Using Soy Wax
The benefits of using soy wax over other types of wax for your DIY candles are numerous. Soy wax is a renewable resource derived from soybeans, making it a sustainable choice. It burns cleaner than paraffin wax, producing less soot and leaving a healthier indoor air quality. Additionally, soy wax has a longer burn time, allowing you to enjoy your beautifully crafted candles for an extended period without constantly needing replacements.
Eco-Friendly Aspects
An important aspect of soy wax is its eco-friendliness. As a plant-based material, it contributes to a lower carbon footprint compared to petroleum-based waxes. Additionally, soy wax is biodegradable, meaning it won’t linger in landfills as plastic does. By choosing soy wax, you are making a positive impact on the environment and supporting sustainable agricultural practices.
Health Benefits
Beside being eco-friendly, soy wax offers significant health benefits as well. Substituting soy wax for traditional paraffin wax can lead to improved indoor air quality. Since soy candles produce less soot, they can minimize respiratory issues and allergies that are often aggravated by the harmful chemicals released from paraffin candles.
It’s worth noting that soy wax emits fewer toxins when burned compared to paraffin wax, making it a healthier choice for your home. If you are particularly sensitive to smoke or pollutants, using soy candles could greatly enhance your comfort and wellbeing. Additionally, soy wax candles often have better scent throw, allowing you to enjoy the soothing fragrances without the drawbacks of harmful chemicals typically found in other types of candles.
Essential Tools and Materials
You will need a few crucial tools and materials to commence on your DIY soy wax candle-making journey. Having the right equipment and ingredients not only simplifies the process but also enhances your candle’s quality. Below, we will cover the necessary equipment and ingredients to make beautiful, aromatic candles that you can enjoy or gift to friends and family.
Equipment Needed
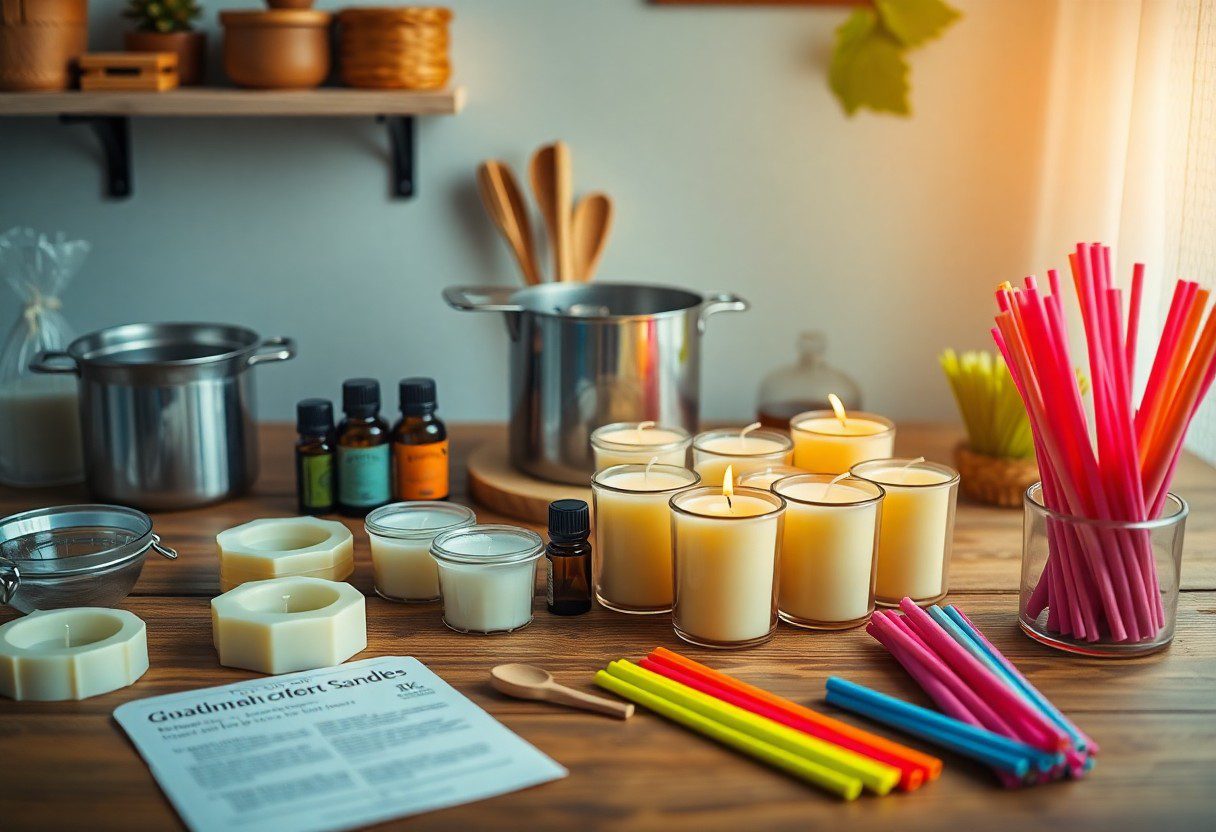
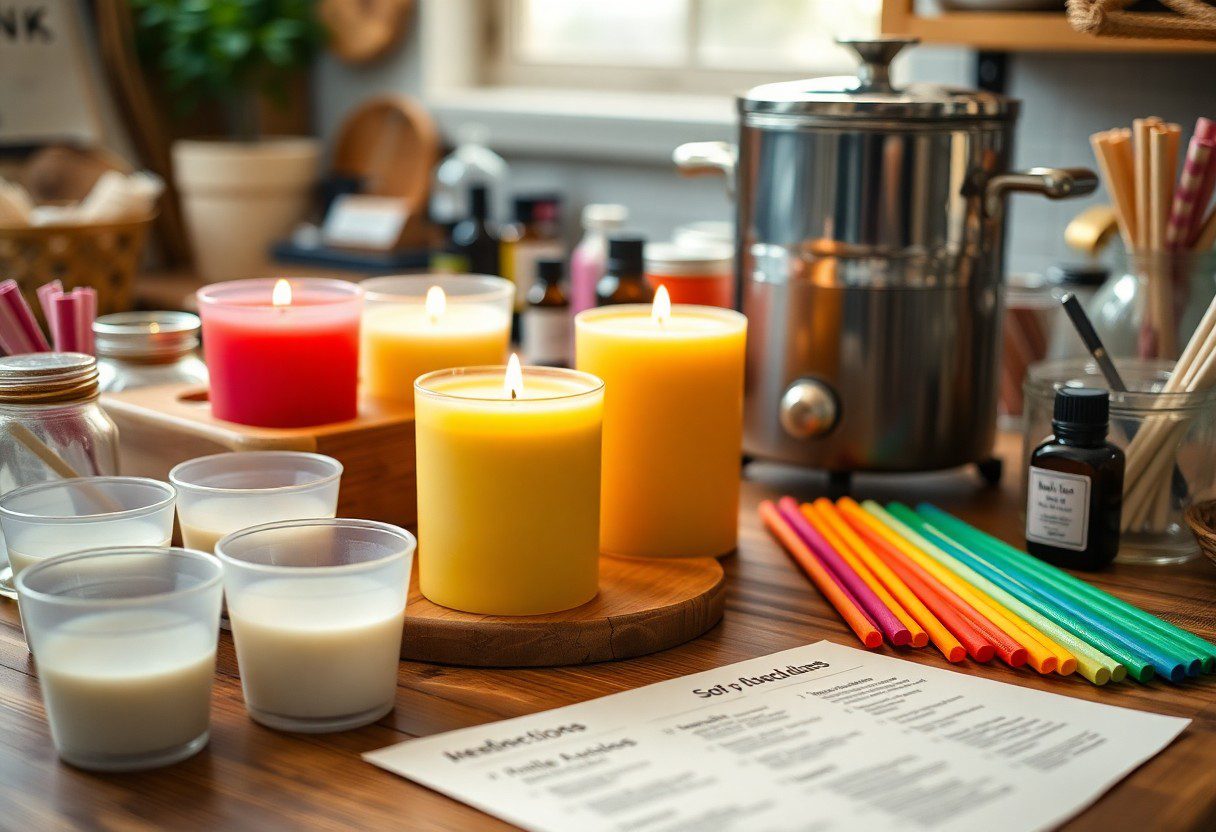
Tools like a double boiler or a microwave-safe container, pour pot, candle thermometer, and a heat-resistant surface are crucial for melting your soy wax safely. You’ll also need a stirring tool, wick holder, and containers or molds for your finished candles. Having these tools readily available will ensure a smooth candle-making experience.
Ingredients Required
With quality soy wax, fragrance oil, and wicks as your primary ingredients, you’ll be well on your way to creating delightful candles. Additionally, it’s advisable to have color dyes and a wick sustainer for a polished finish. Choosing high-quality supplies will not only optimize your results but also enhance your overall candle-making experience.
Another aspect to consider is the importance of choosing the right wick for your candles, as it impacts their burn quality and scent throw. A poorly sized wick can lead to uneven burning or excessive smoke. Opt for natural fiber wicks that complement your soy wax. Refer to the wax manufacturer’s guidelines to find the best wick size, ensuring your candles burn cleanly and efficiently. You’ll also find it beneficial to use high-quality fragrance oils that are specifically made for candles, providing a delightful aroma without compromising burn quality.
Choosing the Right Fragrance
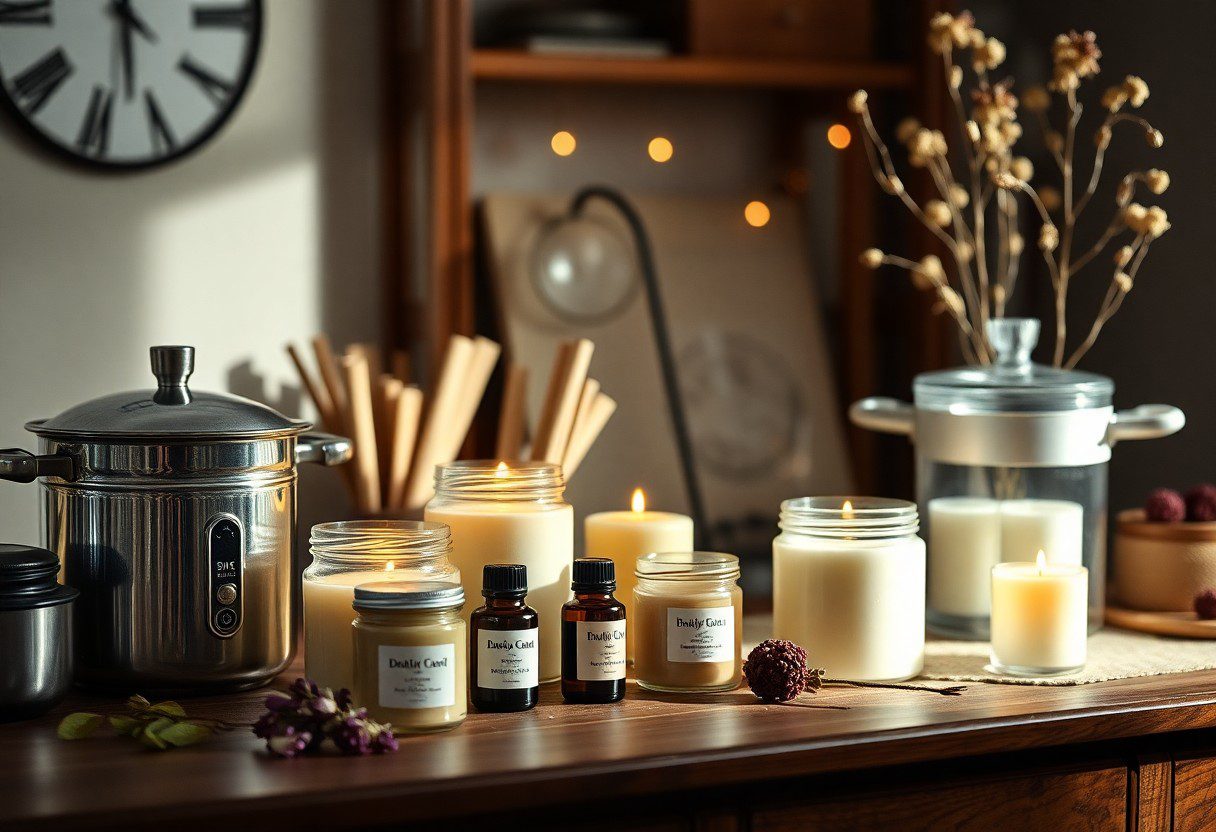
Now, selecting the right fragrance for your soy wax candles is vital to create the ambiance you desire. Consider the scent’s strength, compatibility with wax, and how it blends with your chosen décor. Using the right fragrance oil can enhance your candle-making experience and create a memorable atmosphere in your home.
Types of Fragrance Oils
Behind every great candle is the choice of fragrance. Essential oils, fragrance oils, and blends are popular choices. Below is a quick overview to help you decide:
| Type | Description |
| Essential Oils | Derived from plants, offering pure scents. |
| Fragrance Oils | Man-made scents, often more potent and varied. |
| Floral Blends | Combination of flowers for a soft, romantic scent. |
| Fruity Blends | Sweet and fresh, great for uplifting moods. |
| Woodsy Blends | Earthy and calming, ideal for cozy environments. |
Thou can explore various fragrances to find what resonates with you!
Best Practices for Scenting
Any candle maker knows that achieving a balanced scent throw is vital for a satisfying candle experience. Start by testing ratios of fragrance oil to wax, usually between 6-10% based on the wax type. Also, consider the temperature at which you add fragrance oil to maximize scent release.
Oils play a fundamental role in enhancing the scent of your candles. It is advisable to use high-quality fragrance oils and follow your wax manufacturer’s guidelines for optimal results. Incorporating scents at the right melting point can make a difference; adding them too soon or too late can result in less potent performance. Test small batches before committing to larger pours to ensure you love the scent. The right approach ensures your candles will have a delightful aroma that fills your space, creating a welcoming atmosphere.
Step-by-Step Candle Making Process
To create your own beautiful soy wax candles, you’ll want to follow these simple steps that will guide you through the entire process, from melting the wax to pouring it into your chosen containers. Ensure you have all your materials ready and follow the instructions carefully to enjoy a successful candle-making experience.
| Step | Description |
|---|---|
| 1. Melting the Wax | Heat your soy wax in a double boiler until fully melted, stirring gently. |
| 2. Adding Color and Fragrance | Once melted, add your dye and crucial oils to enhance your candles. |
| 3. Pouring and Setting | Pour the mixture into your prepared containers and allow them to cool. |
Melting the Wax
Across the kitchen, set up a double boiler to start melting your soy wax. This method ensures that the wax heats evenly and prevents burning. Monitor the temperature, keeping it around 170°F (77°C), to maintain the integrity of the wax for optimal results.
Adding Color and Fragrance
After your wax has fully melted, it’s time to add color and fragrance, giving your candles a personal touch. Stir thoroughly to ensure an even distribution of scent and hue before proceeding with the next step.
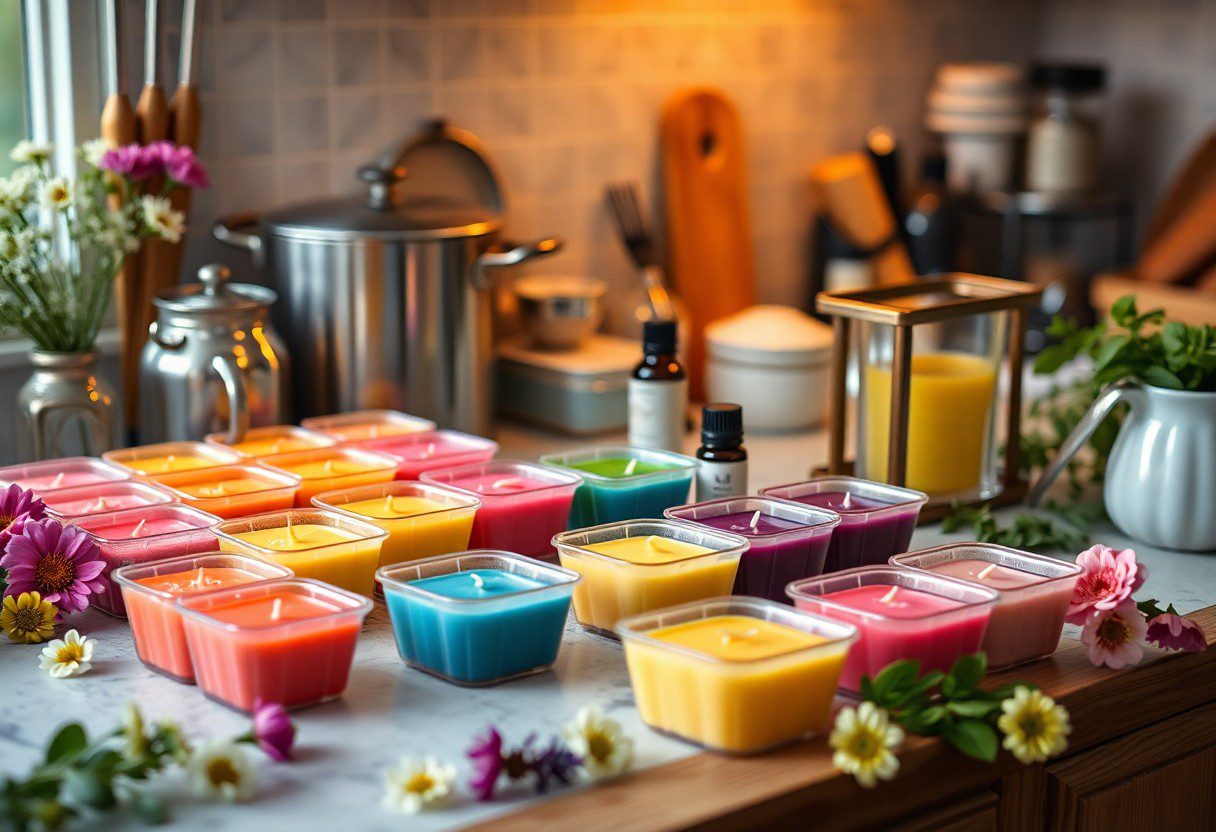
Color is an exciting part of the candle-making process. You may use wax dye specifically designed for soy candles or natural colorants. Choose your fragrance oils carefully to ensure they are safe for candle making and provide the desired aroma. Aim for a fragrance load of about 6-10% of your wax weight for the best results.
Pouring and Setting
Across your workspace, prepare your containers for pouring. Allow the wax to cool slightly before pouring to avoid cracking and ensure a smooth finish as it sets. Carefully pour the wax into your containers, leaving a small space at the top.
Considering the setting process, make sure to keep your candles in a cool, undisturbed area until they are fully hardened. This can take several hours. Taking time during this phase will ensure your candles set properly, avoiding issues like uneven surfaces or bubbles.
Troubleshooting Common Issues
Many new candle makers encounter challenges during the process. If you face issues, don’t worry; Candle Making for Beginners offers solutions to help you improve your craft.
Surface Imperfections
Behind every candle, surface imperfections can arise due to temperature fluctuations or improper pouring techniques. To minimize these flaws, ensure that your wax is at the right temperature and pour steadily.
Fragrance Throw Problems
Beside aesthetics, you may notice your candles lack a strong scent. This is usually due to insufficient fragrance oil or improper mixing techniques.
For instance, if you use too little fragrance oil, your candle will not emit a strong scent when burned. Additionally, ensure that you are using a good quality wax blend that promotes a strong throw. If you want a stronger scent, try increasing the amount of fragrance oil within the recommended guidelines of your wax. Finally, you should consider using a wax with a reputation for holding scents well, as some waxes are better suited for fragrance retention than others.
Tips for Customization and Decor
Not only can you create beautiful DIY soy wax candles, but you can also enhance their uniqueness through customization. Consider these tips to make your candles stand out:
- Add natural important oils for fragrance
- Incorporate dried flowers or herbs for texture
- Choose vibrant colors using candle dyes
- Experiment with different shapes and sizes
This lets you personalize your candles to fit any occasion. If you want to learn more, check out How to Make Soy Candles (So Easy).
Molding Techniques
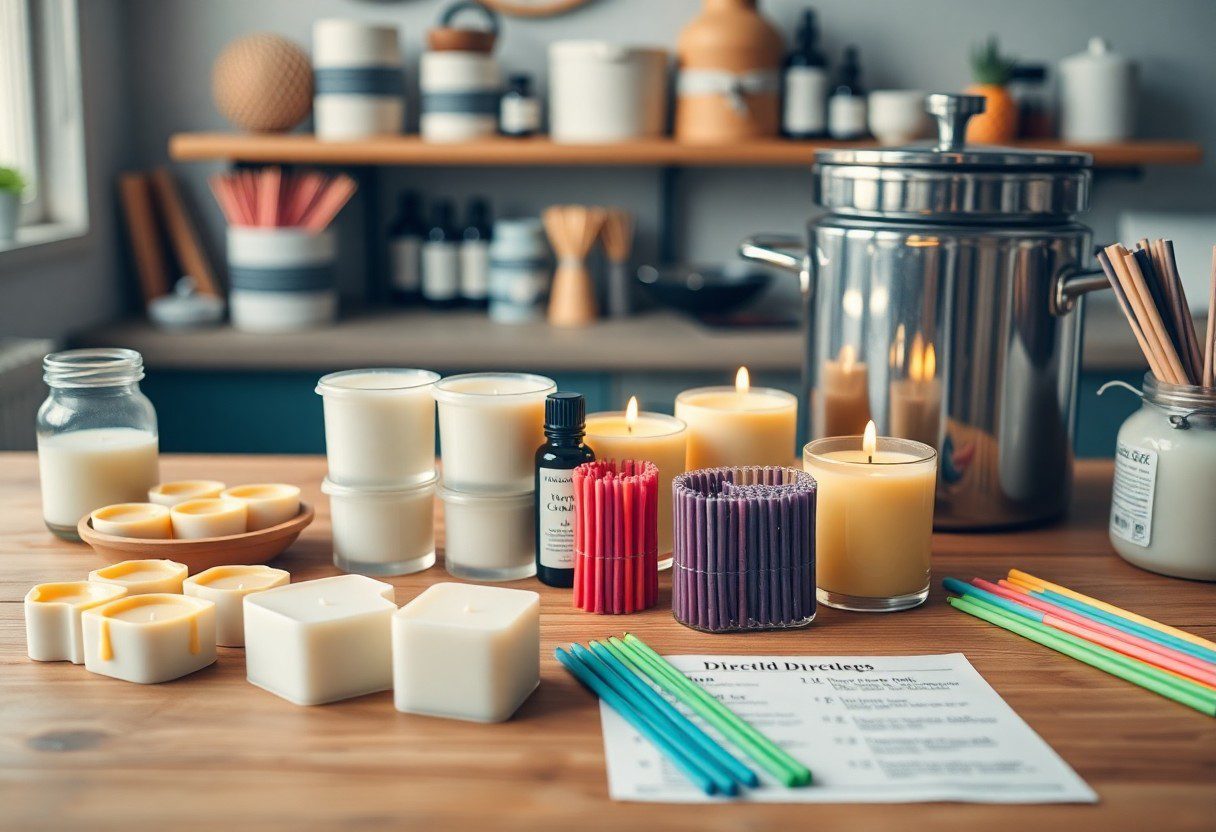
Beside standard jar candles, you can explore various molding techniques to elevate your creations. Using silicone molds allows for diverse shapes and sizes, giving your candles a playful touch. Experimenting with different textures and designs will ensure each candle is a unique masterpiece.
Container Choices
By selecting the right containers, you can enhance the visual appeal of your soy candles while ensuring safety during burning. Opt for materials like glass, metal, or ceramic, as they are less likely to overheat and can withstand the heat produced during melting.
Understanding the selection of containers is important for both aesthetics and safety. Glass containers are popular due to their transparency and ability to showcase colors and textures. Metal provides a rustic charm, but ensure they are designed specifically for candles to avoid unexpected fire hazards. Ceramic can offer beautiful designs but may retain heat, so exercise caution. Ultimately, choosing safe and visually appealing containers will significantly enhance your DIY candle experience.
Final Words
The process of making DIY soy wax candles is not only enjoyable but also empowers you to create personalized scents for your space. By following the step-by-step instructions, you can master the art of candle-making, ensuring your candles are both aesthetically pleasing and aromatic. Your understanding of materials, techniques, and safety will enhance your experience, making it easy to impress family and friends with your handmade creations. Embrace your creativity and start crafting beautiful soy wax candles today!
FAQ
Q: What materials do I need to make DIY soy wax candles?
A: To create soy wax candles, you will need the following materials:
– Soy wax flakes
– Candle wicks (preferably cotton or wood)
– A double boiler or a microwave-safe container for melting the wax
– Fragrance oils (optional, for scent)
– Color dyes (optional, if you want colored candles)
– Candle molds or jars to pour the wax into
– A thermometer (to ensure the wax is at the right temperature)
– A stirring utensil
Collecting these items will help you get started on your candle-making journey.
Q: What is the best way to melt soy wax for candle making?
A: The best method for melting soy wax is to use a double boiler. Fill the bottom pot with water and allow it to simmer, then place the soy wax in the top pot or bowl. Stir occasionally until the wax is completely melted and reaches between 170°F to 180°F. If you are using a microwave, place the soy wax in a microwave-safe container and heat it in short intervals (30 seconds at a time), stirring in between, until fully melted. Be cautious not to overheat the wax, as this can affect its ability to hold fragrance.
Q: How do I choose the right wick for my soy wax candle?
A: Selecting the correct wick is crucial for a well-burning candle. The wick size should be chosen based on the diameter of your candle container. Typically, a 1-inch diameter requires a wick size between 10 and 14, while a 3-inch container might need a wick size of 18 or higher. It’s advisable to test wicks with your specific wax blend as different brands and amounts of fragrance can influence burning. Wooden wicks offer a unique burn experience and usually work well with soy wax, so you could consider those too depending on your preference.

