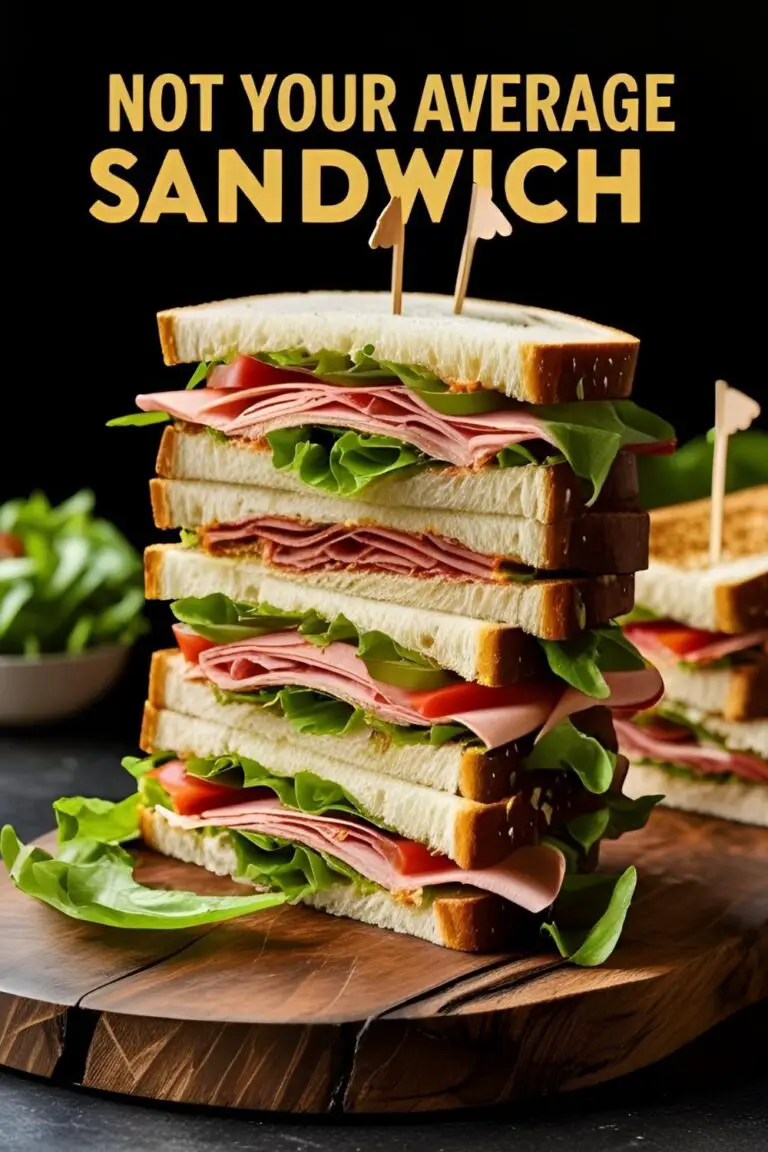
How to Bake Eggs in a Muffin Tin (And Win at Breakfast Forever)
How to Bake Eggs in a Muffin Tin (And Win at Breakfast Forever)
Let’s talk about your mornings. Are they a serene, well-orchestrated ballet of productivity and mindful eating? Or are they a chaotic, frantic scramble where breakfast is either a questionable granola bar you found in your car’s glove compartment or just… coffee? Yeah, I thought so.
But what if I told you that you could reclaim your mornings? What if you could have a delicious, hot, protein-packed breakfast ready in 30 seconds, even on the most hectic of days? No, this isn’t an infomercial for some weird gadget. I’m here to show you how to bake eggs in muffin tin, a trick so simple, so brilliant, it will change your relationship with the AM forever.
This isn’t just a recipe; it’s a meal-prep superpower. It’s your secret weapon against the snooze button. It’s the key to becoming one of those annoyingly organized people who has their life together. Or at least, has breakfast figured out.
Why This Recipe is Awesome (AKA Your Meal-Prep Savior)
First of all, this is the undisputed king of breakfast meal prep. You invest about 30 minutes on a Sunday afternoon, and in return, you get a week’s worth of grab-and-go breakfasts that are actually good for you. They’re portable, poppable, and perfect for eating on the run.
Second, the customization is literally endless. Think of this as a “kitchen sink” recipe. Got a half-empty bag of spinach? A lonely bell pepper? A weird nub of cheese? Throw it in! It’s the best way to use up leftover veggies, meats, and cheeses, reducing food waste and creating new flavor combinations every time.
Finally, they are incredibly versatile and diet-friendly. They are naturally low-carb, high in protein, and gluten-free. You control every single ingredient, so you can tailor them to fit any eating style. They’re the perfect solution for a quick breakfast, a post-workout snack, or even a light lunch.
Ingredients You’ll Need
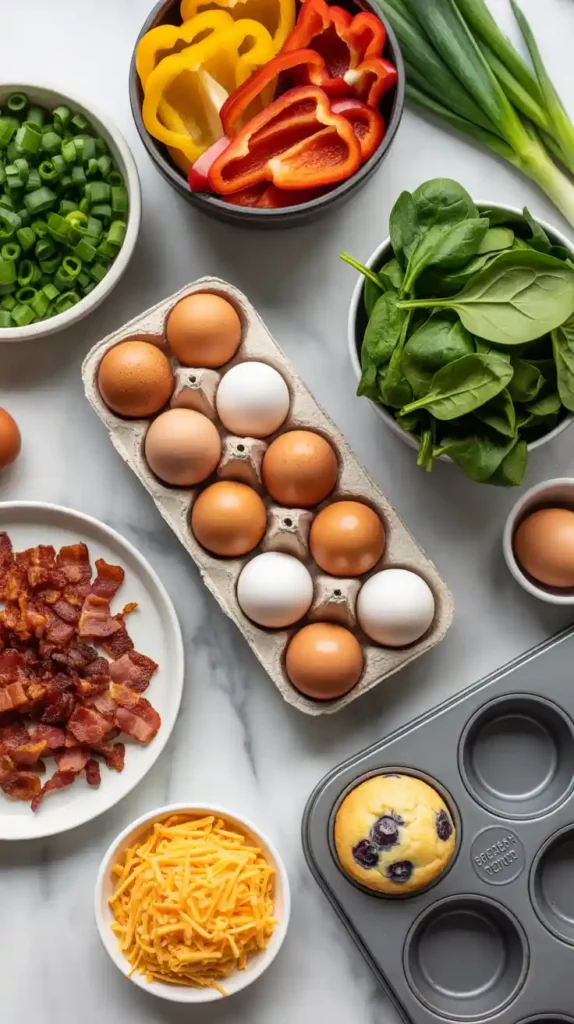
The base recipe is beautifully simple. The rest is up to your imagination and the contents of your fridge.

The Base Mixture (makes 12 egg muffins):
- 12 large eggs
- ½ cup milk, half-and-half, or unsweetened almond milk
- ½ teaspoon salt
- ¼ teaspoon black pepper
- Cooking spray or oil (this is non-negotiable!)
The Fun Part – Mix-In Ideas:
- Veggies: Diced bell peppers, chopped spinach (squeezed dry!), sautéed mushrooms, diced onions, broccoli florets, cherry tomatoes.
- Cheese: Shredded cheddar, crumbled feta, goat cheese, shredded mozzarella, pepper jack.
- Meats (pre-cooked): Crumbled bacon, cooked sausage, diced ham, shredded chicken.
- Herbs: Fresh chives, parsley, dill, or a pinch of dried herbs like oregano.
Tools & Kitchen Gadgets Used
You don’t need any fancy equipment for this mission. Just the basics.
- A Standard 12-cup Muffin Tin: A metal one works great. A silicone one is even better for easy removal.
- A Large Mixing Bowl: To whisk up your egg-cellent concoction.
- A Whisk: For getting a nice, uniform egg mixture.
- A Liquid Measuring Cup with a Spout: This makes pouring the egg mixture into the tins a clean, mess-free process.
- Cooking Spray or a Silicone Pastry Brush: For greasing the pan. I cannot stress the importance of this enough.
Step-by-Step Instructions: Your Path to a Perfect Morning
Ready to become a breakfast champion? Let’s get cracking.
H3: Part 1: The Prep Work
- Preheat and PREPARE: Preheat your oven to 375°F (190°C). Now for the most important step of this entire process: generously grease your muffin tin. Use cooking spray or oil and get into every nook and cranny. If you think you’ve used enough, you probably haven’t. Add more. This is your only defense against the horror of stuck eggs.
- Prep Your Mix-Ins: Chop your veggies, shred your cheese, and make sure any meat you’re using is already cooked. Crucial Tip: If you are using watery vegetables like mushrooms, zucchini, or fresh spinach, you must sauté them first to cook out the excess moisture. If you don’t, you will have sad, watery egg puddles.
H3: Part 2: The Assembly Line
- Divide the Goodies: Sprinkle your chosen mix-ins evenly into the bottoms of the 12 greased muffin cups. A good rule of thumb is about 2-3 tablespoons of fillings per cup.
- The Egg Mixture: In your large mixing bowl, crack all 12 eggs. Add the milk, salt, and pepper. Whisk everything together until the yolks and whites are completely combined and the mixture is uniform.
- Pour with Purpose: Carefully pour the egg mixture over the fillings in each muffin cup. Fill each one about ¾ of the way to the top. The fillings will cause the liquid to rise, so don’t overfill!
H3: Part 3: Bake and Enjoy
- Bake It Off: Place the muffin tin in the preheated oven. Bake for 15-20 minutes. You’ll know they’re done when the eggs are set in the center and no longer look wet or jiggly. They will puff up beautifully in the oven.
- The Inevitable Deflate: Don’t be alarmed when they deflate a little after you pull them out of the oven. This is totally normal. They are just sighing with relief after their hot oven spa treatment.
- Release the Hounds: Let the egg muffins cool in the tin for about 5 minutes. To remove them, run a thin silicone spatula or a butter knife around the edges of each cup, and they should pop right out. Enjoy immediately or let them cool completely before storing.
Calories & Nutritional Info

This will vary wildly based on your chosen mix-ins, but here’s a look at the base.
- Calories per egg muffin (base recipe only): Approximately 80-90 kcal.
- Protein: A solid 7g per muffin.
- Carbohydrates: Less than 1g (making them keto-friendly!)
- Note: This is a nutritional powerhouse. Adding veggies adds fiber and vitamins. Adding cheese and meat adds more protein and fat. You are the master of its nutritional destiny.
Common Mistakes to Avoid (Don’t Ruin Your Week’s Breakfast)
- The Sticking Catastrophe: You didn’t grease the pan enough, and now you’re performing a messy, frustrating egg-excavation. You must grease the pan like your happiness depends on it. Silicone liners or a silicone pan are also excellent insurance policies.
- Watery, Spongy Sadness: You threw in raw mushrooms or a giant handful of fresh spinach, didn’t you? This releases water as it bakes, creating a spongy, wet texture. Always cook down watery vegetables first and squeeze any excess liquid from thawed frozen spinach.
- The Overcooked Rubber Puck: You baked them until they were dark brown and super puffy. By the time they cool, they’ll be tough and rubbery. Bake only until the center is just set. They will carry over cook a little as they cool.
- Using Paper Liners: It seems like a good idea, but it’s a trap! The egg mixture will soak into the paper and stick to it like superglue. Avoid paper liners for this recipe unless you enjoy eating paper.
Variations & Customizations (The Possibilities Are Endless)
This recipe is a blank canvas. Here are a few ideas to get you started.
- The “Denver Omelet” Bite: Fill your cups with diced cooked ham, chopped bell peppers, diced onions, and shredded cheddar cheese. It’s a classic for a reason.
- The “Mediterranean” Masterpiece: Use crumbled feta cheese, chopped spinach (cooked and squeezed dry!), chopped sun-dried tomatoes, and a few slices of Kalamata olive. It’s a trip to Greece in a bite.
- The “Spicy Southwest” Sensation: Fill your cups with cooked chorizo sausage, diced jalapeños, black beans, and shredded pepper jack cheese. Serve with a side of salsa for dipping.
FAQ Section: Your Burning Egg Muffin Questions
- How long do these last in the fridge? Stored in an airtight container, they will last perfectly for 4-5 days, making them ideal for the work week.
- Can you freeze muffin tin eggs? Yes! They freeze beautifully. Let them cool completely, then place them in a freezer-safe bag or container. They can be frozen for up to 3 months.
- What’s the best way to reheat them? The microwave is the fastest. Place one or two on a plate and microwave for 30-60 seconds until hot. You can also reheat them in a toaster oven or air fryer for a few minutes to get them slightly crispy.
- Why did my egg muffins deflate so much? It’s completely normal for them to puff up in the oven and then settle and deflate as they cool. Whipping a lot of air into the eggs can make them puff more initially, but the deflation is inevitable. They’ll still be delicious!
- Do I have to add milk? You don’t have to, but adding a little milk, cream, or even water makes the final texture creamier and more tender. Eggs on their own can sometimes result in a slightly rubbery texture.
- My leftover egg muffins turned a little green/grey. Are they bad? Nope, they’re perfectly safe to eat! This is just a harmless chemical reaction that can sometimes happen between the sulfur in the eggs and iron in your other ingredients or even the pan itself. It doesn’t affect the taste.
- Can I just crack a whole egg into each cup instead of scrambling them? You absolutely can! This creates a different style, like a mini baked egg. Just grease the tin, crack one egg into each cup, season with salt and pepper, and bake until the yolk is cooked to your liking (about 12-16 minutes).
Final Thoughts
And there you have it. You are now officially a breakfast meal-prep master. You’ve unlocked the secret to a stress-free, delicious, and healthy start to your day. No more sad granola bars. No more skipping breakfast entirely.
Go forth and conquer your mornings. Enjoy the extra 15 minutes of sleep you’ve just earned yourself for the rest of the week. You’re a champion. A breakfast champion.