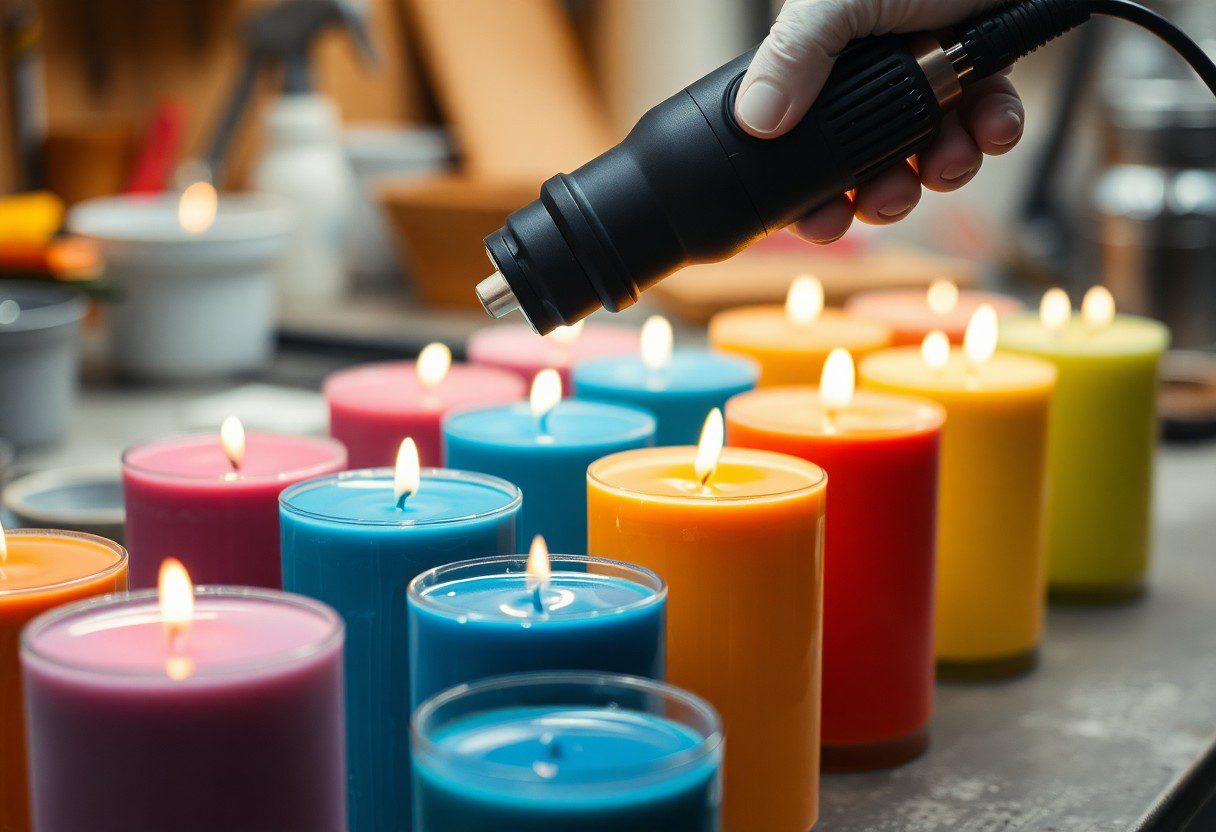
Using heat guns to create a smooth finish on top of poured candles.
Just as you strive for perfection in your candle-making, using a heat gun can significantly enhance the appearance of your finished product. This handy tool allows you to eliminate imperfections and achieve a professional, smooth surface on your poured candles. However, be cautious, as heat guns can reach extremely high temperatures, so it’s important to maintain a safe distance and keep the device moving to prevent your wax from overheating or melting unevenly. With the right technique, you can elevate your candles from good to exceptional.
Understanding Heat Guns
A heat gun is an necessary tool for anyone looking to create a professional finish on their poured candles. With the right understanding and technique, you can smooth out imperfections and achieve a flawless appearance.
What is a Heat Gun?
Heat guns are handheld devices that emit high-temperature air. They are commonly used in various DIY projects, including crafting and home improvement tasks. With adjustable temperature settings, heat guns provide precision and control, making them ideal for your candle finishing needs.
Types of Heat Guns
The market offers a variety of heat guns to suit different applications. Here’s a breakdown of the most common types:
| Type | Description |
| Light Duty | Best for small projects and home use. |
| Heavy Duty | Designed for extensive professional use. |
| Multi-Functional | Includes multiple attachments for various tasks. |
| Cold Settings | Offers the ability to blow cool air. |
| Pistol Grip | Provides better control and comfort. |
The right heat gun can significantly enhance your candle-making process. By understanding the features of each type, you can choose the best fit for your needs. Additionally, pay attention to the safety features, such as auto shut-off capabilities to prevent overheating. Perceiving the distinctions in types will help you make an informed decision.
What you choose should match your specific candle-making requirements. When opting for a heat gun, consider its temperature range, airflow control, and attachments it comes with. Here’s a table summarizing the features:
| Feature | Description |
| Temperature Range | Ability to adjust the heat level. |
| Airflow Control | Regulates the volume of air emitted. |
| Attachments | Various nozzles for different applications. |
| Weight | Consider the ease of handling. |
| Price | Balance between budget and quality. |
Choosing the right heat gun ultimately leads to a smoother finish on your candles, enhancing your overall craftsmanship. Always prioritize safety during your projects and operate with care to enjoy the best results. Perceiving these guidelines will elevate your candle-making experience.
The Science Behind Candle Poring
There’s more to candle pouring than meets the eye. Understanding the science behind this art can help you achieve a professional-quality finish. During the pouring process, various factors like wax composition, temperature, and cooling rates affect the overall look and performance of your candles. Gaining deeper insights into these elements can elevate your crafting skills, allowing you to create beautiful, smooth candles that burn well and look stunning in any setting.
Pouring Temperature and Its Importance
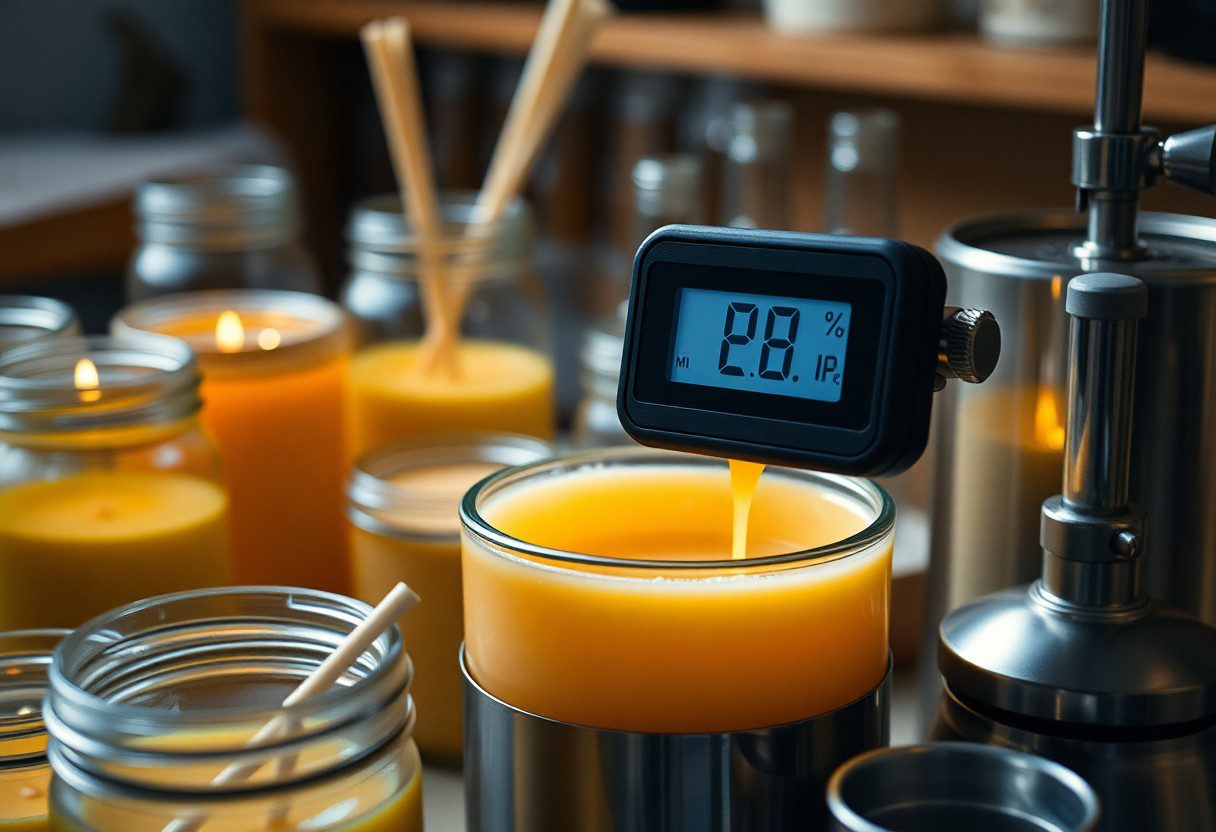
On the surface, pouring temperature may seem like a minor detail, but it plays a significant role in the aesthetic and functional quality of your candles. The ideal pouring temperature varies depending on the type of wax used.
Pouring Temperature Guidelines
| Wax Type | Ideal Pouring Temperature (°F) |
|---|---|
| Paraffin Wax | 160-190 |
| Beeswax | 150-160 |
| Soy Wax | 130-140 |
| Palm Wax | 170-180 |
Cooling Process of Poured Candles
For the final appearance and burn quality of your candles, the cooling process is imperative. As your candles cool, you want to ensure they do so evenly to avoid unsightly cracks or uneven surfaces.
Science shows that the rate at which candles cool significantly affects their finish. Slow cooling allows the wax to settle properly, reducing the risk of cracking and ensuring a smooth surface. On the other hand, rapid cooling can create stress fractures and a poorly formed finish. By placing your poured candles in a consistent, draft-free environment, you can help maintain a stable temperature and achieve a polished final product. The best practice is to avoid moving them until they are fully set, which may take several hours depending on their size and thickness.
Benefits of Using a Heat Gun
You will find that using a heat gun in your candle-making process can significantly improve the overall appearance of your poured candles. This handy tool not only assists in achieving a flawless finish but also enhances the durability of your candles. Its precision allows you to target specific areas, ensuring that every candle is visually appealing and of high quality. Overall, a heat gun is an indispensable tool for any serious candle maker.
Smoothing Surface Imperfections
By applying gentle heat, you can effectively melt away any surface imperfections in your candles. This process helps to eliminate unsightly air bubbles and uneven surfaces, resulting in a more polished look. When you use a heat gun, the candle’s outer layer becomes fluid enough to re-level, ultimately creating a flawless finish.
Enhancing Aesthetic Appeal
An expertly finished candle can transform your creations into stunning focal points in any space. Not only does a smooth surface make your candles more attractive, but it also showcases the unique colors and scents you have worked hard to create. A flawless surface enhances light diffusion, allowing the candle to glow beautifully when lit, thus elevating the overall experience.
Imperfections in candles can detract from their aesthetic charm and potential marketability. By using a heat gun, you ensure that your candles present their best side, with smooth, even surfaces that catch the eye. This attention to detail not only boosts the visual appeal but also signals to your customers that you take pride in your craftsmanship. The result is a finished product that is not only appealing but can also command a higher price due to its professional appearance. Investing in this tool ultimately elevates the quality of your handmade candles and enhances your brand’s reputation.
Step-by-Step Guide to Using a Heat Gun
All the necessary steps you need to follow for achieving a smooth finish on your poured candles can be found in our Getting Started With A Heat Gun guide.
| Step | Description |
| 1 | Prepare your workspace by ensuring proper ventilation and arranging your materials. |
| 2 | Choose an appropriate heat setting on your heat gun based on the wax type. |
| 3 | Hold the heat gun at an angle and move it in a sweeping motion across the candle surface. |
Preparation of the Workspace
After selecting a suitable area for candle finishing, ensure adequate ventilation to avoid inhaling fumes and arrange your heat gun, candles, and any protective gear within easy reach.
Techniques for Even Application
For achieving a uniform finish, maintain a consistent distance of about 6 inches between the heat gun and the candle surface.
This technique helps distribute heat evenly, preventing burning or melting the wax layer excessively. Use a gentle, sweeping motion and don’t linger in one spot to avoid any damage. It’s best to keep your heat gun on a low setting initially and gradually increase the temperature if needed, ensuring you maintain an appropriate distance to achieve a beautifully finished candle.
Safety Precautions
After using a heat gun for your poured candles, it’s crucial to prioritize your safety. Be aware of the potential hazards, including the risk of burns and fire. For additional guidance, check out this Having problem with heat gun, helps with the holes but … thread for tips and experiences shared by fellow candlemakers.
Necessary Protective Gear
Protective gear is crucial when operating a heat gun. Always wear heat-resistant gloves to guard your hands against burns, and consider using safety goggles to protect your eyes from any accidental splashes or debris. A mask can also be beneficial to avoid inhaling any fumes from heated wax.
Tips for Safe Operation
An effective approach to using your heat gun safely includes knowing its limitations. Follow these tips for a safer candle-making experience:
- Maintain a distance of at least 6-12 inches from the surface.
- Use the low heat setting for better control.
- Never leave the heat gun unattended.
- Ensure your workspace is free of flammable materials.
This will help minimize risks and ensure your process is smooth.
To enhance your safety while operating a heat gun, it’s beneficial to develop a structured approach. Prioritize constant monitoring of the heat level, and always direct the airflow away from flammable surfaces. Ensure your workspace is well-ventilated to minimize fume buildup during operation, and maintain a tidy area free of clutter. Lastly, keep a fire extinguisher nearby for emergencies. This will contribute greatly to a safe candle-making environment.
- Use constant monitoring of the heat level.
- Keep a fire extinguisher nearby.
- Maintain a tidy workspace.
- Ensure well-ventilated areas.
This further underscores the importance of preparedness in your craft.
Maintenance of Heat Guns
Not properly maintaining your heat gun can lead to performance issues and shorter lifespan. Regularly inspect for any visible damage or wear to the cords and casing. Ensuring that your tool remains functional will not only help you achieve better results but also keep you safe during use.
Cleaning and Care
Against the build-up of wax and debris, cleaning your heat gun after each use is imperative. A simple wipe down with a damp cloth will prevent unnecessary residue accumulation on the nozzle and body, ensuring optimal heat distribution. This habit fosters longevity in your equipment.
Storage Tips
Beside protecting your heat gun, proper storage is necessary for maintaining its performance. Always keep your heat gun in a cool, dry place away from direct sunlight. Ensure the nozzle is cool before storing it, and avoid placing any weight on it. Adhere to these guidelines:
- Store in a dedicated toolbox or shelf.
- Avoid damp or humid areas.
- Keep away from children and pets.
This will enhance safety and functionality.
Hence, utilizing a well-organized system for your heat gun not only reduces risks of accidents but also facilitates easy access when you need it. Ensure you have adequate room to maneuver when retrieving your heat gun. Follow these tips:
- If storing for long durations, consider covering the nozzle.
- Label your storage area to avoid unwanted mixing.
- Inspect occasionally for dust or debris.
This safeguard against unnecessary mishaps is invaluable.
Final Words
Drawing together the insights on using heat guns to create a smooth finish on top of poured candles, you’ll find that this technique can significantly enhance the overall appearance of your creations. By carefully applying heat, you can effectively eliminate imperfections and achieve a professional look. Ensure you control the temperature and distance to prevent overheating or damaging your candles. With a little practice, you’ll create beautiful, flawless candles that showcase your craftsmanship and creativity. Happy crafting!
FAQ
Q: What is the purpose of using a heat gun on poured candles?
A: The primary purpose of using a heat gun on poured candles is to eliminate surface imperfections, such as bumps or sinkholes. Applying gentle heat allows the wax to slightly melt and self-level, resulting in a smooth and polished surface. This process is especially helpful after the candle has cooled but shows unevenness or texture.
Q: How do I effectively use a heat gun without damaging my candle?
A: To effectively use a heat gun on your candles, keep the gun at a safe distance, typically around 4 to 6 inches above the surface. Use a low heat setting, and move the gun in a circular or back-and-forth motion to avoid concentrating heat in one spot. Monitor the surface closely to prevent overheating, which can result in burns or a complete melt of the candle.
Q: Can I use a hairdryer instead of a heat gun for my candles?
A: While a hairdryer can be a suitable alternative for smoothing the surface of poured candles, it might not provide the same concentrated heat as a heat gun. A hairdryer typically disperses heat over a larger area and might take longer to achieve the desired smooth finish. If you opt for a hairdryer, use the lowest heat setting and keep it at a safe distance from the candle.
Q: When is the best time to apply heat to my poured candles?
A: The best time to apply heat to poured candles is after the wax has fully cooled and set, which usually takes several hours. If you notice any imperfections on the surface, gently warming the area can help smooth it out. It’s advisable to check the manufacturer’s guidelines for specific cooling times, as this can vary based on the type of wax used.
Q: Are there any safety precautions I should take while using a heat gun on candles?
A: Yes, there are several safety precautions to consider. Always work in a well-ventilated area to avoid inhaling fumes. Wear heat-resistant gloves and safety goggles to protect yourself from accidental burns. Keep flammable materials away from the heat source and never leave the heat gun unattended while in use. Following these precautions ensures a safe and effective process when using a heat gun on poured candles.

