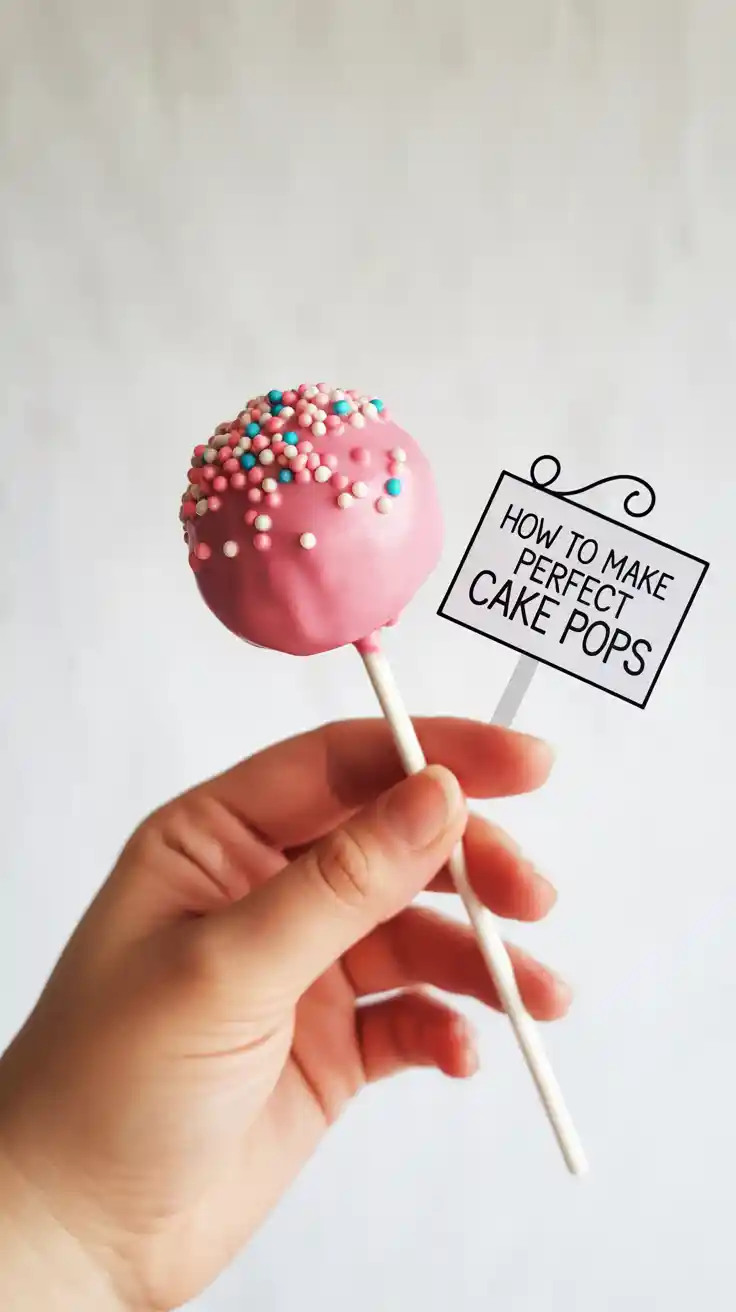
How to Make Cake Pops Step by Step (A Foolproof Beginner’s Guide!)
How to Make Cake Pops Step by Step (A Foolproof Beginner’s Guide!)
Ah, the cake pop. That adorable, bite-sized, perfectly spherical ball of cake on a stick, flawlessly coated in a glossy, candy shell and artfully dusted with sprinkles. They look so innocent, so cheerful, so deceptively simple. They are liars. Adorable, delicious, sugar-coated liars.
If you have ever attempted to make these trendy little treats and ended up with a pile of sad, naked cake balls at the bottom of a bowl of lumpy, seized chocolate, you are not alone. You are one of us. But I am here today as your seasoned, slightly battle-scarred guide to tell you that it doesn’t have to be this way. Today, we’re going to break down the process, expose all the booby traps, and learn how to make cake pops step by step, the foolproof way.
Why This Recipe Is Worth the (Minor) Effort
So, why should you willingly embark on a project that has a reputation for being a bit… fussy? Because the payoff is absolutely, one hundred percent worth it.
First, they are the perfect party food. Period. They are cute, they are portable, they are perfectly portioned, and you can customize the colors and sprinkles to match any theme imaginable. Handing someone a homemade cake pop is like handing them a tiny, edible balloon of pure joy.
Second, it’s a brilliant way to use leftover cake. Did you bake a cake that turned out a little dry? Did one of your layers break in half? Don’t you dare throw it away! You’re not a failure; you’re just one step away from making amazing cake pops. It’s the ultimate delicious rescue mission.
Finally, the sense of accomplishment is immense. When you successfully dip that final, perfect cake pop and place it in its little stand to dry, you will feel like a true pastry champion. You’ll feel like you can do anything. It’s a confidence boost you can eat.
The A-List Ingredients
The beauty of cake pops is that they start with very simple, accessible ingredients. We’re going the semi-homemade route to keep this beginner-friendly.
For the Cake Ball “Dough”:
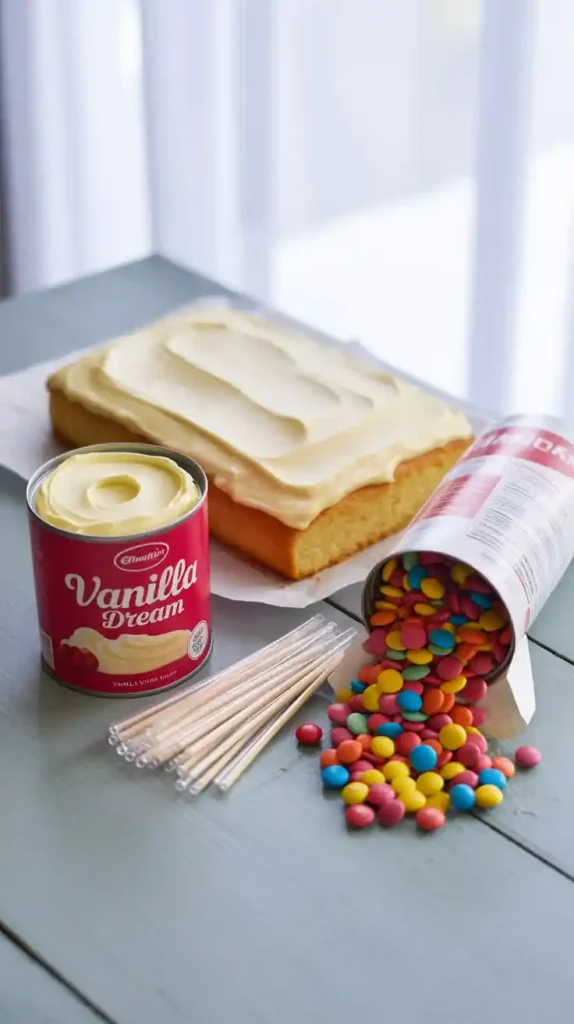
- A Baked & Cooled Cake: One 9×13 inch cake. A box of your favorite cake mix (like yellow, chocolate, or vanilla) baked according to the package directions is perfect for this.
- Canned Frosting: About ½ to ¾ cup of your favorite canned frosting (cream cheese, vanilla, or chocolate). The flavor should complement your cake. We will not be using the whole can!
For the Coating & Assembly:
- Lollipop Sticks: You’ll need about 40-50, 6-inch lollipop sticks.
- Candy Melts: One 12-ounce bag. For beginners, candy melts are far superior to real chocolate. They are designed to melt smoothly and set up hard without any complicated tempering. Choose your color!
- Shortening or Paramount Crystals (Optional but highly recommended): 1-2 teaspoons. This is the secret to thinning your candy melts for a perfectly smooth, non-gloopy coating.
- Sprinkles and Decorations: The fun part!
The Cake Pop Maker’s Toolkit
Having the right gear will be the difference between a joyful experience and a sticky, frustrating mess.
- A 9×13 inch Baking Pan: For baking your initial cake.
- A Large Mixing Bowl: For the magical transformation of cake into cake pop dough.
- A Small Cookie Scoop: This is the secret weapon for creating perfectly uniform, same-sized cake balls. A 1.5-tablespoon scoop is ideal.
- Lollipop Sticks: The structural backbone of our creation.
- A Cake Pop Stand or a Block of Styrofoam: You need somewhere for your beautiful creations to dry, standing upright and untouchable.
- A Tall, Narrow, Microwave-Safe Mug or Glass: This is much better for dipping than a wide, shallow bowl. It allows you to submerge the whole cake pop in one go.
Step-by-Step: Your Guide to Cake Pop Victory

This is a process of stages. Read through all the steps first, take a deep breath, and trust the process. You can do this.
Phase 1: From Cake to “Dough”
- Bake and Cool Your Cake: Prepare your chosen cake mix in a 9×13 inch pan according to the box directions. Once it’s baked, let it cool completely. I’m serious. A warm cake will turn into a greasy, oily mess in the next step.
- The Destruction Phase: Once the cake is completely cool, it’s time for some therapy. Crumble the entire cake into your large mixing bowl. You can use your hands, a fork, or even a stand mixer with the paddle attachment. Your goal is to get it into fine, uniform crumbs with no large chunks remaining.
- The Binding (The Most Critical Step): Now, we add the frosting. This is where most people go wrong. Add just a couple of heaping tablespoons of frosting to your cake crumbs to start. Using your hands, mix the frosting into the crumbs. The goal is a consistency like a slightly moist play-doh that you can easily roll into a ball. Add more frosting only one tablespoon at a time until you reach this consistency. It will likely take much less than you think!
Phase 2: The Rolling and the First Chill
- Scoop and Roll: Use your small cookie scoop to portion out the cake “dough.” Roll each portion between your palms to create a smooth, compact ball. Place the finished balls on a parchment-lined baking sheet.
- The First Chill: Place the entire baking sheet of naked cake balls into the refrigerator for at least 2 hours, or into the freezer for about 30 minutes. You want them to be firm and cold, but not frozen solid.
Phase 3: The Assembly and the Dip
- The Stick Trick (The “Glue”): Melt a small handful of your candy melts in your microwave-safe mug. Take one lollipop stick and dip the tip about ½-inch into the melted candy.
- Immediately insert that candy-coated tip straight into the center of a chilled cake ball, about halfway through. The melted candy acts as a powerful glue. Place the cake pop back on the baking sheet. Repeat with all your cake balls.
- The Second Chill: Place the tray of newly-sticked cake pops back into the refrigerator for another 20-30 minutes to ensure the “glue” is completely set.
Phase 4: The Final Masterpiece
- The Meltdown: Melt the rest of your candy melts in your tall, narrow mug in the microwave in 30-second intervals, stirring in between. If the coating seems too thick and gloopy, stir in a teaspoon of shortening or paramount crystals until it’s smooth and fluid.
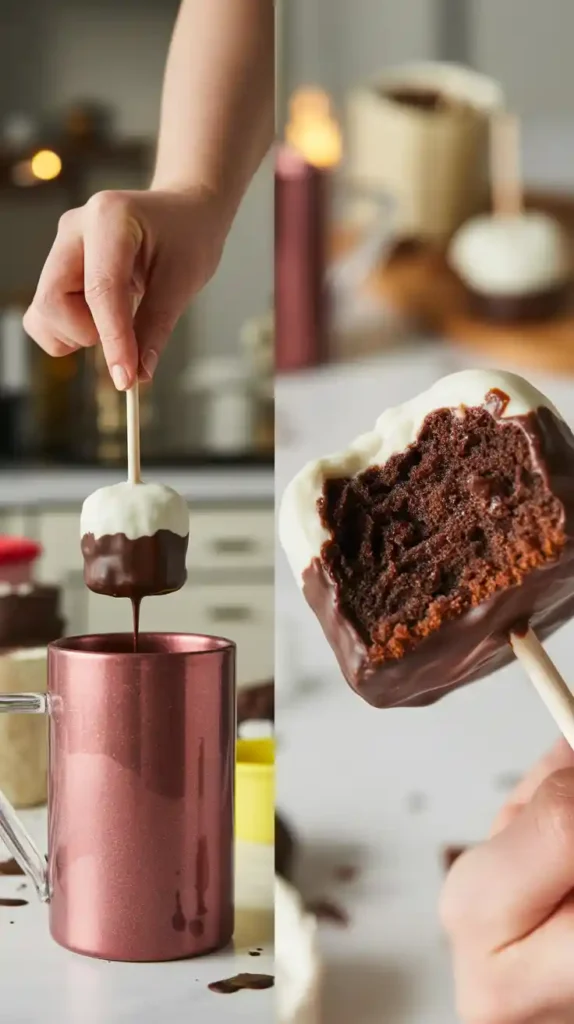
- The Dip: Take one chilled cake pop. Hold it by the stick and dip it straight down into the melted candy until the entire cake ball is submerged. Do not stir or swirl it around. Just dip it straight down and pull it straight back up.
- The Drip and Tap: Gently tap the hand holding the stick against the wrist of your other hand. This encourages the excess coating to drip off smoothly. Rotate the cake pop slowly as it drips.
- Decorate and Dry: Before the candy shell sets (you have about 30 seconds!), add your sprinkles.
- The Final Rest: Carefully place the finished cake pop upright in your cake pop stand or your block of styrofoam to dry completely. Do not lay it down.
Calories & Nutritional Info (A Bite-Sized Treat)
This is a sweet confection on a stick. It’s pure, unadulterated fun.
- Estimated Calories: Around 150-200 kcal per cake pop, depending on the cake/frosting flavors and the thickness of your coating.
- A Portion-Controlled Indulgence: The beauty of a cake pop is that it’s a small, self-contained treat. It’s a perfect little bite of cake without committing to a giant slice.
Common Cake Pop Catastrophes to Avoid
Don’t let these common mistakes turn your fun project into a frustrating failure.
- The Greasy, Oily Ball Mistake. This is the #1 problem, and it’s always caused by using too much frosting. The goal is to use just enough frosting to bind the crumbs together into a pliable dough. If you add too much, the balls will be heavy, greasy, and too soft to hold their shape. Start with less frosting; you can always add more.
- The “Plop” Disaster (The Cake Ball Falls Off the Stick). This is the classic, soul-crushing cake pop fail. It can be caused by a few things:
- You skipped the crucial “gluing” step of dipping the stick in candy melts first.
- Your cake balls were too warm, and the temperature shock of the warm coating made them fall apart.
- You stirred the cake pop in the coating instead of doing a quick, straight-down-and-up dip.
- The Cracked Shell Calamity. If you see cracks forming on your candy shell as it dries, it means your cake balls were too cold (likely frozen solid). The drastic temperature change between the frozen ball and the warm coating causes the shell to crack as it sets. You want them chilled, not frozen.
- The Thick, Lumpy, Gloopy Coating. If your candy melts are too thick, they will be heavy, look lumpy, and will likely rip your cake pop right off the stick when you try to dip it. Your candy coating must be smooth and fluid. Don’t be afraid to thin it with a little bit of shortening.
Variations & Customizations
Once you’ve mastered the technique, you can create endless flavor combinations!
- Classic Red Velvet Cake Pops: Use a red velvet cake mix for your base, a can of cream cheese frosting for the binder, and coat them in white candy melts. They are stunning and delicious.
- Funfetti Birthday Cake Pops: Use a funfetti cake mix, vanilla frosting, and coat them in a colorful candy melt (like pink or blue) and a shower of rainbow nonpareils. Perfect for a kid’s party.
- Cookies and Cream Cake Pops: Use a Devil’s Food chocolate cake mix. For the binder, use vanilla frosting and mix in ¼ cup of finely crushed Oreo cookie crumbs. Coat in white candy melts and sprinkle with more Oreo crumbs.
Your Burning Cake Pop Questions, Answered

Let’s clear up some of the most common questions about these tricky little treats.
Why do my cake pops keep falling off the stick when I dip them?
This is the most common issue! It’s usually because the stick wasn’t properly “glued” in with melted candy, or the cake ball itself was too heavy and soft (from too much frosting). Follow the chilling and gluing steps precisely!
How do I get my candy coating so perfectly smooth?
The secret is the consistency of your melted candy. It should be fluid and pourable, not thick like pudding. Thin it out with a teaspoon of shortening or paramount crystals. Also, the gentle “tap and drip” method is much better than trying to scrape the excess off.
Can I use real chocolate instead of candy melts?
You can, but it is much more difficult for beginners. Real chocolate needs to be “tempered” to set up hard and shiny at room temperature. If you just melt regular chocolate chips, they will be soft and melt to the touch. Candy melts are designed to be easy for this exact purpose.
Why did my beautiful cake pops crack after I dipped them?
Your cake balls were too cold! If they are frozen solid, the rapid change in temperature from the warm candy coating will cause the shell to crack as it dries. Make sure your cake balls are just chilled from the fridge, not frozen solid.
Can I make cake pops ahead of time? How should I store them?
Yes! They are a great make-ahead treat. Once they are completely dry, you can store them in an airtight container at room temperature for a few days, or in the refrigerator for up to a week.
What is the best cake-to-frosting ratio?
There is no exact ratio, as different cake mixes have different moisture levels. The best method is to start with a very small amount of frosting (2-3 tablespoons for a whole 9×13 cake) and add more only as needed until the crumbs hold together like a dough.
My cake balls feel greasy or oily. What did I do wrong?
You added too much frosting. The frosting is what contains most of the fat, and when you add too much, the cake crumbs become oversaturated, leading to a greasy, oily texture.
Final Thoughts

Look at you. You have stared into the face of the adorable, tiny, often-frustrating tyrant of the baking world and you have won. You have successfully created a beautiful, delicious, and structurally sound cake on a stick. You are now a master of the dip, a champion of the candy melt, a true cake pop warrior.
So go on, arrange your creations in their little stand. Admire your handiwork. Then, choose the prettiest one, take a satisfying bite, and congratulate yourself on a job well done. You’ve earned it.