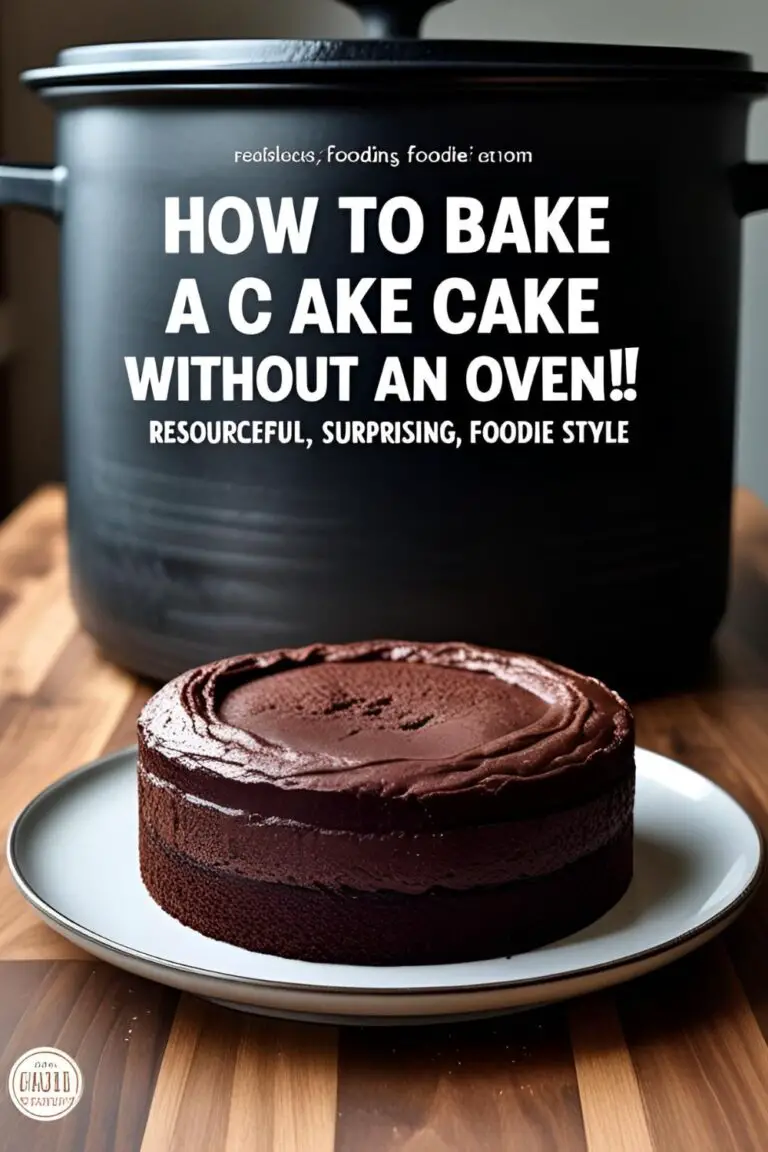
How to Bake a Cake From Scratch: A Beginner’s Guide to Perfection
How to Bake a Cake From Scratch: A Beginner’s Guide to Perfection
Let’s be brutally honest for a moment. The idea of baking a cake completely from scratch can be downright terrifying. It feels like a secret club, one that requires a special handshake, an encyclopedic knowledge of words like “emulsification,” and an intuitive understanding of oven hot spots. You see beautiful cakes online and think, “My kitchen could never produce such a masterpiece.”
I’m here to tell you that’s all a lie. The wall between you and a perfect, homemade cake is made of fear, not facts. Today, we’re tearing down that wall. You are going to learn how to bake cake—a simple, classic, can’t-mess-it-up vanilla cake—and you’re going to realize that you are, and always have been, a baker. You just needed the right instructions.
Why This Recipe Is the Only One You Need to Start
This isn’t just a recipe; it’s your baking boot camp. It’s the key that unlocks the door to a thousand other cakes. Here’s why it’s the perfect place to start.
First, it teaches you the fundamentals of baking. This recipe uses the classic “creaming method,” which is the foundational technique for countless cakes, from yellow birthday cakes to rich pound cakes. Once you master this process, you’ve basically learned the secret language of baking.
Second, this recipe is incredibly forgiving. It’s designed to be sturdy, reliable, and resistant to common beginner mistakes. The crumb is tender but not so delicate that it will fall apart if you look at it wrong. It’s a cake with training wheels.
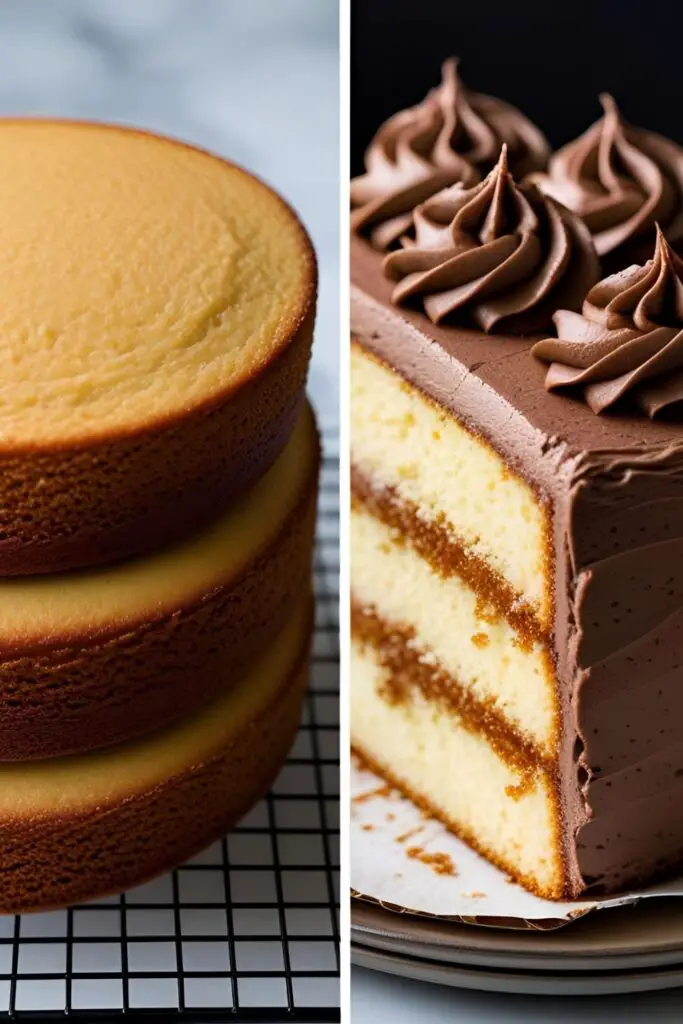
Finally, it’s the ultimate blank canvas. This simple, perfect vanilla cake is a chameleon. It pairs beautifully with any frosting you can imagine—rich chocolate buttercream, tangy cream cheese frosting, a simple berry glaze. It’s the little black dress of the cake world: timeless, versatile, and always a good choice.
The Basic Cake Ingredients List
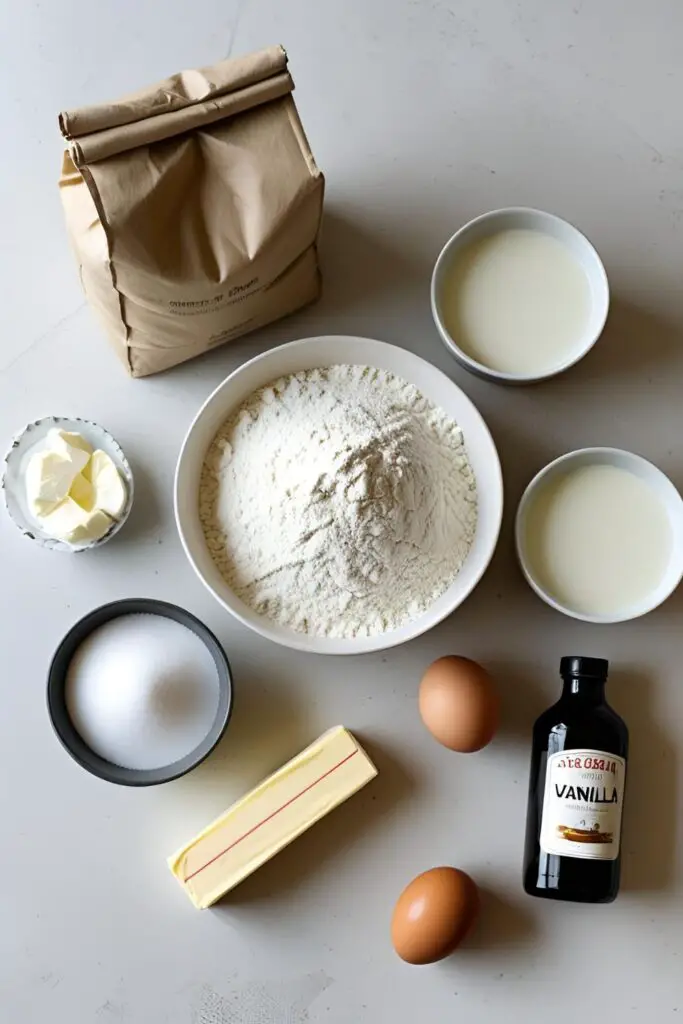
No weird, hard-to-find stuff here. This is all about celebrating the simple ingredients that come together to create something magical.
- All-Purpose Flour: 2 ½ cups.
- Baking Powder: 2 ½ teaspoons. This is our primary leavening agent.
- Salt: ½ teaspoon. It doesn’t make the cake salty; it enhances all the other flavors.
- Unsalted Butter: 1 cup (2 sticks), at room temperature. This is non-negotiable.
- Granulated Sugar: 1 ½ cups.
- Large Eggs: 4 of them, at room temperature.
- Whole Milk: 1 cup, at room temperature.
- Pure Vanilla Extract: 1 tablespoon. This is where the primary flavor comes from, so use the good stuff if you can!
A Very Serious Note on Temperature: I’ve bolded it, and I’ll say it again. Your butter, eggs, and milk MUST be at room temperature. Cold ingredients do not bond together properly. Cold butter won’t cream into a fluffy texture, and cold eggs can cause the batter to curdle. Just leave them on your counter for 1-2 hours before you start. This single step will improve your baking by 100%.
The Baker’s Toolkit: Your Gadgets & Gear

You don’t need a professional kitchen, but a few key items will make your baking life infinitely easier and more successful.
- An Oven Thermometer: Your oven is a liar. Its dial might say 350∘F, but it could be 325∘F or 375∘F. An inexpensive oven thermometer hangs inside and tells you the real temperature, which is the single most important factor in successful baking.
- A Stand Mixer or Hand Mixer: While you can do this by hand, creaming butter and sugar properly requires some serious elbow grease. An electric mixer does the hard work for you.
- Two 8-inch Round Cake Pans: The classic choice for a beautiful layer cake.
- Measuring Cups and Spoons: Baking is chemistry. Precision matters.
- A Kitchen Scale (Optional but Recommended): For true precision, weighing your ingredients (especially flour) is the best way to get consistent results every time.
- The Basics: A whisk, a good rubber spatula, parchment paper, and wire cooling racks.
Step-by-Step: The Fundamentals of Baking a Cake
We’re going to go slow and explain the “why” behind each step. This is how you learn how to bake, not just how to follow a recipe.
Step 1: Prep is King Preheat your oven to 350∘F (175∘C). Place your oven thermometer inside to verify the temperature. Generously grease your two 8-inch cake pans with butter or baking spray, line the bottoms with parchment paper, then grease the parchment too. Finally, dust the pans with flour, tapping out any excess. This multi-step process creates a foolproof non-stick surface.
Step 2: The Dry Team Assembles In a medium bowl, whisk together your dry ingredients: the flour, baking powder, and salt. Whisk for about 30 seconds. Why? This step evenly distributes the baking powder and salt throughout the flour, ensuring your cake rises evenly and is seasoned consistently.
Step 3: The All-Important Creaming Method In the bowl of your stand mixer (or a large bowl with a hand mixer), beat the room-temperature butter and sugar together on medium-high speed for a solid 4-5 minutes. The mixture should become pale, light, and very fluffy. You’re not just mixing; you’re forcing air into the fat, creating thousands of tiny air pockets that will give your cake a light, tender texture.
Step 4: Adding the Eggs (One at a Time!) With the mixer on medium speed, add your room-temperature eggs one by one, beating well for about 30 seconds after each addition. Why one at a time? This allows each egg to fully emulsify into the batter, keeping it smooth and stable. Dump them all in at once, and you risk a curdled mess. Scrape down the sides of the bowl, then mix in the vanilla extract.
Step 5: The Alternating Dance Turn the mixer to its lowest speed. Now, you will alternate adding the dry mixture and the milk. Add about one-third of the dry mixture, and mix until just combined. Add half of the milk, and mix until just combined. Repeat this—dry, milk, dry—ending with the last addition of the dry ingredients. Do not over-mix.
Why do we do this? This gentle, alternating process hydrates the flour without over-developing the gluten strands, which would make the cake tough.

Step 6: Bake, Cool, and Admire Immediately divide your batter evenly between the two prepared pans and smooth the tops. Bake for 30-35 minutes. The cakes are done when they are golden brown, spring back when you gently touch the top, and a toothpick inserted into the center comes out clean. Let the cakes cool in the pans for 15 minutes before carefully flipping them out onto wire racks to cool completely.
Calories & Nutritional Info (For the Planners)
This is a classic butter cake. It’s a treat, and that’s a wonderful thing.
- Estimated Calories: Around 380-420 kcal per unfrosted slice (assuming 1/12th of the total cake).
- A Blank Canvas: Remember, this is just for the cake itself. Frosting and fillings will add to the final count.
- Homemade Goodness: The great part about baking from scratch is knowing exactly what’s inside: real butter, sugar, eggs, and milk. No preservatives, no funny business.
Common Beginner Baking Mistakes to Avoid
We’ve all been there. Here’s how to skip the heartache.
- The “Room Temperature is a Suggestion” Myth. It is not a suggestion; it is a law. Using cold butter, eggs, or milk will result in a dense, lumpy cake. Your ingredients won’t combine properly, and the texture will suffer. Be patient and let everything come to temp.
- The “Beat It ‘Til It’s Smooth” Fallacy. This is the number one cake killer. Once the flour goes into the batter, your goal is to mix as little as possible. Over-mixing develops gluten, which is great for bread but terrible for cake, leading to a tough, rubbery texture. Stop when you see the last streak of flour disappear.
- Inaccurate Measuring. Baking is a science. Unlike cooking, where you can add “a pinch of this” and “a glug of that,” cake requires precision. Use proper dry measuring cups and level them off with a straight edge. Don’t pack the flour in!
- Trusting Your Oven Blindly. Your oven’s internal thermostat can be off by as much as 50 degrees. An oven that’s too hot will bake the outside before the inside is done, leading to a sunken middle. An oven that’s too cool will result in a pale, dense cake. An oven thermometer is your best friend.
Variations & Customizations
Once you’ve mastered this base, you can take it anywhere.
- Bright Citrus Cake: Add the zest of two lemons or one large orange to the sugar before you start creaming. Rub the zest into the sugar with your fingers to release the fragrant oils. It adds a beautiful, fresh flavor.
- Almond Vanilla Cake: Reduce the vanilla extract to 1 teaspoon and add 1 teaspoon of almond extract. It gives the cake a lovely, almost wedding-cake-like flavor.
- The Ultimate Funfetti Party Cake: After the batter is fully mixed, gently fold in ¾ cup of rainbow sprinkles (use jimmies, not nonpareils, as they won’t bleed as much). It’s an instant celebration.
Your Beginner Baking Questions, Answered
Here are the answers to the questions every new baker has.
What does “room temperature” really mean for butter and eggs?
For butter, it means it should be soft enough that your finger can leave an indent easily, but not so soft that it’s greasy or melty (around 65-68°F or 18-20°C). For eggs and milk, it just means not cold straight from the fridge.
Why did my beautiful cake sink in the middle after I took it out?
This is usually caused by under-baking or a drastic change in temperature (like opening the oven door too early). The cake’s structure wasn’t set enough to support itself. Make sure the toothpick test is truly clean!
Can I just use all-purpose flour for every cake recipe?
For many cakes, like this one, yes! However, some very delicate cakes (like angel food) call for cake flour, which has less protein and creates a lighter texture. Always use what the recipe recommends for best results.
How do I prevent my cake from being dry?

Using full-fat dairy (like the whole milk here), not over-baking, and measuring your flour correctly are the three keys to a moist cake. Scooping flour directly from the bag can pack it in, leading to too much flour and a dry cake.
What’s the difference between baking soda and baking powder?
Baking powder is a complete leavening agent containing both an acid and a base. Baking soda is just a base and needs an acidic ingredient in the recipe (like buttermilk or vinegar) to react with and create lift. This recipe uses baking powder.
Can I bake this in a 9×13 inch pan instead?
Yes! Grease and flour a 9×13 inch pan and pour the batter in. The baking time will be similar, around 30-40 minutes. It makes a fantastic sheet cake.
How can I be absolutely sure my cake is done?
Use three senses: Sight (is it golden brown?), Touch (does the top spring back when you gently press it?), and Test (does a wooden skewer or toothpick inserted into the very center come out clean, with no wet batter clinging to it?).
Final Thoughts
Look at you. You did it. You took a pile of simple ingredients and, through the beautiful magic of chemistry, you created a cake. From scratch. You are officially a baker. You can now confidently walk past the aisle of box mixes, knowing you possess the skill to create something infinitely better.
So go on, frost your creation. Share it with people you love. Or don’t! Eat a slice for breakfast. You’ve earned it. Welcome to the club.