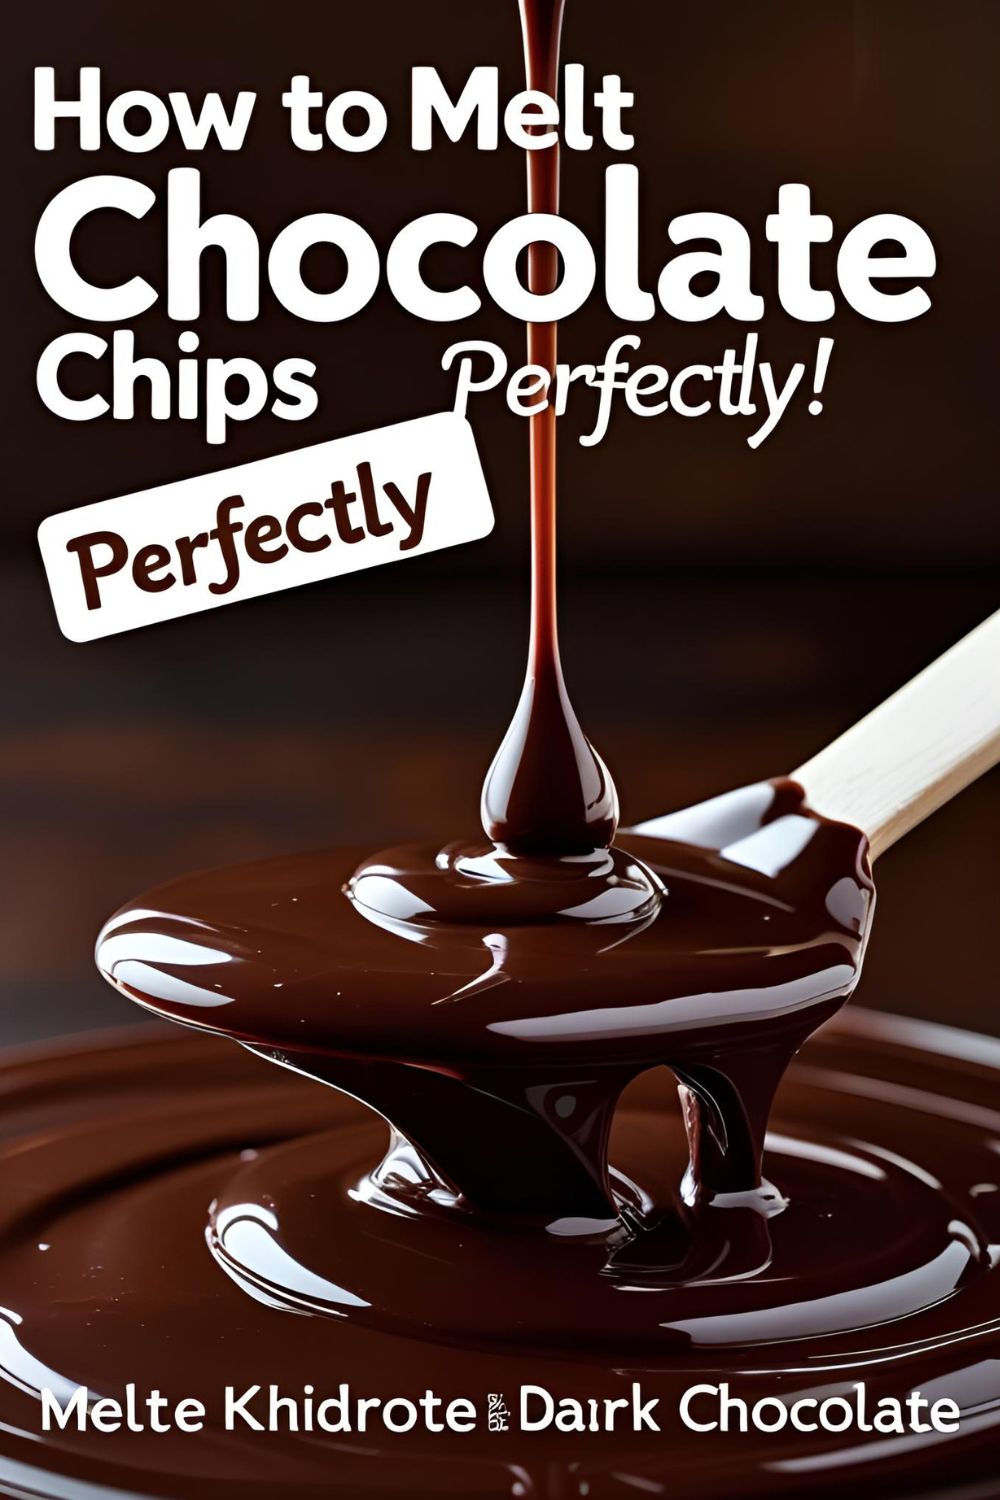
How to Melt Chocolate Chips Perfectly (Without Ruining Everything!)
How to Melt Chocolate Chips Perfectly (Without Ruining Everything!)
We’ve all been there. You’re in the middle of a baking project, feeling like a domestic superstar. You’ve got a grand vision of dipping strawberries or drizzling a cake with a luscious, glossy river of chocolate. The last step is simple: melt the chocolate chips. “How hard can it be?” you ask your empty kitchen. And that, my friend, is when the universe decides to teach you a lesson in humility.
Five minutes later, you’re staring into a bowl of sad, lumpy, grainy sadness. It’s a seized, clumpy mess that looks more like potting soil than dessert. You wonder where you went wrong. You question your life choices. You consider throwing the whole bowl in the trash and pretending this never happened.
If this tragedy sounds familiar, you’ve come to the right place. Today, we’re demystifying the process and showing you how to melt chocolate chips so perfectly, so smoothly, that you’ll never have to face that lumpy bowl of despair again.
Why Mastering This “Recipe” is a Game Changer
Okay, calling this a “recipe” is a bit of a stretch. It’s more like a foundational life skill, like learning to do your own laundry or successfully keeping a houseplant alive for more than a week. Here’s why you need this in your arsenal.
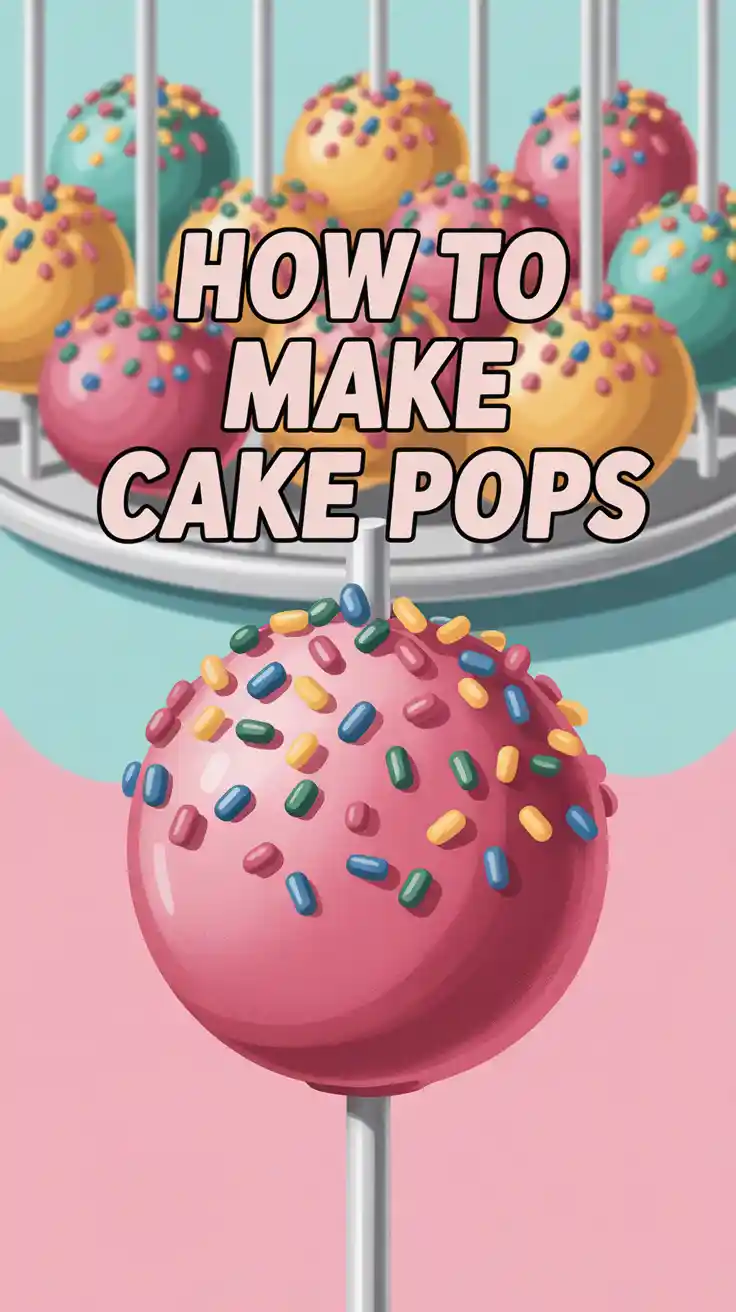
First, it unlocks a universe of dessert possibilities. Once you can reliably melt chocolate, you can make ganache, fondue, chocolate-covered pretzels, cake pops, magic shell for ice cream… the list goes on. This is your gateway to becoming the dessert hero you were always meant to be.
Second, it will save you from culinary heartbreak. There is nothing more soul-crushing than wasting a whole bag of good chocolate because of one tiny mistake. Knowing the right techniques means no more wasted ingredients, no more frustration, and no more last-minute trips to the store for a sad, pre-made dessert.
Finally, it makes you look like a total pro. There’s something undeniably impressive about a bowl of perfectly smooth, glossy, melted chocolate. It’s the base for countless elegant decorations and decadent treats. Your friends and family will be convinced you have a secret pastry degree.
The Extremely Complex Ingredients List

Prepare to be overwhelmed by this extensive list. Try to keep up.
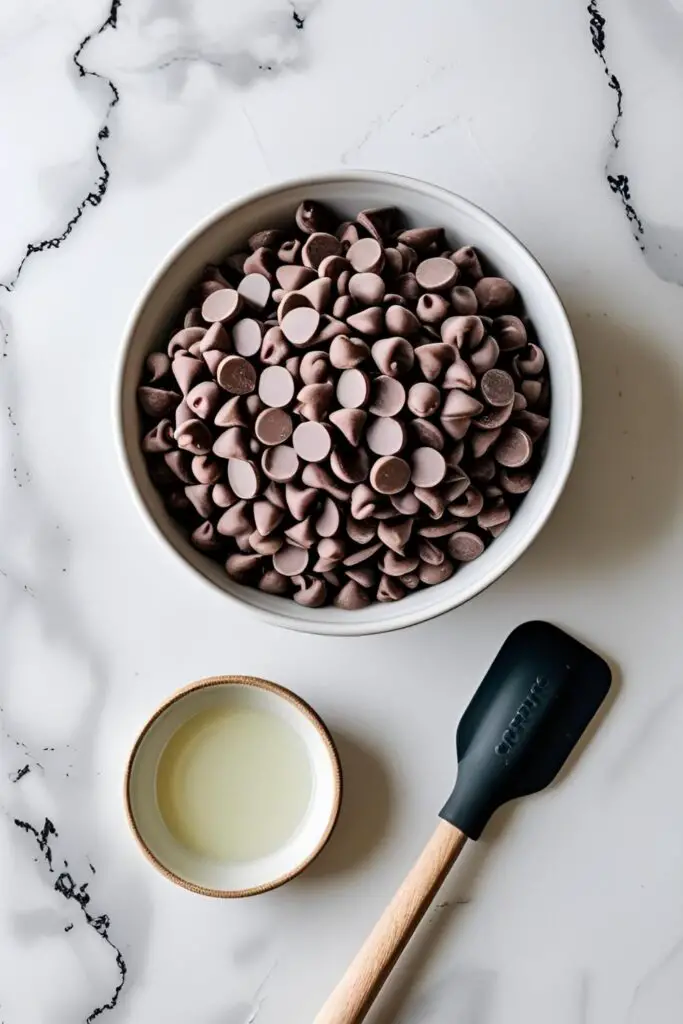
- Chocolate Chips: The star of the show. Semi-sweet, dark, milk, or white chocolate chips will all work, but they behave slightly differently (more on that later).
- Optional but Recommended: A little fat. About 1 teaspoon of coconut oil, vegetable shortening (like Crisco), or paramount crystals per cup of chocolate chips. This is your insurance policy for a silky-smooth, dippable consistency.
The Meltdown Toolkit: Gadgets & Gear
You have two main paths on this journey. Choose your equipment accordingly.
For the Microwave Method (The “I Need This Done Yesterday” Approach):
- A Microwave-Safe Bowl: Glass or ceramic is best. Avoid plastic if you can, as it can retain heat and scorch your chocolate.
- A Silicone Spatula: For stirring. Make sure it is bone dry.
For the Double Boiler Method (The “Chocolatier Spa Day” Approach):
- A Small Saucepan: To hold the simmering water.
- A Heatproof Bowl: Glass or metal works perfectly. The key is that it must fit on top of your saucepan without the bottom of the bowl touching the water.
- A Silicone Spatula: Again, make sure it is completely, utterly, devastatingly dry.
Step-by-Step: The Two Paths to Molten Chocolate Glory
Whether you’re in a hurry or you want to be extra careful, there’s a method for you.
H3: Method 1: The Microwave (Fast, Furious, and a Little Dangerous)
The microwave is a powerful tool, like a magical box that heats things with invisible rays. It also has the subtlety of a sledgehammer, so we must proceed with caution.
- Place and Prep: Pour your chocolate chips into a completely dry, microwave-safe bowl. If you’re using oil or shortening, add it now.
- The First Zap: Microwave on 50% power for 30 seconds. Do not, I repeat, do not just hit “start” and walk away. We are finessing the chocolate, not punishing it.
- Stir. Seriously. Stir: Take the bowl out and stir the chocolate chips with a dry spatula. They won’t look melted yet. They’ll look at you like you’re crazy. Stir anyway. This distributes the heat.
- Repeat the Cycle: Put the bowl back in the microwave for another 15-20 seconds at 50% power. Take it out and stir again.
- Keep Going Until It’s Almost Melted: Continue this cycle of short bursts and stirring. The key is to stop heating when the chips are about 90% melted and there are still a few lumps.
- The Final Stir: Take the bowl out and just keep stirring. The residual heat in the bowl and the already-melted chocolate will gently melt the remaining lumps, leaving you with a perfectly smooth, glossy finish. You did it, you magnificent beast.
H3: Method 2: The Double Boiler (Slow, Gentle, and Foolproof)
This method is for when you want to treat your chocolate like the delicate flower it is. It uses gentle, indirect steam to ensure a perfect, even melt with almost zero risk of scorching.
- Set Up Your Spa: Fill your saucepan with about an inch or two of water. Bring it to a gentle simmer over low-medium heat. Do not let it boil aggressively.
- Place the Bowl: Put your heatproof bowl with the chocolate chips (and optional oil) on top of the saucepan. Ensure the bottom of the bowl is not touching the simmering water. We are steaming, not boiling.
- Stir and Relax: Let the steam from the water gently heat the bowl. Stir the chocolate occasionally with your dry spatula as it begins to melt from the bottom up.
- Patience is a Virtue: Continue stirring until the chocolate is completely smooth and melted. Because the heat is so gentle, there’s very little risk of overheating.
- Remove from Heat: Once it’s perfectly smooth, carefully remove the bowl from the saucepan. Be very careful not to let any steam or water droplets fall into your precious chocolate. Wipe the bottom of the bowl dry.
Nutritional Info (Because Why Not?)

Let’s pretend we’re concerned about the nutritional profile of a bowl of melted chocolate.
- Serving Size: 2 tablespoons of melted chocolate
- Estimated Calories: Around 150-170 kcal, depending on the type of chocolate.
- Primary Nutrients: Happiness, dopamine, and the will to carry on.
- Note: If you’re melting chocolate, you’re probably about to create something amazing. The calories are just part of the magic.
Common Mistakes to Avoid (The Chocolate Hall of Shame)
Chocolate is temperamental. It has feelings. Here’s how to avoid hurting them.
- The Arch-Nemesis: Water. If even a single drop of water gets into your melting chocolate, it will “seize.” The liquid sugar in the chocolate will cling to the water, causing the cocoa solids to separate and form a thick, grainy, unusable paste. Keep everything BONE DRY.
- The Hot Seat: Overheating. Blasting your chocolate with high heat, especially in the microwave, will scorch it. It will become thick, dull, and smell vaguely burnt. Always use low power and short intervals.
- Forgetting to Stir. This is the cousin of overheating. If you don’t stir, hot spots will form in the bowl, burning parts of your chocolate while other parts remain solid. Stirring is not a suggestion; it is a command.
- Using Old or Cheap Chocolate Chips. Some brands of chocolate chips contain stabilizers to help them keep their shape during baking. These stabilizers can sometimes prevent them from melting into a perfectly smooth liquid. For dipping, using chocolate wafers (callets) or a good quality chocolate bar is often better.
- The Steam Attack. When using the double boiler method, be extremely careful when you remove the bowl. Don’t let the condensation from the bottom of the bowl drip back into the pan and then splash into your chocolate.
Variations & Customizations (Pimp Your Melted Chocolate)
Now that you have this glorious molten liquid, what will you do with it?
- The Perfect Dip: This basic method is perfect for dipping strawberries, pretzels, marshmallows, or biscotti. Adding that teaspoon of coconut oil will give it a beautiful shine and a slightly thinner consistency that’s ideal for coating.
- Two-Ingredient Ganache: While the chocolate is still warm, stir in an equal amount of warm heavy cream. Keep stirring until it’s smooth and glossy. You’ve just made ganache, perfect for dripping over a cake or whipping into frosting once cooled.
- Spicy-Sweet Drizzle: Stir a pinch of cayenne pepper, a dash of cinnamon, or even a little chili powder into your melted dark chocolate. Drizzle this over ice cream, brownies, or even roasted nuts for a fantastic kick.
Frequently Asked Questions (Your Chocolate Support Group)
What is the absolute best way to melt chocolate chips?

The double boiler method is the most foolproof and gentle, giving you the best results with the least risk. The microwave method is fastest, but requires more attention to avoid scorching.
Help! My chocolate got thick and lumpy! What happened?
It seized. You are the victim of a water droplet or extreme overheating. A tiny bit of rogue liquid is the usual culprit.
Can you fix seized chocolate?
Sometimes, but it won’t be the same. You can’t use it for dipping anymore. However, you can often rescue it by vigorously stirring in 1 tablespoon of boiling water or very hot cream at a time until it becomes smooth again. It will now be more like a chocolate sauce or ganache.
What can I add to chocolate chips to make them thinner for dipping?
A small amount of neutral-flavored oil or shortening is your best bet. Add 1 teaspoon of melted coconut oil, vegetable shortening, or paramount crystals per cup of chips. Stir it in after the chocolate is melted.
Can I melt chocolate chips without a microwave or double boiler?
Yes! Just place your chocolate in a heatproof bowl. Set that bowl over a saucepan of hot (not boiling) water, making sure the water doesn’t get in. It’s a DIY double boiler!
Do white chocolate chips melt the same way?
Yes, but be even more careful. White chocolate has a lower melting point and is much more prone to scorching than dark or milk chocolate. Use very short 15-second intervals in the microwave or very low heat on the double boiler.
How do I store leftover melted chocolate?
Don’t throw it out! Pour the leftover chocolate onto a piece of parchment paper, spread it thin, and let it harden. Once it’s solid, you can break it into pieces and store it in an airtight container to be re-melted later.
Final Thoughts
You did it. You faced the finicky, temperamental beast that is melting chocolate, and you emerged victorious. You are now armed with a skill that will elevate your baking and dessert-making forever. No lumpy, seized bowl can defeat you now.

Go forth and dip things. Drizzle with abandon. Create something magnificent. You’ve earned it. And the next time someone asks if melting chocolate is hard, you can just smile and say, “Not if you know the secrets.”