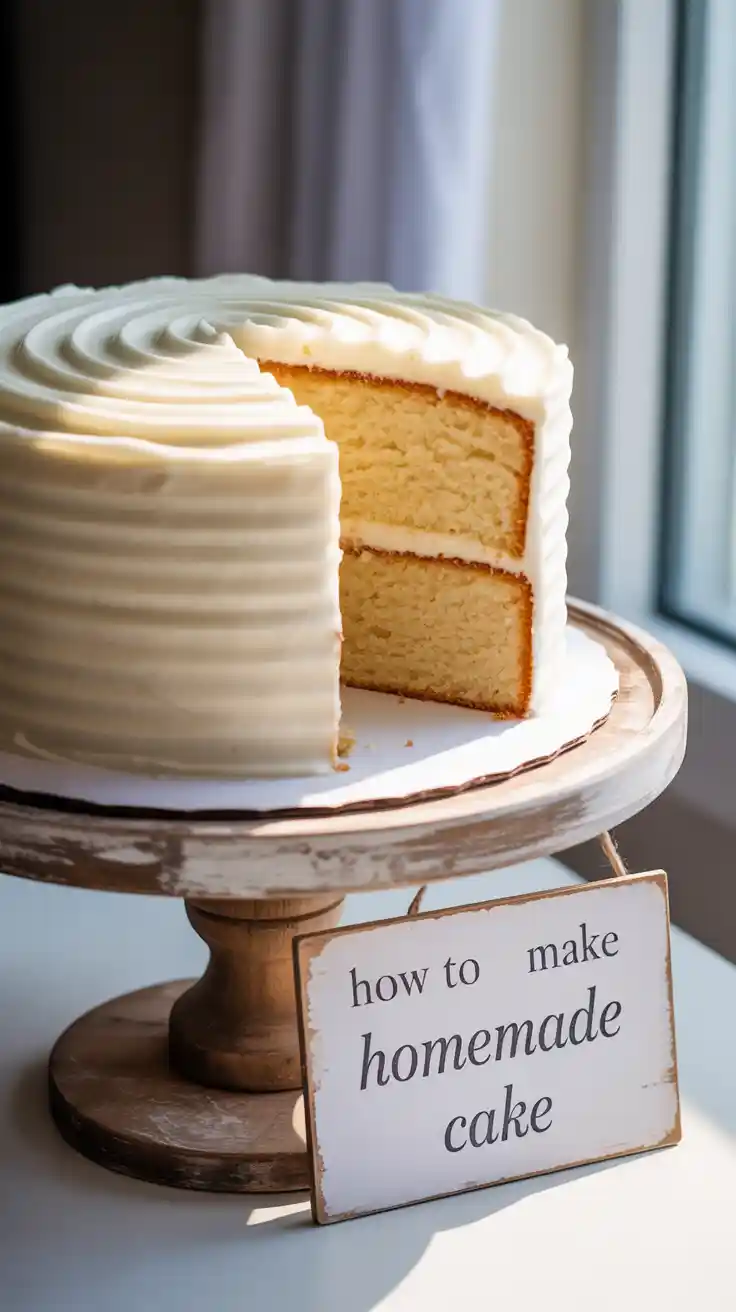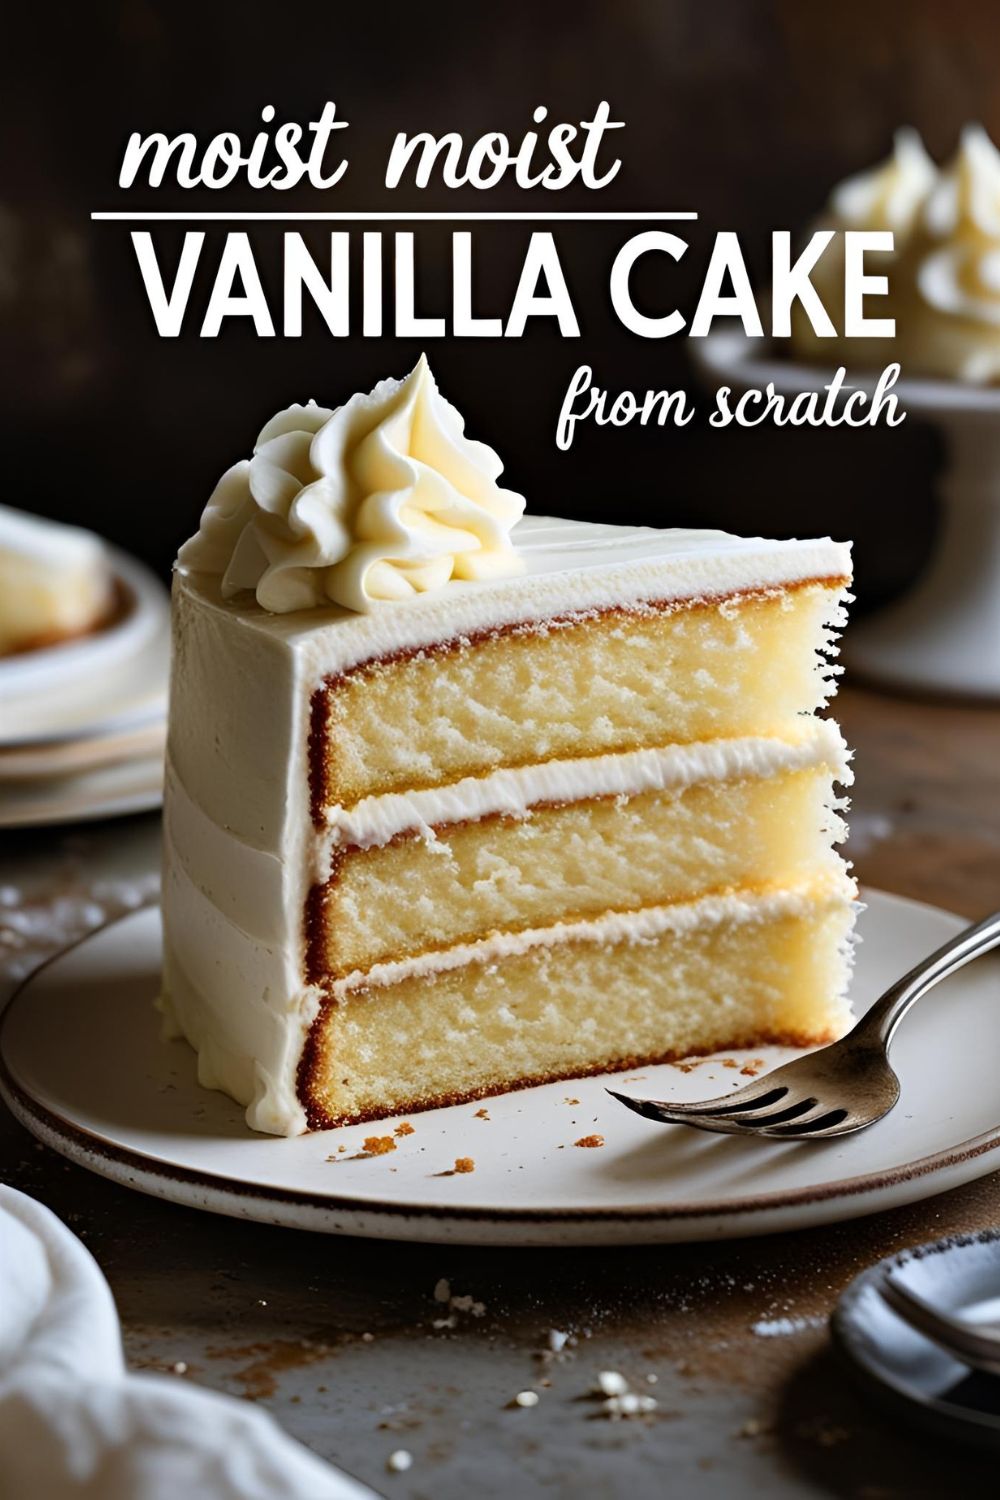
How to Bake a Ridiculously Moist Vanilla Cake From Scratch
The Ultimate Guide to Baking a Ridiculously Moist Vanilla Cake
Let’s have a frank discussion about vanilla cake. It has been maligned, slandered, and dismissed as “boring.” It’s the flavor people pick when they don’t know what they want, the safe option, the beige of the dessert world. I am here today to tell you that this is a grave injustice. A truly great vanilla cake isn’t boring; it’s a masterpiece of subtle, intoxicating flavor and cloud-like texture.
This isn’t just a basic tutorial on how to bake vanilla cake. This is a vanilla cake intervention. We are about to create a cake so profoundly moist, so fluffy, and so fragrant that it will completely recalibrate your definition of what vanilla can be. Prepare to become a vanilla evangelist. I hope you’re ready for the responsibility.
Why This Recipe is Your New Ride-or-Die
So, in a world saturated with cake recipes, why this one? What makes this vanilla cake the one to end your search?
First, let’s talk texture. This cake is phenomenally, unbelievably moist. We’re using a dream team of butter for flavor and oil for a moisture that lasts for days. No more dry, crumbly cake that requires a glass of milk to choke down. This is a plush, tender, melt-in-your-mouth experience from the first bite to the last.
Second, this cake is the “little black dress” of your recipe collection. It’s timeless, elegant, and the perfect blank canvas for any frosting, filling, or festivity you can imagine. It’s the hero of every birthday party, the star of a simple Tuesday, and the foundation upon which you can build your baking empire. Its perfection lies in its beautiful simplicity.
The A-List: Your Cast of Ingredients
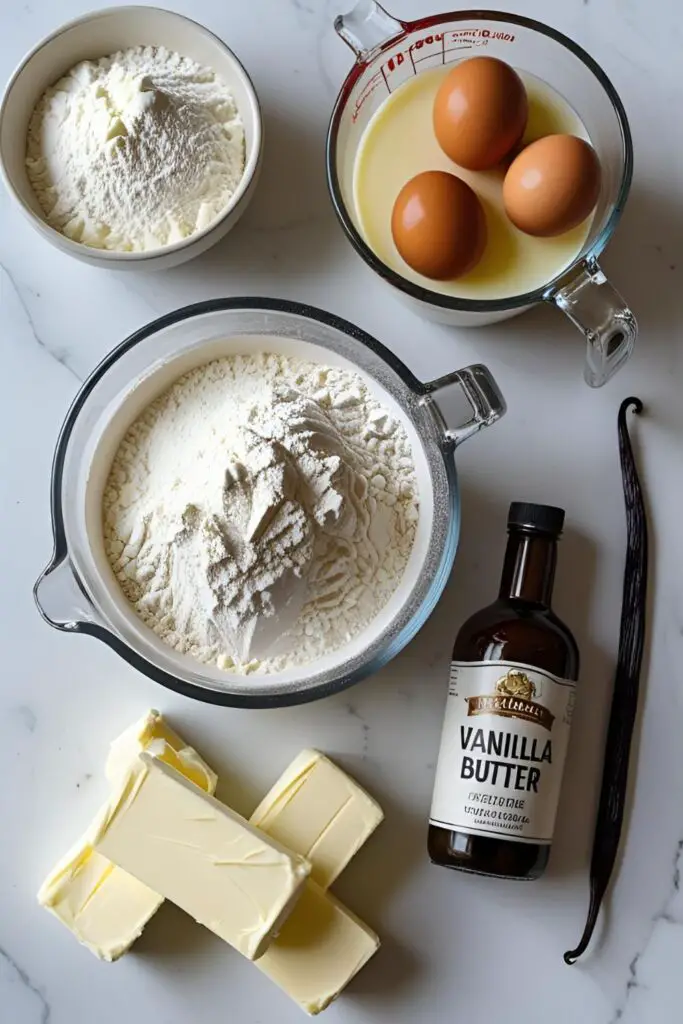
To achieve cake greatness, you need a stellar cast of characters. These are the non-negotiables.
For the “Anything But Boring” Vanilla Cake:
- Cake Flour: 221 cups (300g). Yes, you really should use cake flour. Its lower protein content is the secret to an incredibly tender and delicate crumb.
- Granulated Sugar: 2 cups (400g).
- Baking Powder: 2 teaspoons.
- Salt: 1 teaspoon. It’s not here to make the cake salty; it’s here to make the vanilla and sugar flavors pop.
- Unsalted Butter: 1/2 cup (113g), softened to room temperature.
- Vegetable Oil: 1/2 cup (120ml). Butter provides the flavor, but oil is the secret to long-lasting moisture. Using both is the ultimate power move.
- Eggs: 4 large, at room temperature. And I mean room temperature. Cold eggs don’t play nice with the other ingredients.
- Buttermilk: 1 cup (240ml), at room temperature. The acidity in buttermilk creates a softer, more tender crumb and adds a subtle tang that balances the sweetness.
- Good Quality Vanilla Extract: 1 tablespoon. For the love of all that is holy, do not use imitation vanilla. This is a VANILLA cake. The quality of your vanilla is paramount.
For the “Cloud-Like” Vanilla Buttercream:
- Unsalted Butter: 121 cups (340g), softened.
- Powdered Sugar: 4 cups (480g), sifted.
- Heavy Cream or Milk: 3-4 tablespoons.
- Good Quality Vanilla Extract: 2 teaspoons.
- Pinch of Salt.
Your Baking Arsenal: The Tools for the Job

You don’t need a professional pastry kitchen, but a few key tools will make your journey to vanilla nirvana much smoother.
- Stand Mixer or Electric Hand Mixer: This is for properly creaming your butter and sugar and whipping your frosting into a fluffy cloud. Don’t try this by hand unless you’re looking to cancel your gym membership.
- Two 9-inch Round Cake Pans: The quintessential size for a beautiful, classic layer cake.
- Parchment Paper: This is your insurance policy against a cake sticking to the pan. Use it.
- Sifter or Fine-Mesh Sieve: To get any pesky lumps out of your flour and powdered sugar, ensuring a silky-smooth result.
- Wire Cooling Racks: These are absolutely essential. A cake left to cool in its pan will become dense and gummy on the bottom from trapped steam.
- Offset Spatula: The difference between frosting a cake like a pro and frosting it like a frustrated toddler with a butter knife.
Let’s Do This: Your Step-by-Step Guide to Glory
Ready to become a vanilla virtuoso? Put on your apron and let’s get baking.
Step 1: Prepare Your Station
Preheat your oven to 350°F(175°C). Grease your two 9-inch cake pans thoroughly, line the bottoms with parchment paper, and then grease the parchment paper as well. In a large bowl, sift together the cake flour, sugar, baking powder, and salt. Give it a quick whisk to make sure everything is evenly combined.
Step 2: The Creaming Method (Don’t Skip This!)
In the bowl of your stand mixer fitted with the paddle attachment, beat the softened butter on medium speed for about a minute until it’s smooth and creamy. Add the oil and mix to combine.
In a separate medium bowl, whisk together the room-temperature buttermilk, eggs, and vanilla extract.
Step 3: The Alternating Dance (The Secret to a Tender Crumb)
With the mixer on low speed, add about one-third of the dry ingredients to the butter mixture, followed by half of the wet ingredients. Repeat the process, ending with the final third of the dry ingredients. Mix until just combined. Scrape down the sides and bottom of the bowl to ensure everything is incorporated, but be careful not to overmix!
Step 4: Bake and Cool (The Hardest Part is Waiting)
Pour the batter evenly between your two prepared pans and smooth the tops with your offset spatula. Bake for 30-35 minutes, or until the cakes are lightly golden and a toothpick inserted into the center comes out clean or with a few moist crumbs attached.
Let the cakes cool in their pans on a wire rack for about 15 minutes. Then, carefully run a thin knife around the edges and invert the cakes onto the wire racks to cool completely. I cannot stress this enough: COMPLETELY. Attempting to frost a warm cake is a one-way ticket to a soupy, sliding disaster.
Step 5: The Frosting Finale

While your cakes are cooling, make the buttercream. In a large bowl, beat the softened butter on high speed for 5-7 minutes. This is not a typo. You want to beat it until it’s very pale, light, and fluffy.
Turn the mixer speed to low and gradually add the sifted powdered sugar. Once the sugar is mostly mixed in, add the vanilla, salt, and 3 tablespoons of cream. Increase the speed to medium-high and beat for another 5 minutes until the buttercream is incredibly light and smooth. If it seems too thick, add another tablespoon of cream.
Once your cakes are completely cool, frost and assemble your masterpiece. You’ve earned it.
The Boring-But-Necessary Bit: Nutritional Info

A quick look at the data for your delicious work of art.
- Serving Size: 1 generous slice
- Estimated Calories: ~580 kcal (with frosting)
- Joy Factor: 11/10
- Boring-ness: 0%
- Note: This is a celebration food. No one is eating vanilla cake for its vitamin content. Let’s be real.
The Path to Sad, Dry Cake: Common Mistakes to Avoid
- Using Cold Ingredients: Cold eggs and buttermilk will cause your butter to seize up, resulting in a curdled batter and a dense cake. The Fix: Let your eggs and buttermilk sit on the counter for at least 30 minutes before you begin.
- Measuring Flour Incorrectly: This is the #1 crime in cake baking. Scooping your measuring cup directly into the flour bag compacts it, leading to too much flour and a dry, heavy cake. The Fix: Use the spoon and level method. Spoon the flour into your measuring cup until it’s mounded, then use the back of a knife to level it off.
- Overmixing the Batter: As soon as flour meets liquid, gluten starts to develop. Overmixing leads to a tough, chewy, bread-like cake. The Fix: Mix only until your ingredients are just combined. A gentle hand is key.
- Opening the Oven Door to Peek: Every time you open the oven door, the temperature plummets, which can cause your beautiful, rising cakes to sink tragically in the middle. The Fix: Use your oven light to check on them. Don’t open the door until you’re near the end of the baking time and ready to do the toothpick test.
The “It’s Not Just Vanilla” Menu: Fun Variations
Once you’ve mastered this classic, feel free to use it as a canvas for your creativity.
- Funfetti Fiesta: The easiest and most joyful variation. Gently fold 1 cup of rainbow jimmies (the rod-shaped sprinkles, not the little balls!) into the finished batter before baking. Instant party.
- Lemon Zing: Add the zest of two lemons to the sugar and butter mixture at the beginning. Replace 2 tablespoons of the buttermilk with fresh lemon juice for a bright, zesty cake that’s perfect for a sunny day.
- Almond Amore: Add 1 teaspoon of almond extract along with the vanilla extract. It gives the cake a lovely, slightly cherry-like flavor that pairs beautifully with raspberry filling or a simple chocolate frosting.
Your Burning Questions About Vanilla Cake
Why is my vanilla cake dry?
The most common culprits are mis-measured flour (using too much), over-baking even by a few minutes, or not having enough fat/liquid in the recipe. This recipe is specifically designed to be moist, so if it comes out dry, double-check your measurements and your oven’s true temperature (it might run hot!).
Can I use all-purpose flour instead of cake flour?
You can. To get a similar result, for every 1 cup of all-purpose flour in the recipe, remove 2 tablespoons of that flour and replace it with 2 tablespoons of cornstarch. Sift them together a few times. The cake will be slightly less tender, but still delicious.
What’s the difference between yellow cake and white cake?
Yellow cakes, like this one, use whole eggs, which gives them a yellowish tint from the yolks and a richer flavor. White cakes use only egg whites, resulting in a whiter crumb and a lighter, more delicate flavor.
Can I make this recipe into cupcakes?

Absolutely! This recipe will make about 24 cupcakes. Fill your cupcake liners about two-thirds full and bake for 18-22 minutes, or until a toothpick comes out clean.
How do I store vanilla cake to keep it moist?
Store the cake in an airtight cake carrier at room temperature. It should stay fresh and moist for up to 3-4 days, thanks to the oil in the recipe.
Why use both butter and oil?
It’s the best of both worlds! Butter provides a rich, creamy flavor, while oil provides superior moisture that doesn’t firm up when chilled. This combination gives you a flavorful cake with a soft, moist crumb that lasts.
Why did my cake sink in the middle?
This is usually caused by under-baking or by a sudden change in temperature (like opening the oven door too early). The center of the cake wasn’t set up enough to support its own weight. Always use the toothpick test to ensure it’s cooked through.
Final Thoughts: The Vanilla Vindication
There you have it. You are now armed with a recipe that will not only show you how to bake vanilla cake but will transform you into a true vanilla believer. You are a defender of the classic, a champion of the delicious.
Go forth and bake this cake. Share it with the vanilla skeptics in your life and watch their worlds change. You’ll never look at a sad, dry, store-bought vanilla cake the same way again. Welcome to the vanilla revolution.