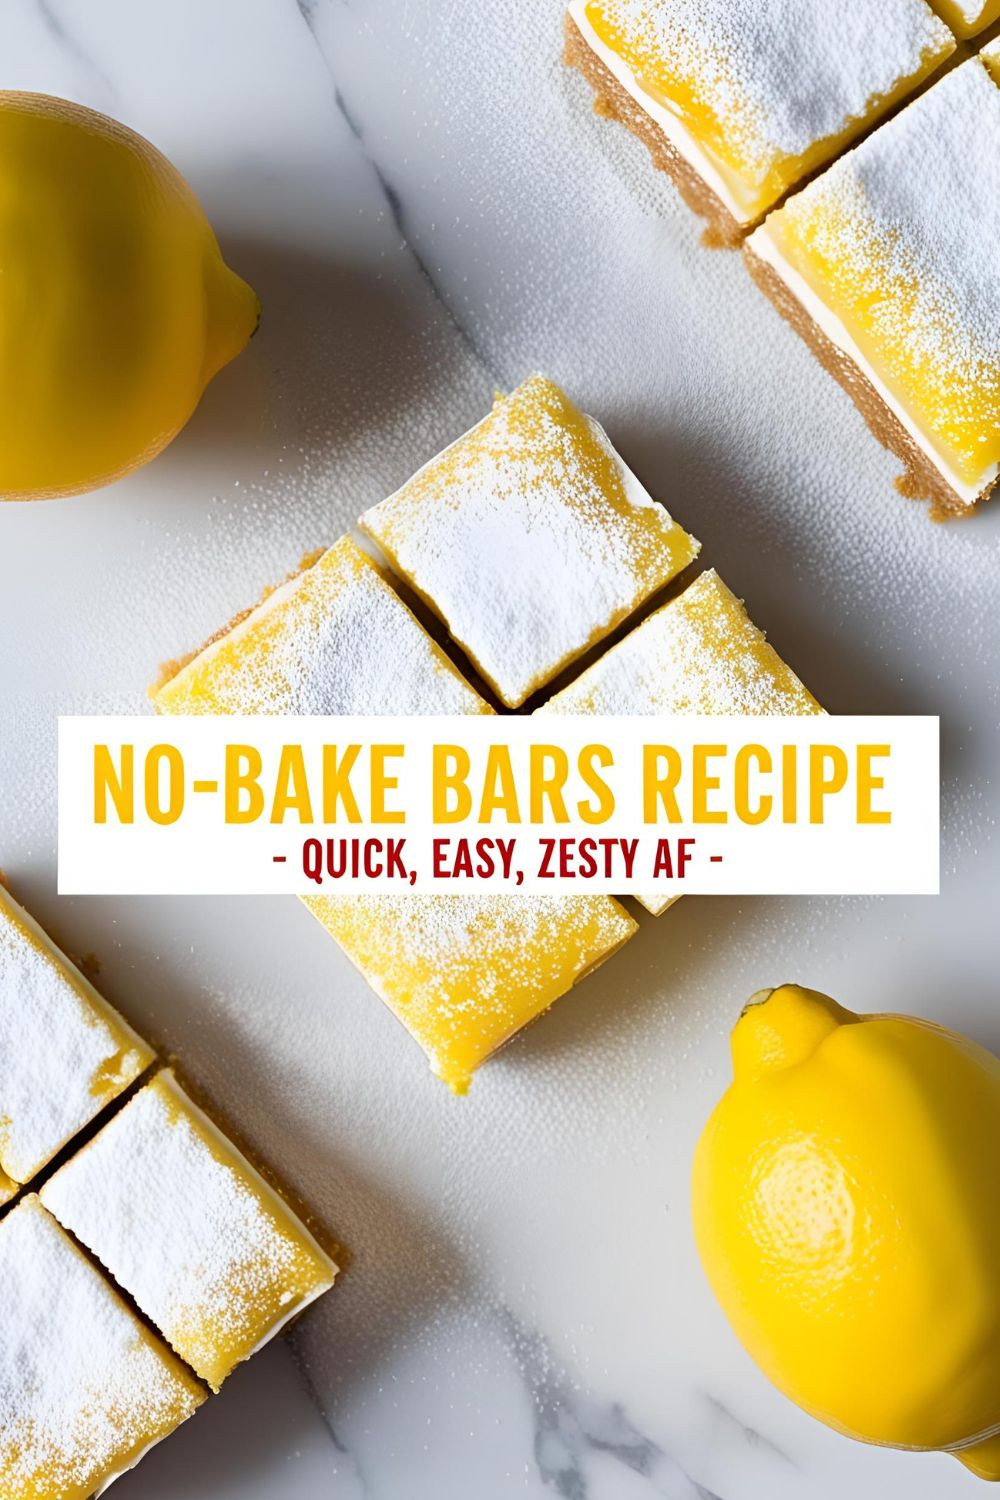
No-Bake Lemon Bars That Taste Like Sunshine in a Bite
You ever crave a dessert so bright and zesty it slaps the sadness right outta your mouth? Yeah, me too. That’s exactly what these no-bake lemon bars are here to do. No oven. No drama. Just pure lemony goodness layered with buttery bliss. They’re the perfect answer to those days when you want a treat but also can’t be bothered to preheat anything. Because honestly, who has time to sweat for sweets?
Why These No-Bake Lemon Bars Are Basically Magic
Alright, here’s the deal: these babies are stupidly easy. Like, mix-and-chill level easy.
They’re:
- Zesty AF with real lemon juice and zest
- Creamy and cool (perfect for spring, summer, or whenever your AC breaks)
- Impressively photogenic – they look like something from a bakery window
- Made with simple ingredients you probably already have
- A no-bake win for lazy bakers (aka all of us)
Bonus: people will think you spent hours on them. Let them think that.
Ingredients You’ll Need
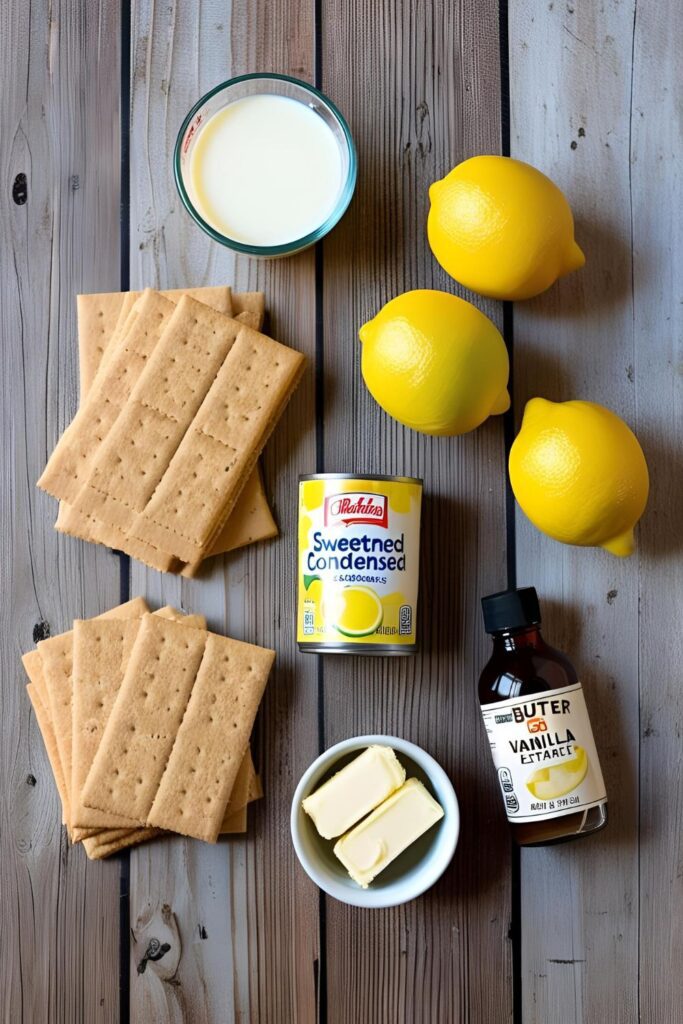
Here comes the fun part. Grab these simple goodies:
For the crust:
- 2 cups graham cracker crumbs (or digestive biscuits, crushed)
- 1/2 cup melted unsalted butter
- 2 tbsp granulated sugar
For the lemon layer:
- 1 can (14 oz) sweetened condensed milk
- 1/2 cup freshly squeezed lemon juice (about 2-3 lemons)
- 1 tbsp lemon zest (zest before you juice, trust me)
- 1/2 tsp vanilla extract
- Pinch of salt

Optional topping:
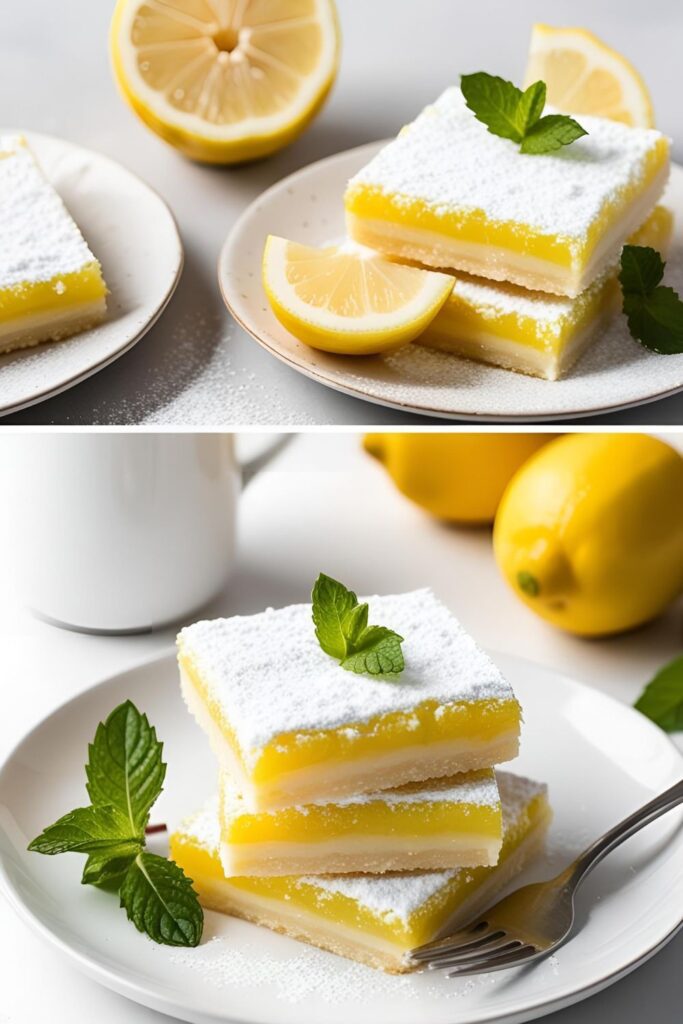
- Powdered sugar for dusting
- Thin lemon slices for
aesthetic
Tools & Gadgets You’ll Want (Affiliate Goldmine!)
Want to make this process a breeze and monetize your blog? Here’s what you’ll use:
- Mixing bowls (at least two sizes)
- Zester or microplane (a MUST for that lemon zing)
- Citrus juicer (handheld or fancy electric – your call)
- 8×8-inch square pan (non-stick or lined with parchment)
- Measuring cups and spoons
- Rubber spatula (to get every last drop)
- Food processor (optional, for crushing graham crackers)
- Offset spatula (makes smoothing that top layer a dream)
- Plastic wrap or foil (for chilling)
Let’s Make Some Lemon Love: Step-by-Step
Step 1: Make the crust. Mix crushed graham crackers, melted butter, and sugar in a bowl. Stir until it feels like wet sand on a tropical beach (dream a little). Press it firmly into your pan. Chill for 10-15 minutes.
Step 2: Mix the lemon layer. Whisk together the condensed milk, lemon juice, zest, vanilla, and salt until smooth and glossy. No lumps, no drama.
Step 3: Layer it up. Pour the lemon mixture over your chilled crust. Smooth the top like a boss with your offset spatula.
Step 4: Chill time. Cover with plastic wrap and let it set in the fridge for at least 3 hours (overnight is even better if you’ve got self-control).
Step 5: Slice and serve. Cut into squares or bars. Dust with powdered sugar if you’re feeling fancy. Add lemon slices for that Pinterest-perfect moment.
Calories & Nutritional Info (per serving, makes 9 big squares)
- Calories: ~280
- Carbs: 32g
- Sugar: 21g
- Fat: 15g
- Protein: 3g
- Gluten-free? Only if you use GF graham crackers!
Don’t Be That Person: Common Mistakes to Avoid
- Using bottled lemon juice: Just… no. It tastes like regret.
- Not chilling long enough: They won’t set. You’ll have lemon soup. Still delicious, just sad.
- Too much zest: Yes, it’s lemon bars, but let’s not make it taste like Pledge.
- Wrong crust ratio: Don’t skimp on butter, or your crust will rebel.
Variations & Custom Vibes
Wanna remix these? I got you:
- Keto-ish Lemon Bars: Swap graham crackers for almond flour and use a sugar-free condensed milk alternative.
- Berry Lemon Bars: Add a layer of fresh raspberries or blueberries between crust and lemon filling.
- Tropical Twist: Add shredded coconut to the crust or mix a splash of pineapple juice with the lemon.
FAQ Section (Straight from Google Minds)
Q1: Can I freeze no-bake lemon bars?
Yes! Wrap them tight and freeze for up to 2 months. Let them thaw in the fridge.
Q2: Can I use evaporated milk instead of sweetened condensed milk?
Nope. It’s not sweet or thick enough. Don’t do it.
Q3: How long do no-bake lemon bars last in the fridge?
About 5 days, but let’s be real—they won’t last that long.
Q4: Can I make these dairy-free?
Try using coconut condensed milk! Still creamy, still dreamy.
Q5: Why didn’t my lemon bars set properly?
Probably didn’t chill long enough. Patience is bitter, but lemon bars are sweet.
Q6: Can I make them gluten-free?
Yep, just sub in gluten-free graham crackers or cookies.
Q7: Do I need to bake the crust first?
No baking allowed here. Just chill it like a pro.
Final Thoughts
There you go. No oven, no problem. These no-bake lemon bars are officially your new sunny-day sidekick. They’re perfect for picnics, potlucks, or pretending you’re fancier than you are. Make ‘em, love ‘em, and maybe don’t share unless absolutely necessary. (JK. Sorta.)

Got a wild variation? Tag me. Let’s make the internet drool together.