No-Bake Pudding Recipe That’ll Make You Ditch the Oven Forever
The Lazy Girl’s (or Guy’s) Dream Dessert: No-Bake Pudding
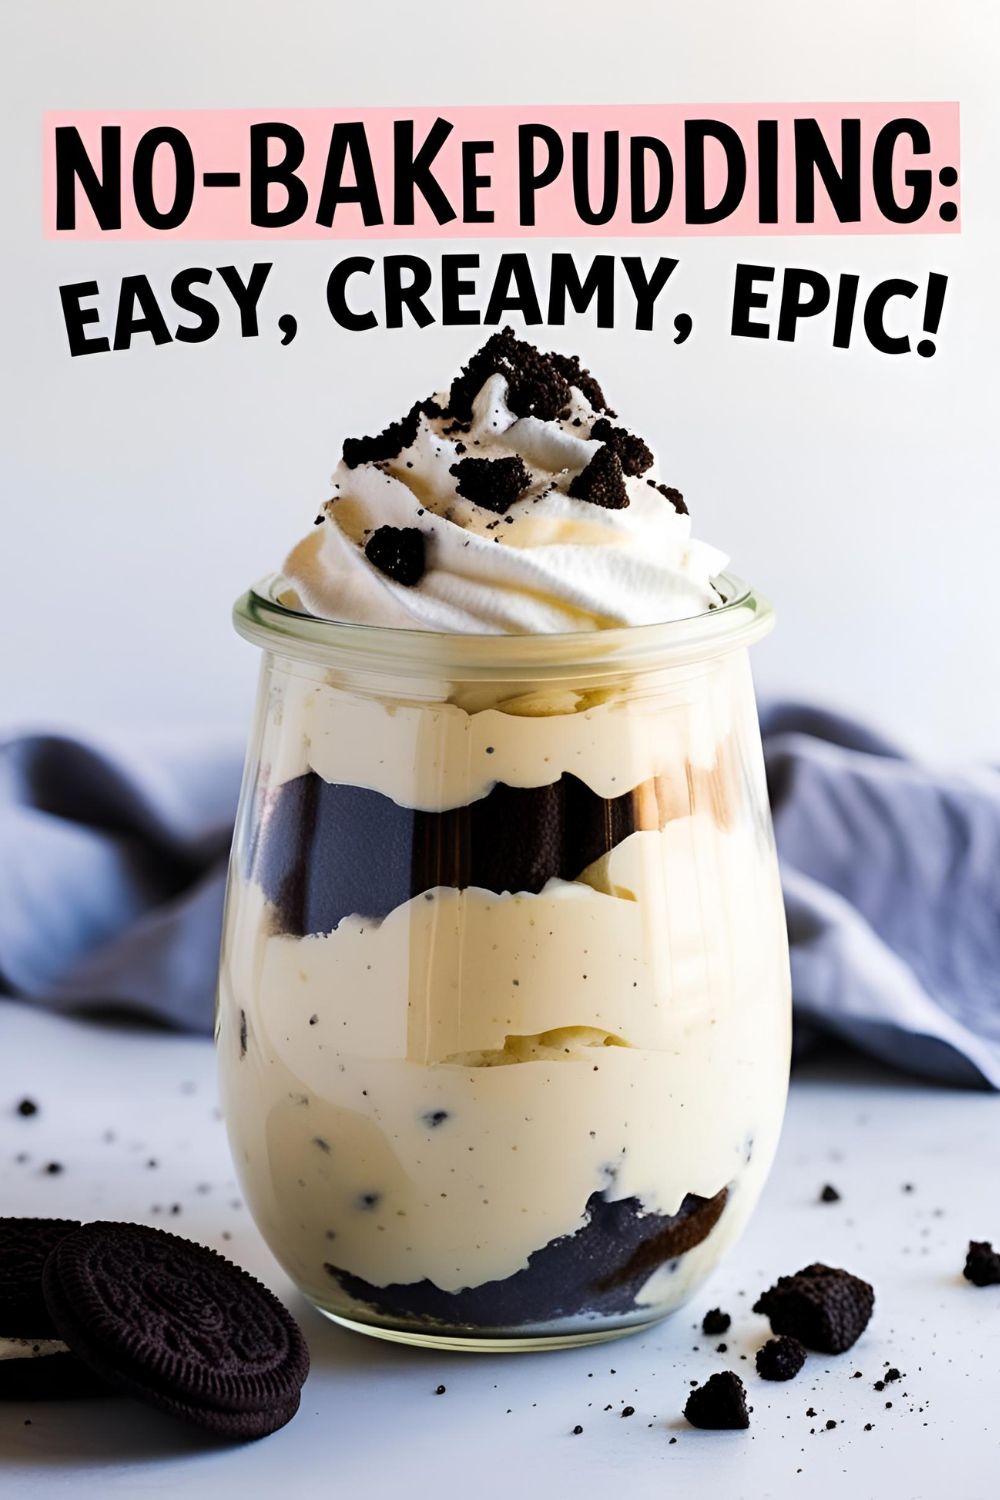
Let’s be real. Some days, the oven feels like a commitment you’re just not emotionally prepared for. You want dessert, but not the kind that makes you sweat or set off the smoke alarm. Enter the no-bake pudding. It’s cool, creamy, and doesn’t ask for much. No fire, no fuss—just sweet satisfaction in a bowl. It’s the culinary equivalent of wearing sweatpants: effortless and still kinda sexy.
Why This Recipe Slaps (Hard)
No-bake pudding isn’t just easy. It’s a dessert power move. Here’s why you’ll be making this on repeat:
- Zero baking. You could literally make this in your sleep (but please don’t).
- Customizable AF — vanilla? chocolate? peanut butter? Whatever mood you’re in.
- Perfect for impressing people without revealing how low-effort it actually is.
- Kid-approved, grandma-approved, hangry-you-approved.
Basically, it’s the type of dessert you whip up when you’re craving something sweet right now but also want people to think you’re a kitchen genius.
Ingredients (a.k.a. the dream team)
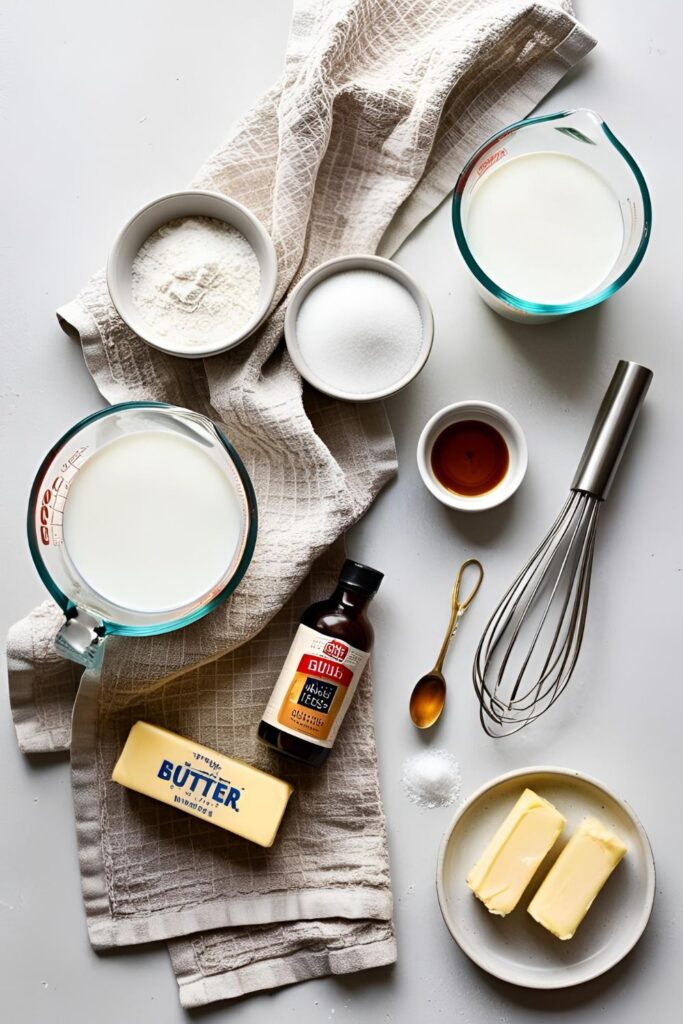
- 2 cups whole milk (or plant-based, if you’re feelin’ fancy)
- 1/2 cup granulated sugar
- 1/3 cup cornstarch
- 1/4 tsp salt
- 2 tbsp unsalted butter
- 1 tsp vanilla extract
- Optional add-ins: cocoa powder (for chocolate vibes), peanut butter, espresso powder, cinnamon, or crushed cookies. Go wild.
Substitutes That Work:
- Almond or oat milk instead of dairy
- Coconut sugar instead of granulated
- Vegan butter if you’re dairy-free
Kitchen Sidekicks You’ll Need (Affiliate Link City!)
Here’s everything you’ll need to nail this no-bake pudding like a pro:
- Medium saucepan
- Whisk (essential unless you love lumps)
- Mixing bowls
- Measuring cups & spoons
- Plastic wrap or silicone covers
- Serving bowls or jars (bonus points if they’re cute for Instagram)
How to Make No-Bake Pudding (Without Crying)
Step 1: Mix the Dry Stuff
In your saucepan, whisk together sugar, cornstarch, and salt. Don’t skip this or you’ll end up with clumpy regret.
Step 2: Add the Milk Slowly
Pour in the milk gradually while whisking. If you just dump it in, chaos will ensue.
Step 3: Heat It Up
Put the pan over medium heat and stir like your life depends on it. Once it starts to thicken (5-10 mins), reduce to low and keep stirring until it’s thicc.
Step 4: Butter Up
Remove from heat, stir in the butter and vanilla extract. This is when it starts to smell like a legit dessert.
Step 5: Chill, Literally

Pour into bowls or jars. Cover with plastic wrap (touching the pudding so it doesn’t get a weird skin), and refrigerate for 2-3 hours. Or until you can’t wait anymore.
Step 6: Garnish Like a Boss
Top with whipped cream, chocolate shavings, crushed cookies, fruit, or a sprinkle of sea salt if you’re feelin’ cheffy.
Nutrition (Because We Pretend to Care)

Per serving (makes 4):
- Calories: ~210
- Fat: 7g
- Sugar: 20g
- Protein: 4g
- Carbs: 32g
It’s pudding. Not a green smoothie. But we’re not here to judge.
Pudding Pitfalls: Common Mistakes to Avoid
- Lumpy pudding? You probably didn’t whisk enough. Whisk like you’re mad at it.
- Too runny? Didn’t cook long enough. Keep it on the stove until it’s thicc with two Cs.
- Skin on top? Didn’t cover it right. Press plastic wrap directly on the pudding.
- Bland flavor? Don’t forget the salt and vanilla. Yes, even desserts need salt.
Variations & Customizations
Bored of basic vanilla? Here are some remix ideas:
- Chocolate Fix: Add 1/4 cup cocoa powder to the dry mix.
- Peanut Butter Dream: Stir in 2 tbsp peanut butter after cooking.
- Espresso Vibes: Add 1 tsp espresso powder to the mix for a coffee kick.
- Berrylicious: Layer with fresh berries for a parfait moment.
- Cookie Crumble: Mix in crushed Oreos or graham crackers.
FAQ Time (Because Google Said So)
1. Can I make no-bake pudding ahead of time? Yep! It actually gets better the longer it chills. Make it a day before and thank yourself later.
2. How long does homemade pudding last? About 4-5 days in the fridge. If it lasts that long without being inhaled.
3. Can I freeze it? Technically yes, but it messes with the texture. Not recommended unless you’re into weird, icy pudding.

4. Can I use almond milk? Absolutely. Just make sure it’s unsweetened and unflavored for best results.
5. Why is my pudding lumpy? Probably rushed the whisking. Next time, whisk like your arm is training for a championship.
6. Is this gluten-free? Yes, as long as your cornstarch is certified gluten-free.
7. Can I double the recipe? Of course! Double the ingredients, same steps. Just use a bigger pot.
Final Thoughts
If you made it this far and haven’t already bolted to the kitchen to make this no-bake pudding, what are you even doing with your life? It’s easy, it’s delicious, and it requires exactly zero oven time. Post your pudding on Insta, tag your foodie friend, and bask in the sweet glory of minimal effort, maximum yum.
You’ll never look at boxed pudding the same way again. Promise.