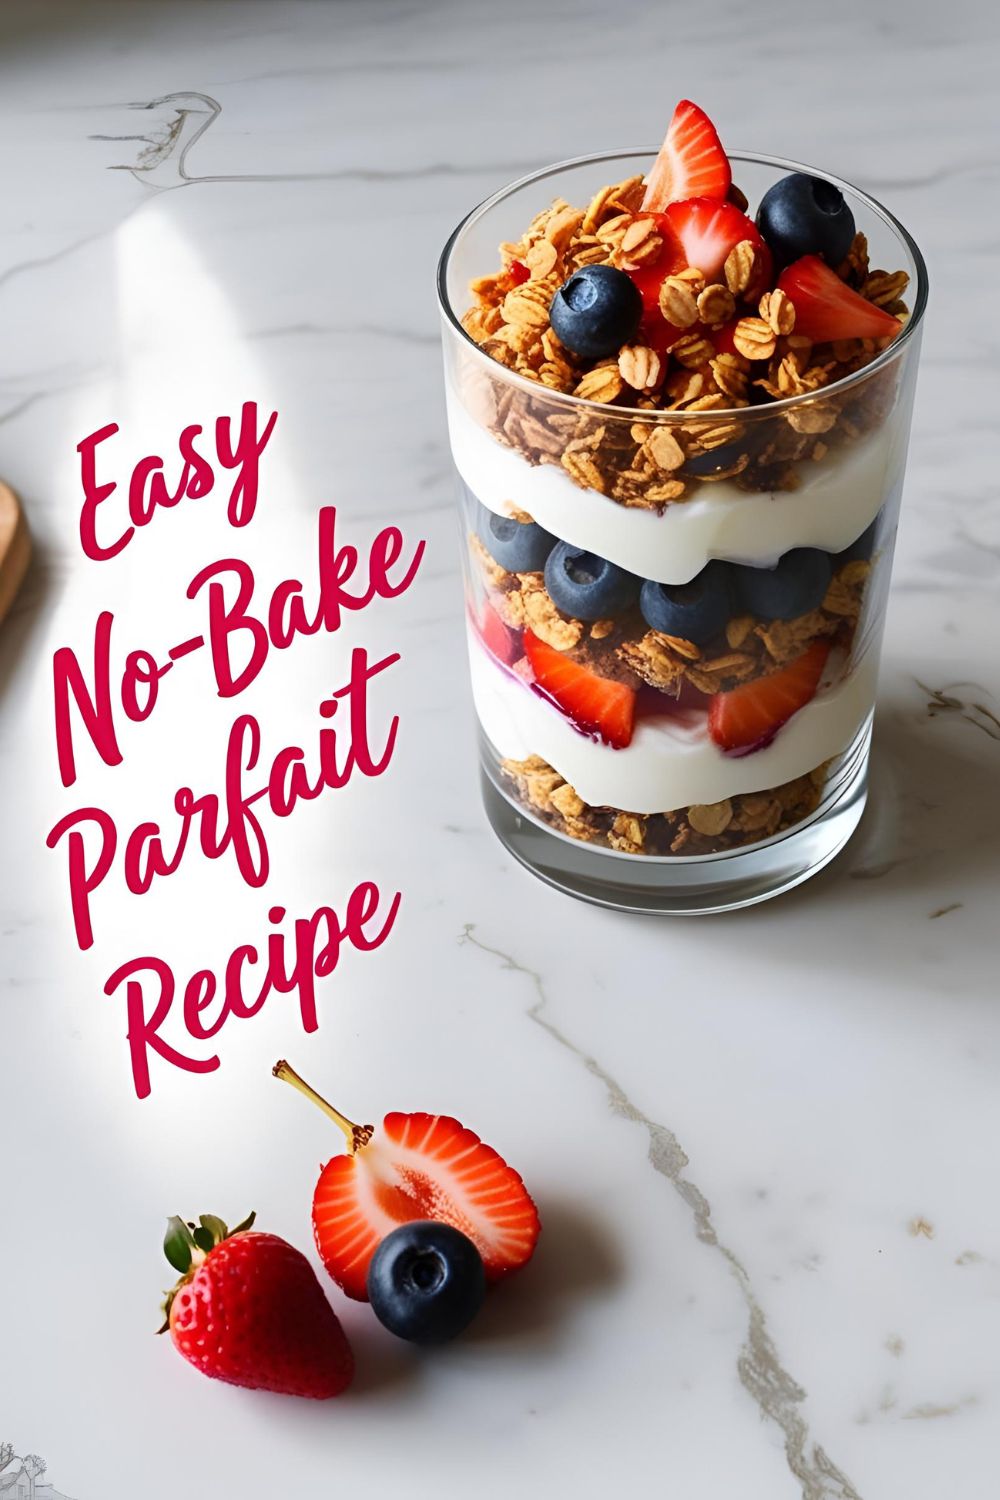
No-Bake Parfait Recipe: The Lazy Dessert That Looks Fancy
When You Want Dessert Without Turning on the Oven
Ever had that moment when your sweet tooth kicks in, but the mere thought of preheating the oven feels like a Herculean task? We’ve all been there. Enter the no-bake parfait recipe—the dessert that says, “I care about indulgence, but not enough to break a sweat.”
This delightful treat layers creamy goodness with crunchy bits and fresh fruit, creating a symphony of textures and flavors. And the best part? No oven required. It’s the culinary equivalent of wearing pajamas to a Zoom meeting—effortless yet impressive.
Why This No-Bake Parfait Recipe Is Your New Best Friend
Let’s break it down:
- Zero baking: Because who needs more heat in their life?
- Quick assembly: Layer, chill, and serve. It’s that simple.
- Customizable: Swap in your favorite fruits, nuts, or even chocolate chips.
- Impressive presentation: Looks like you spent hours crafting it.
- Perfect for any occasion: Breakfast, dessert, or a midnight snack.
In short, this no-bake parfait recipe is the answer to your dessert dilemmas.
Ingredients: The Building Blocks of Deliciousness
For the Creamy Layer:
- 1 cup Greek yogurt (plain or flavored)
- 1/2 cup whipped cream or whipped topping
- 2 tablespoons honey or maple syrup
- 1 teaspoon vanilla extract
For the Crunchy Layer:
- 1 cup granola or crushed cookies
- 2 tablespoons melted butter (optional, for extra richness)
For the Fruity Layer:
- 1 cup mixed berries (strawberries, blueberries, raspberries)
- 1 tablespoon sugar or sweetener (optional, depending on fruit sweetness)
Optional Toppings:
- Chopped nuts
- Chocolate shavings
- Mint leaves
Substitutions:
- Dairy-free? Use coconut yogurt and dairy-free whipped topping.
- Gluten-free? Opt for gluten-free granola or cookies.
- Watching sugar? Choose unsweetened yogurt and skip the added sweeteners.
Tools & Kitchen Gadgets: Your Parfait Arsenal
To craft this masterpiece, you’ll need:
- Mixing bowls
- Whisk or electric mixer
- Parfait glasses or mason jars
- Measuring cups and spoons
- Spatula
- Knife and cutting board
Optional but helpful:
- Piping bag (for neat layers)
- Food processor (if making your own cookie crumbs)
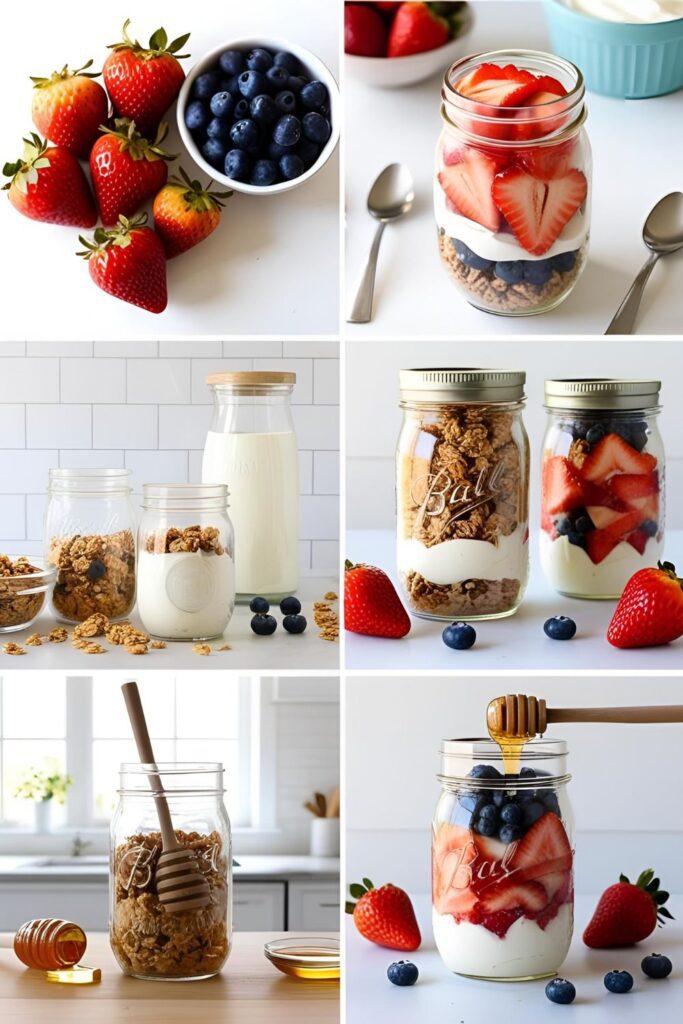
Step-by-Step Instructions: Assemble Like a Pro
- Prepare the Creamy Layer: In a mixing bowl, combine Greek yogurt, whipped cream, honey, and vanilla extract. Whisk until smooth and fluffy.
- Prepare the Crunchy Layer: If using granola, set aside. If using crushed cookies, mix them with melted butter for a richer texture.
- Prepare the Fruity Layer: Chop your chosen fruits and, if desired, mix with a bit of sugar to enhance sweetness.
- Assemble the Parfaits:
- Spoon a layer of the creamy mixture into the bottom of each glass.
- Add a layer of the crunchy mixture.
- Top with a layer of fruit.
- Repeat the layers until the glass is filled, ending with a fruit layer.
- Chill: Refrigerate for at least 30 minutes to let the flavors meld.
- Garnish and Serve: Before serving, add optional toppings like nuts, chocolate shavings, or mint leaves.
Calories & Nutritional Info: Because Knowledge Is Power
Per serving (based on 4 servings):
- Calories: ~250
- Protein: 8g
- Carbohydrates: 30g
- Fat: 10g
- Fiber: 3g
- Sugar: 15g
Note: Nutritional values may vary based on specific ingredients used.
Common Mistakes to Avoid: Learn from Others’ Missteps
- Overcomplicating the layers: Keep it simple. Too many layers can muddle the flavors.
- Not chilling long enough: Patience pays off. Chilling enhances the texture and taste.
- Using overly ripe fruit: While ripe fruit is sweet, overly ripe fruit can become mushy.
- Skipping the garnish: A little garnish goes a long way in presentation and flavor.
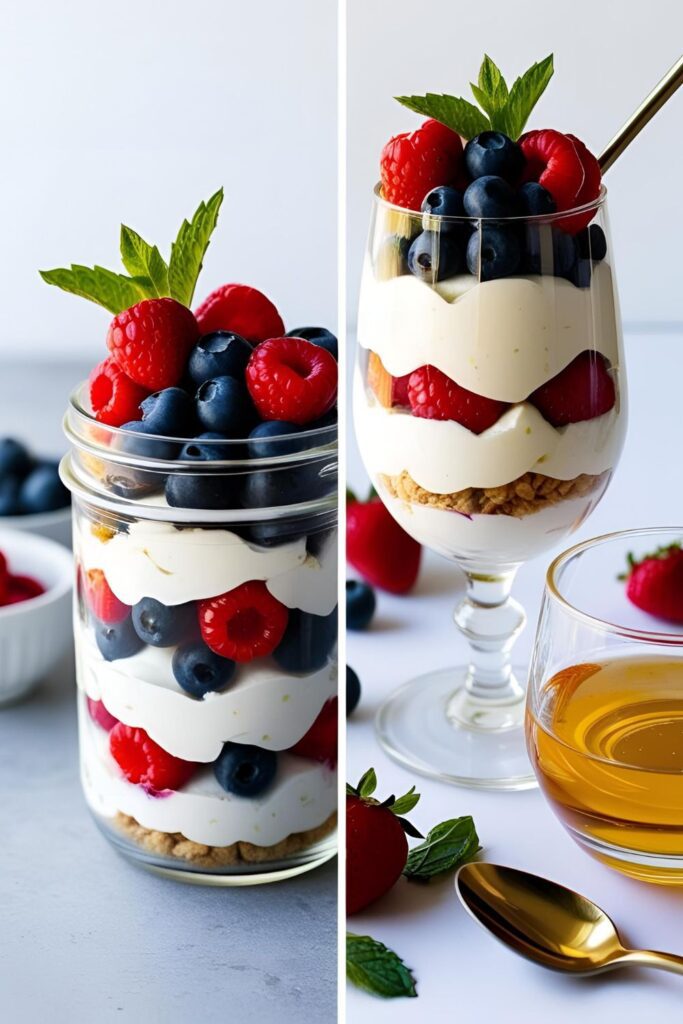
Variations & Customizations: Make It Your Own
- Tropical Twist: Use coconut yogurt, pineapple chunks, and toasted coconut flakes.
- Chocolate Delight: Add cocoa powder to the creamy layer and use chocolate chips in the crunchy layer.
- Nutty Banana: Layer with sliced bananas and chopped nuts for a protein-packed treat.
FAQ Section: Your Burning Questions Answered
Q1: Can I make no-bake parfaits ahead of time?
Absolutely! Prepare them a day in advance and store in the fridge. Just add crunchy toppings before serving to maintain texture.
Q2: How long do no-bake parfaits last in the fridge?
They’re best enjoyed within 2 days. After that, the layers might start to lose their distinct textures.
Q3: Can I freeze no-bake parfaits?
Freezing isn’t recommended as it can alter the texture of the creamy and fruity layers.
Q4: What fruits work best in parfaits?
Berries are classic, but feel free to experiment with mangoes, peaches, or even pomegranate seeds.
Q5: Can I use flavored yogurt?
Yes! Flavored yogurt can add an extra dimension to your parfait. Just adjust the added sweeteners accordingly.

Q6: Is there a vegan version of this parfait?
Certainly! Use plant-based yogurt and whipped topping, and ensure your granola or cookies are vegan-friendly.
Q7: Can I add protein powder to the creamy layer?
Yes, adding a scoop of your favorite protein powder can make this a post-workout treat.
Final Thoughts: Embrace the No-Bake Life
There you have it—a no-bake parfait recipe that’s as easy as it is delicious. Whether you’re impressing guests or treating yourself, this dessert delivers on all fronts. So, next time your sweet tooth calls, remember: no oven, no problem.