No-Bake Bars Recipe: The Lazy Genius Snack You Never Knew You Needed
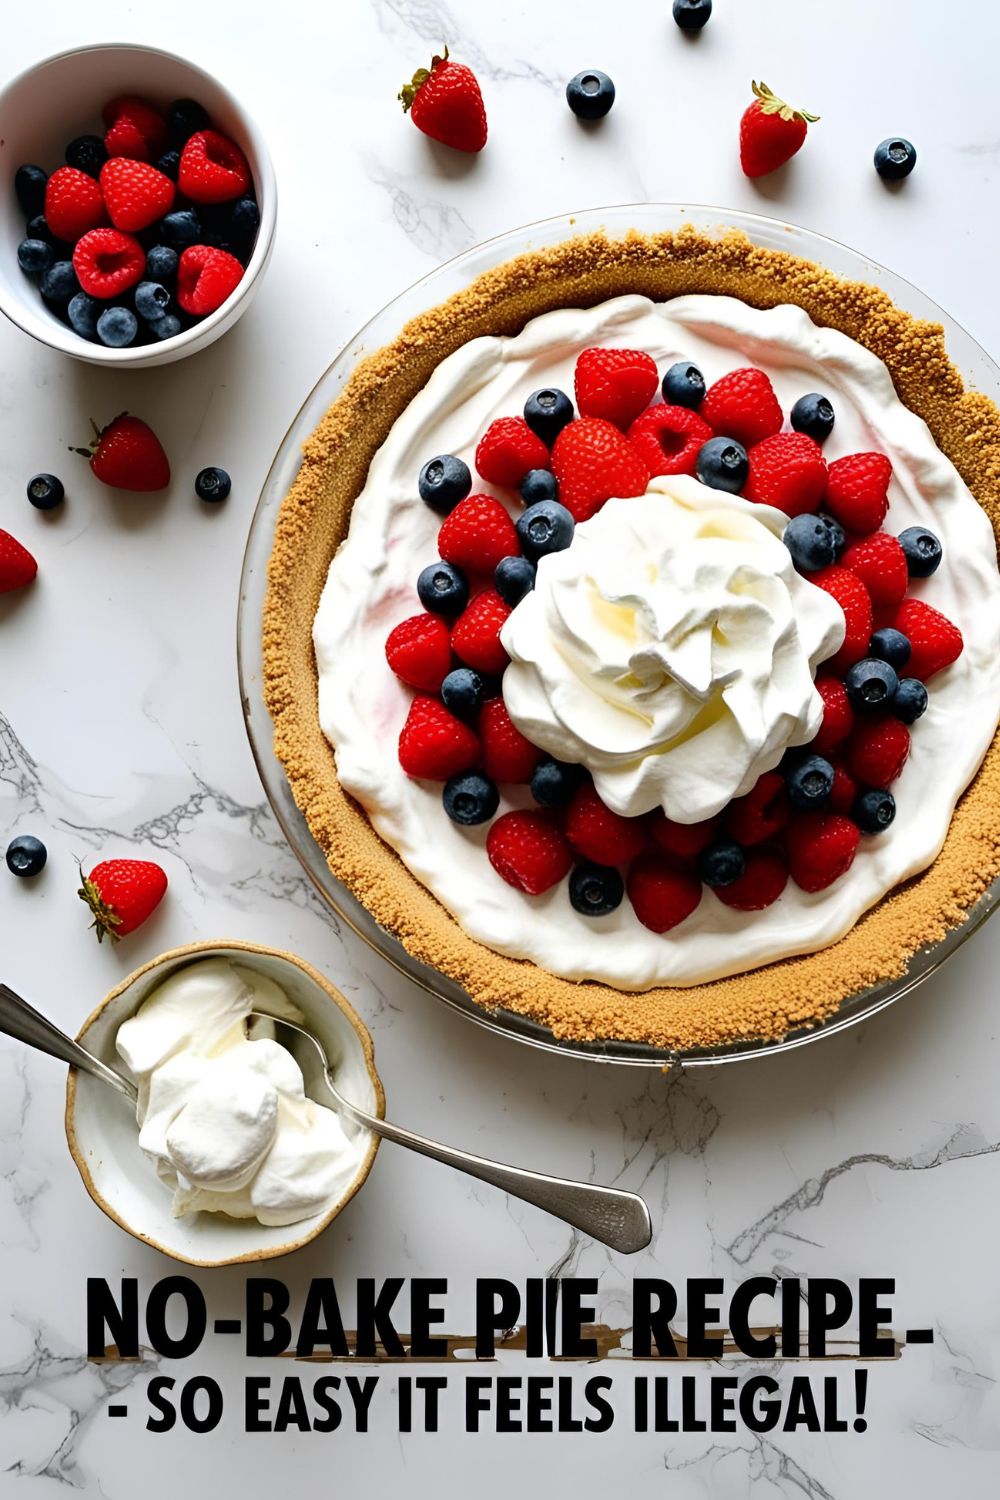
Meet Your New Obsession: No-Bake Bars
You ever stare into your pantry like it’s gonna start baking for you? Same. That eternal struggle of wanting something sweet, chewy, and Instagram-worthy without firing up the oven is real. Enter: No-Bake Bars — the lazy genius snack that tastes like a bakery masterpiece but requires zero actual baking.
Yup, we’re talking about a recipe that practically makes itself while you binge-watch your favorite show. If you’ve got 10 minutes, a microwave, and a sweet tooth, you’re halfway there.
Why These No-Bake Bars Deserve a Spot in Your Life
Let’s be real — most snacks either taste like cardboard or require 17 steps and a pastry degree. These no-bake bars? They’re chewy, chocolatey, peanut-buttery, and slightly addictive in the best way. Perfect for:
- Midnight munching
- Last-minute guests you kinda want to impress
- Sneaking into movie theaters (we won’t tell)
They’re also:
- Ridiculously easy to make
- Customizable to your flavor whims
- No-oven-required (because who even likes preheating?)
Ingredients You’ll Need
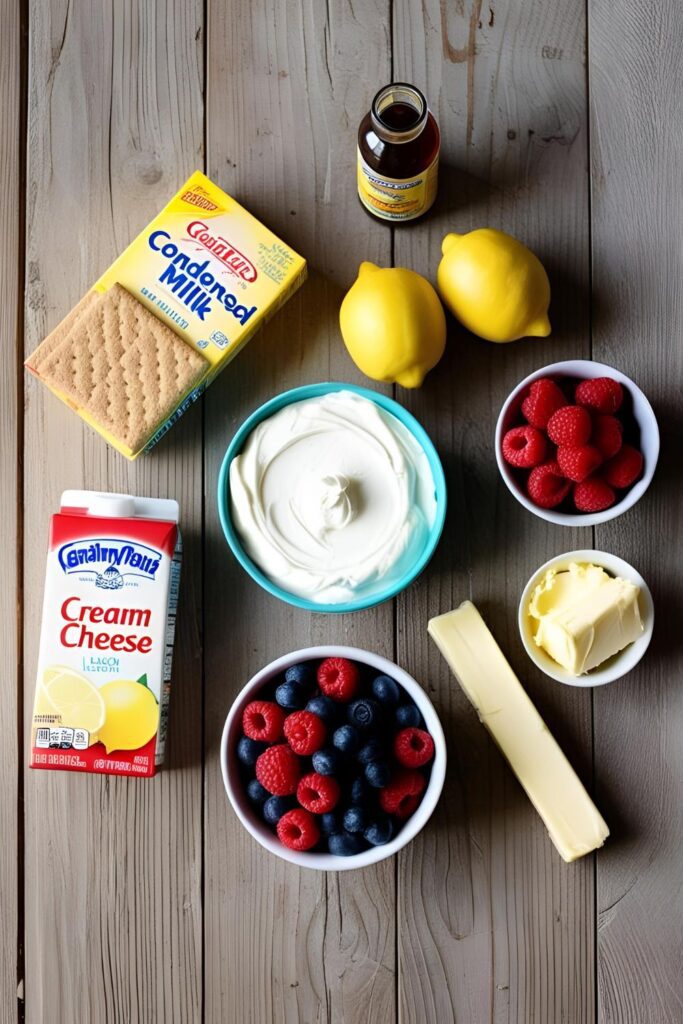
Here’s the best part — you probably already have these in your kitchen.
- 2 cups rolled oats
- 1 cup creamy peanut butter (or almond butter if you’re fancy)
- 1/2 cup honey (or maple syrup if you’re going vegan)
- 1/2 cup mini chocolate chips (because duh)
- 1/4 cup crushed nuts (optional but crunchy)
- 1 tsp vanilla extract
- Pinch of salt
Swaps & Subs:
- Gluten-free oats if you need ’em
- Swap peanut butter for sunflower butter for nut-free snacking
- Add dried cranberries, shredded coconut, or pretzel bits if you’re feeling wild
Tools & Kitchen Gadgets Used
Drop these in your Amazon cart — or go dig through your kitchen.
- Mixing bowl (large enough for some good stirring)
- Microwave-safe bowl (or a small saucepan if you’re old school)
- Rubber spatula (scrape like a pro)
- 8×8 baking pan (lined with parchment paper for easy lifting)
- Measuring cups & spoons
- Fridge (technically not a gadget, but essential)
Step-by-Step Instructions (a.k.a. the magic trick)
- Melt it down: In a microwave-safe bowl, heat the peanut butter and honey in 30-second bursts until melty and smooth. Stir in vanilla extract and a pinch of salt.
- Mix it up: In a large bowl, toss in the oats, chocolate chips, and crushed nuts. Pour the melty peanut-honey goodness over the dry stuff.
- Stir like you mean it: Combine everything until it looks like something you’d sneak out of a cookie jar.
- Press it in: Dump the mix into your lined baking pan. Use a spatula (or your clean hands) to press it down evenly.
- Chill out: Pop the pan in the fridge for about 2 hours, or until firm. You can also freeze it if you’re impatient (we see you).
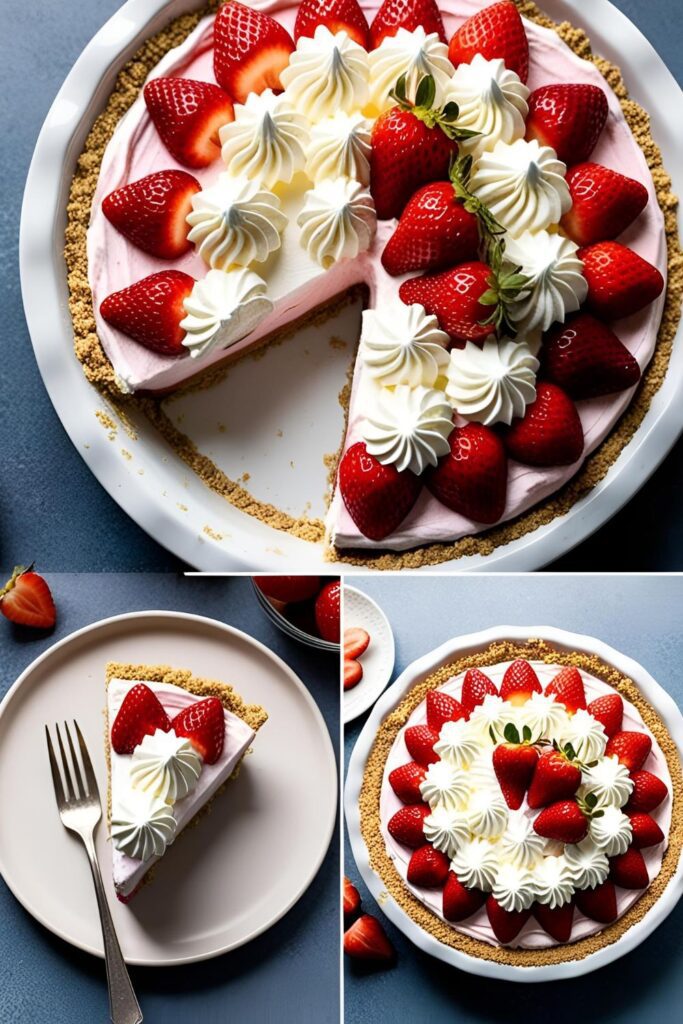
- Slice & devour: Cut into bars, squares, or just grab a spoon and go rogue.
Calories & Nutritional Info (per bar, assuming you cut 12)
- Calories: ~210
- Protein: ~6g
- Sugar: ~12g
- Carbs: ~22g
- Fat: ~10g
- Fiber: ~2g
Common Mistakes to Avoid (Don’t be that person)
- Using quick oats: Stick with rolled oats unless you like mushy bars. Trust us.
- Overheating the honey/peanut butter: You’re making bars, not lava.
- Forgetting parchment paper: Unless you enjoy chiseling bars out of the pan.
- Adding chocolate chips too early: They’ll melt into oblivion. Let the PB mixture cool a bit first.
Variations & Customizations
Because sometimes basic just isn’t enough:
1. Keto-ish Twist
- Use sugar-free syrup and almond butter, and swap oats for shredded coconut and crushed nuts.
2. Spicy Surprise
- Add a dash of cayenne or cinnamon for a sweet-n-spicy kick.
3. Dessert for Breakfast?
- Toss in dried fruits, protein powder, and call it a breakfast bar. Adulting = mastered.
FAQ: No-Bake Bars Edition
1. Can I make these without peanut butter? Yes! Use almond butter, cashew butter, or sunflower butter.
2. Are no-bake bars freezer-friendly? Absolutely. Just wrap them individually for a grab-and-go snack.
3. Can I add protein powder? Totally. Sub 1/4 cup of oats with your fave protein powder.
4. How long do they last? About a week in the fridge, or up to 3 months in the freezer.
5. Are they gluten-free? Use certified gluten-free oats and you’re good to go.
6. Can I make these vegan? Yes! Swap honey with maple syrup and use dairy-free chocolate chips.
7. Why are my bars crumbly? Probably too dry. Add a splash more honey or nut butter to bind it all together.
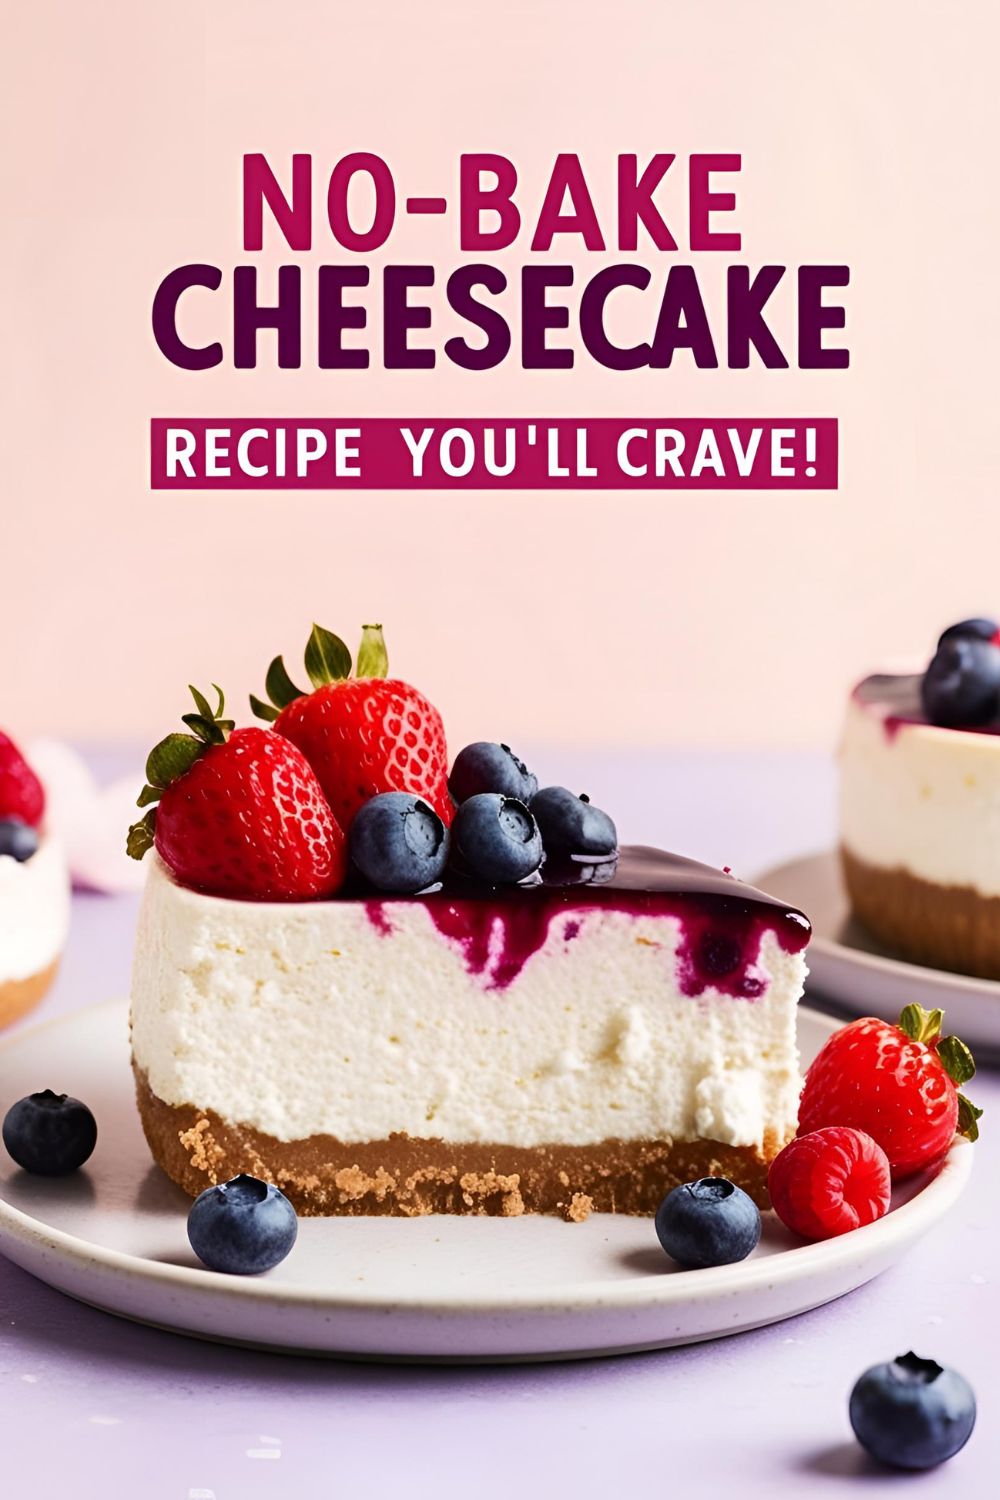
Final Thoughts
So, will you ever buy those overpriced store-bought granola bars again? Highly unlikely. These no-bake bars are your new lazy day heroes, your sweet-tooth saviors, your snacktime sidekicks.
Make ‘em, customize ‘em, hoard ‘em. And if you accidentally eat the whole pan, just pretend it was a meal prep fail. We’ve all been there.