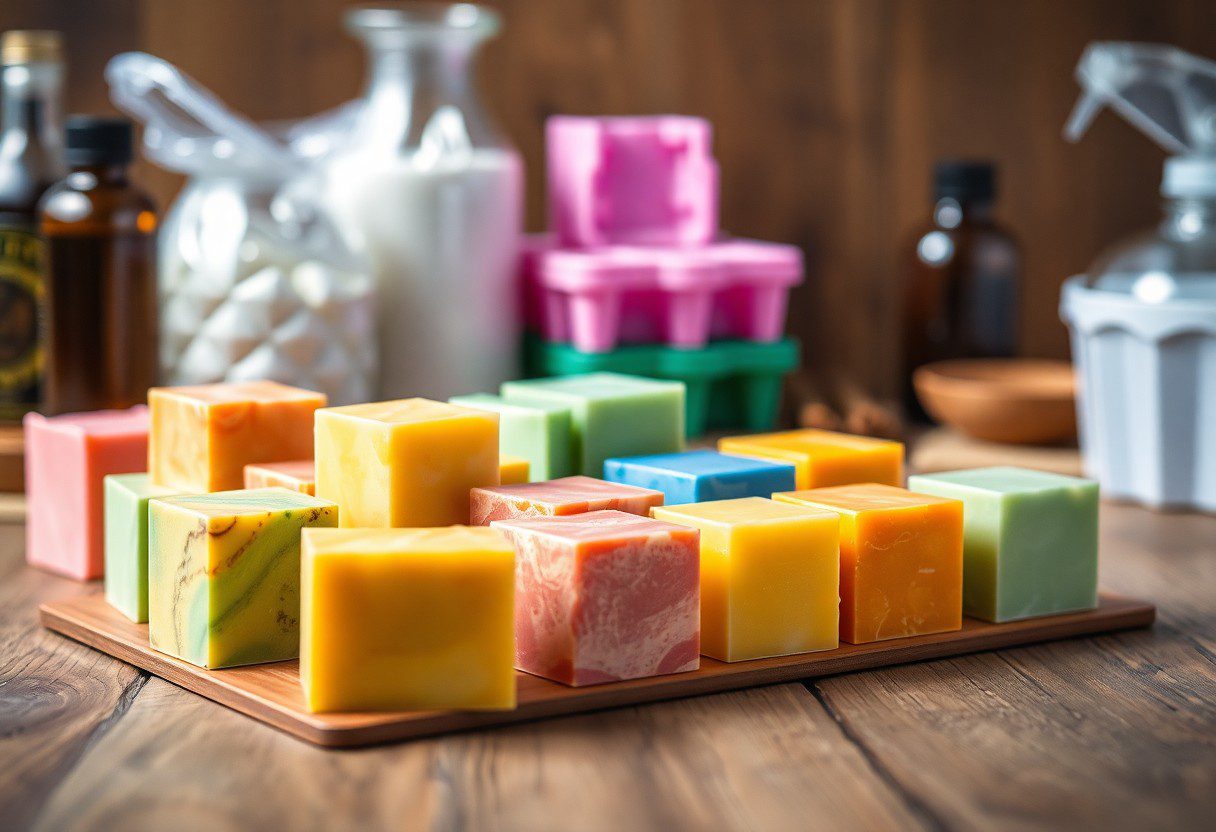
How to Make DIY Soap Cubes
It’s easy to create your own DIY soap cubes that are not only fun to make but also allow you to customize scents and colors to your preference. Making soap cubes at home gives you control over the ingredients, ensuring they are gentle on your skin and free from harsh chemicals. In this guide, you’ll learn the steps to craft beautiful, fragrant soap cubes that can be great for personal use or as thoughtful gifts. Grab your materials, and let’s get started on this creative project!
Materials Needed
For making your DIY soap cubes, you will need several key materials. Gather soap base (like glycerin), molds to shape your cubes, a double boiler or microwave-safe container, stirring utensils, colorants, and fragrances. Additionally, consider crucial oils and any added ingredients such as exfoliants or botanicals. Having everything prepared before you begin will streamline the process and enhance your crafting experience.
Base Ingredients
The foundation of your soap cubes is the soap base, which you can choose from options like glycerin, shea butter, or goat milk soap. Each type offers different properties, such as moisturizing benefits or a creamy texture, so select the one that best fits your skin type and preferences.
Colorants and Fragrances
Along with your base ingredients, you will want to incorporate colorants and fragrances to personalize your soap cubes. By choosing specific dyes and scents, you can create beautiful and aromatic creations that enhance your bathing experience.
To make your soap cubes truly unique, you can experiment with various colorants such as liquid dyes or natural elements like spirulina or beetroot powder. For fragrance, crucial oils like lavender or eucalyptus not only provide lovely scents but also offer therapeutic benefits. Ensure you use skin-safe colorants and fragrances to avoid any adverse reactions. Your creativity will make your soap cubes stand out, turning each bathing session into a delightful escape.
Equipment Required
There’s a specific set of equipment you’ll need to successfully make your own DIY soap cubes. Primarily, gather a heat-resistant container for melting soap base, a microwave or double boiler for heating, and a silicone mold to shape your cubes. Additionally, you’ll need a stirring utensil, measuring cups, and possibly a thermometer for precise temperature control. Having these tools on hand will streamline your soap-making process and ensure the best results.
Tools for Soap Making
Against common belief, the tools you choose can significantly impact your soap-making experience. Essential tools include a microwave-safe bowl for melting soap base, a silicone mold for easy removal, and utensils for mixing. If you’re planning to incorporate colorants or fragrances, small measuring spoons are also beneficial. Each of these tools enhances your crafting efficiency and helps create beautiful soap cubes.
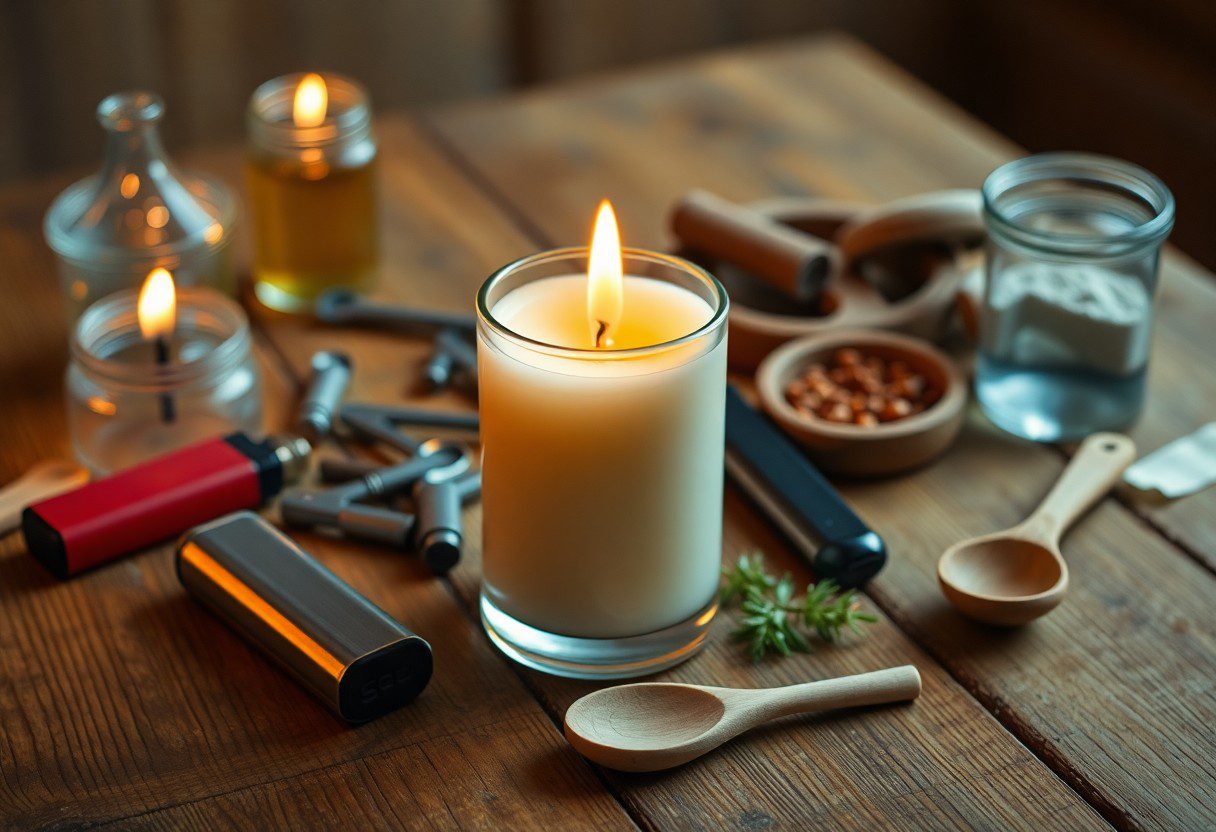
Safety Gear

Around the idea of DIY projects, considering safety gear is key. Wearing gloves protects your skin from irritants, while safety goggles shield your eyes from accidental splashes. A mask can also safeguard against strong fragrances. Taking these precautions will ensure a safer, more enjoyable soap-making experience.
For instance, when working with soap base or additives, it’s important to prioritize your well-being. Using gloves can prevent potential skin irritation from soap ingredients, while safety goggles protect your eyes from any accidental splashes during the melting and mixing processes. Additionally, a mask is advisable if you’re sensitive to strong scents or powders. By equipping yourself with appropriate safety gear, you set the stage for a successful and safe soap-making experience.
Step-by-Step Instructions
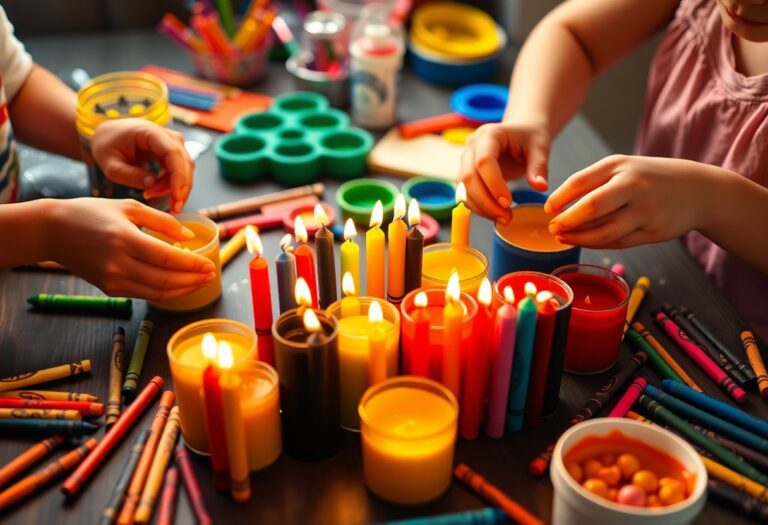
Some necessary steps to make your DIY soap cubes include preparing the soap base, adding color and fragrance, molding, and setting. Follow the guidelines below to create vibrant and scented soap cubes that elevate your bathing experience.
| Step | Description |
| 1 | Preparing the Soap Base |
| 2 | Adding Color and Fragrance |
| 3 | Molding and Setting |
Preparing the Soap Base
At this stage, you will start by cutting your glycerin soap base into small cubes. This allows for even melting, resulting in a smooth and creamy texture for your final product. Place the cubes in a microwave-safe container and melt them in short intervals, stirring between each to avoid overheating.
Adding Color and Fragrance
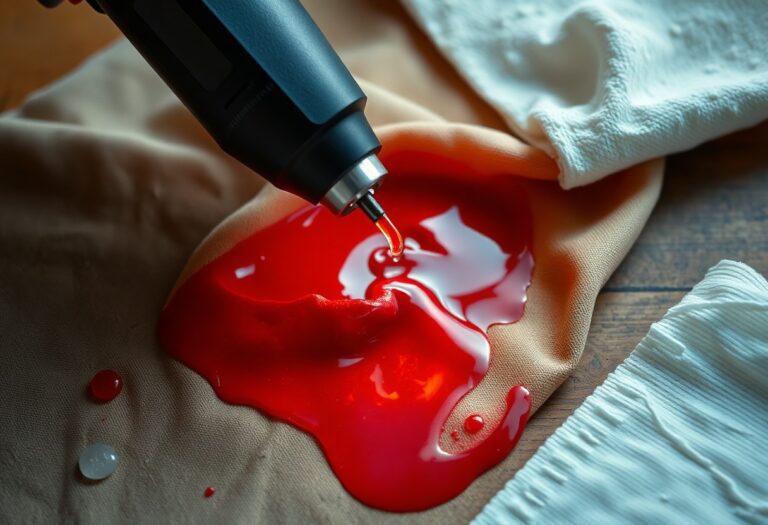
One of the best parts of creating soap cubes is adding your favorite colors and scents. Once the soap base is melted, you can incorporate liquid soap colorants or natural colorants to achieve your desired shade.
For instance, you might consider using necessary oils like lavender or eucalyptus for an aromatic experience. You can also experiment with different colorants, such as mica powders or natural pigments, ensuring you blend them well into the melted soap for a uniform appearance.
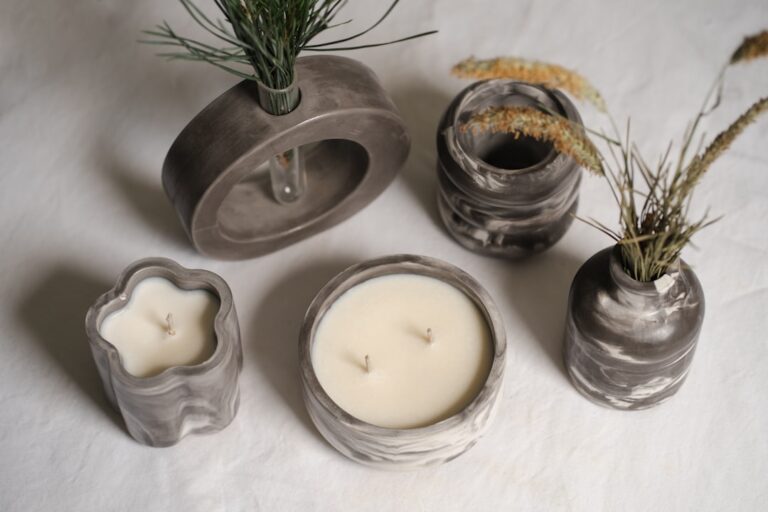
Molding and Setting
Preparing your molds is the final step in this process. Pour the colored and scented soap mixture carefully into your chosen molds, ensuring not to overfill them. Allow the soap to cool and harden for several hours to achieve the perfect cube shape.
And once your soap has set, gently remove the cubes from the molds. Be patient during this stage, as rushing may lead to breaks. Your finished soap cubes can be packed as gifts or used in your own bath routine—enjoy your homemade creations!
Troubleshooting Common Issues
Your DIY soap cubes may occasionally encounter a few issues during the making process. Understanding these common problems can help you find a quick solution. From separation to color fading, knowing how to troubleshoot these issues will ensure your soap-making experience is enjoyable and that your final product is just as you envisioned. With the right techniques and information at hand, you can create beautiful, uniform soap cubes every time.
Soap Separation
For soap separation, it often occurs when the temperature of the materials is not consistent or too much liquid is added. To prevent this, ensure that your oils and aqueous ingredients are at a similar temperature before mixing them together. If separation still occurs, you can try re-melting the mixture and stirring thoroughly.
Color Fading
One of the common issues you might face is color fading in your soap cubes over time. This can be primarily attributed to exposure to light, heat, and air. To maintain vibrant colors, store your soap in a cool, dark place away from direct sunlight. Additionally, consider using high-quality colorants that are specifically designed for soap-making, as they tend to hold their hue better with time.
Understanding the factors behind color fading can enhance your soap-making skills. If you utilize natural colorants, be aware they might fade more quickly than synthetic options due to their organic nature. Always conduct a small test batch to gauge how the colors hold up over time. By taking proper care and following best practices, you can achieve bright, long-lasting colors in your soap cubes.
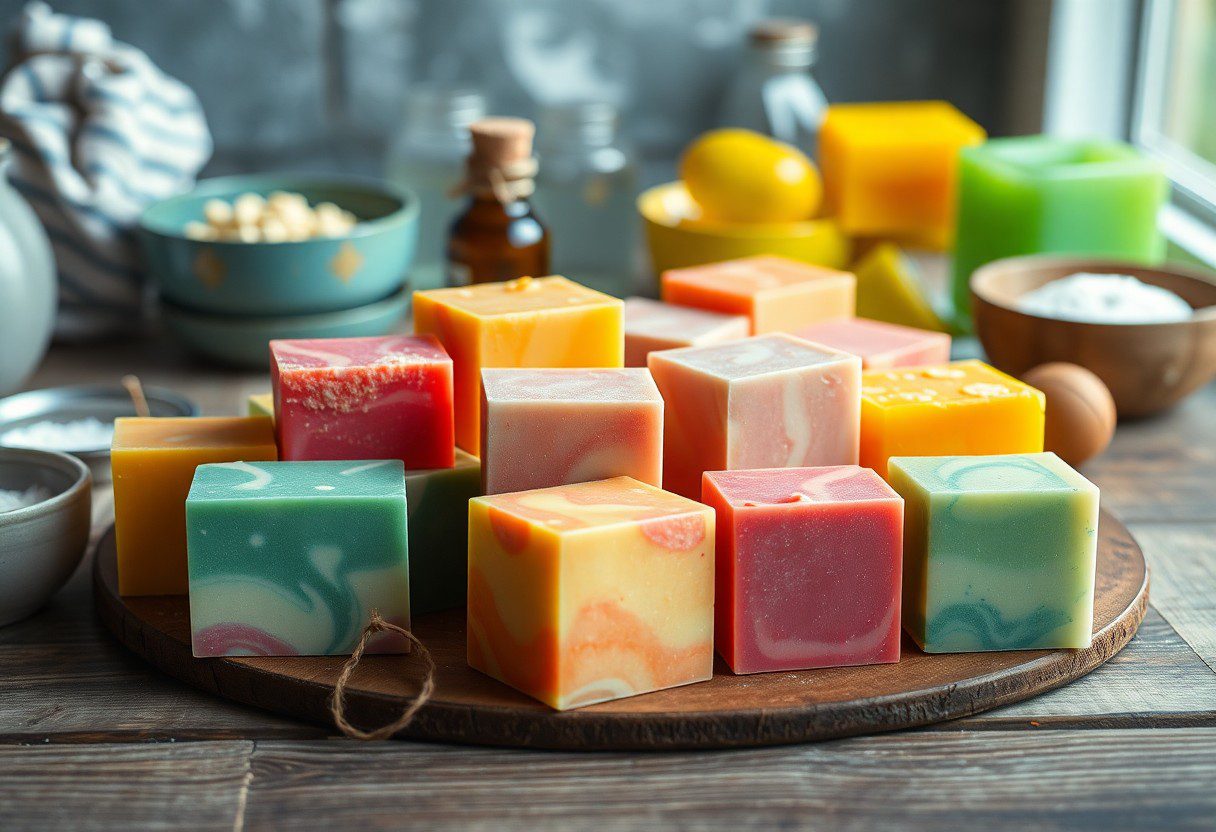
Creative Variations
After mastering the basics of DIY soap cubes, you can unleash your creativity by experimenting with different ingredients, shapes, and colors. Consider adding crucial oils for unique scents, or try layering colors for a more visually appealing design. Using fun molds can also change up the presentation, making your soap cubes perfect for gifting or décor. The possibilities are endless, allowing you to personalize your creations in countless ways.
Using Natural Additives
Across the world of soap making, incorporating natural additives can enhance your soap’s functionality and aesthetic appeal. You might choose oat flour for gentle exfoliation or honey for its moisturizing properties. Other popular choices include dried flowers and herbal extracts, which not only add beauty but also provide skin benefits. Experiment with different combinations to find what works best for your skin and sensory preferences.
Seasonal Themes
Variations in your soap-making can reflect the changing seasons, offering you a fun way to embrace the spirit of each time of year. Think about scents that remind you of fall, like cinnamon and pumpkin, or bright, refreshing fragrances like citrus for the summer. You can also use colors that represent each season, such as earthy tones for autumn or pastels for spring.
For instance, during the winter holidays, you can create soap cubes infused with peppermint crucial oil and colored in festive red and green. In spring, use floral scents like lavender or jasmine and soft pastel hues to evoke the blooming flowers. Emphasizing these seasonal themes not only makes your soap more enjoyable but also creates a delightful personal touch for sharing with friends and family.
Storing and Using Your Soap Cubes
Not only are your DIY soap cubes delightful, but they also require proper storage to maintain their freshness and effectiveness. Ensure you keep them in a cool, dry place away from direct sunlight. Using airtight containers can help prolong their shelf life, and a label with the creation date can remind you when to use them up.
Best Practices for Storage
Storage is key for preserving the quality of your soap cubes. Ideally, place them in a well-ventilated area and avoid areas with high humidity. When stored properly in a temperature-stable environment, your soap cubes can last several months without losing their fragrance or effectiveness.
How to Use the Soap
One effective way to use your soap cubes is by placing them in a soap dish or a mesh bag for a fragrant lather. You can also melt them down to create liquid soap if you prefer that format. Simply combine with water, warm it gently, and mix until you achieve the desired consistency.
And if you’re looking to customize your experience, feel free to combine your soap cubes with other ingredients such as imperative oils for added benefits or colors to match your bathroom decor. Adding a few drops of imperative oil can enhance the scent, while using a mesh bag allows for easy lathering without waste. Make sure to avoid contact with your eyes and keep away from children to ensure safe usage!
Summing up
To wrap up, making DIY soap cubes is a straightforward and enjoyable process that allows you to personalize your soap for yourself or as gifts. By choosing the right base, colors, and scents, you can create unique blends that suit your preferences. Ensuring proper measurements and careful handling will enhance your soap-making experience, and don’t forget to experiment with natural additives for added benefits. With these steps, you can enjoy fresh, homemade soap cubes that reflect your style and creativity.
FAQ: How to Make DIY Soap Cubes
Q: What ingredients do I need to make DIY soap cubes?
A: To create DIY soap cubes, you’ll need the following ingredients: a soap base (like glycerin or melt-and-pour soap), fragrance oils or crucial oils for scent, colorants if you want to add color, and any additional additives like moisturizers or botanicals. Make sure to gather all tools, such as a microwave-safe bowl, soap mold, and a stirring utensil.
Q: How do I melt the soap base properly?
A: To melt the soap base, cut it into small cubes for even melting. Place the cubes in a microwave-safe bowl and heat in short intervals (about 30 seconds at a time). Check the soap after each interval and stir until completely melted. Alternatively, you can use a double boiler setup on the stove. Avoid overheating to prevent burning, as this can affect the quality of your soap.
Q: Can I customize my soap cubes with different scents and colors?
A: Absolutely! Once your soap base is melted, you can customize it with fragrance oils or crucial oils, adding according to your personal preference. For colors, add soap-safe colorants and mix thoroughly to achieve your desired shade. You can also incorporate exfoliants like oatmeal or dried flowers for added texture and visual appeal.
Q: How long does it take for the soap cubes to harden?
A: The time it takes for soap cubes to harden can vary depending on the size of your mold and the specific soap base used. Typically, it will take about 30 minutes to 1 hour at room temperature. For quicker results, you can also place the molds in the refrigerator for about 15-20 minutes to speed up the solidification process.
Q: How do I remove the soap cubes from the mold without damaging them?
A: To remove your soap cubes from the mold, gently flex the sides of the silicone mold (if used) to help release the cubes. If your soap is stuck, you can place the mold in the freezer for a few minutes to slightly shrink the soap, making it easier to pop out. Avoid using metal tools, as they can scratch or damage the molds.