DIY Pillar Candles – Create Stunning Sturdy Candles For Any Occasion
Just imagine walking into your home filled with the warm glow of beautifully crafted pillar candles, adding a personal touch to any occasion. In this guide, you will learn how to create your own sturdy candles that not only elevate your decor but also provide a delightful ambiance. With a few simple materials and techniques, you can tailor your candles to suit your tastes and preferences. From selecting the right wax to experimenting with colors and fragrances, this post will equip you with everything you need to know to craft stunning pillar candles that impress.
Materials Needed
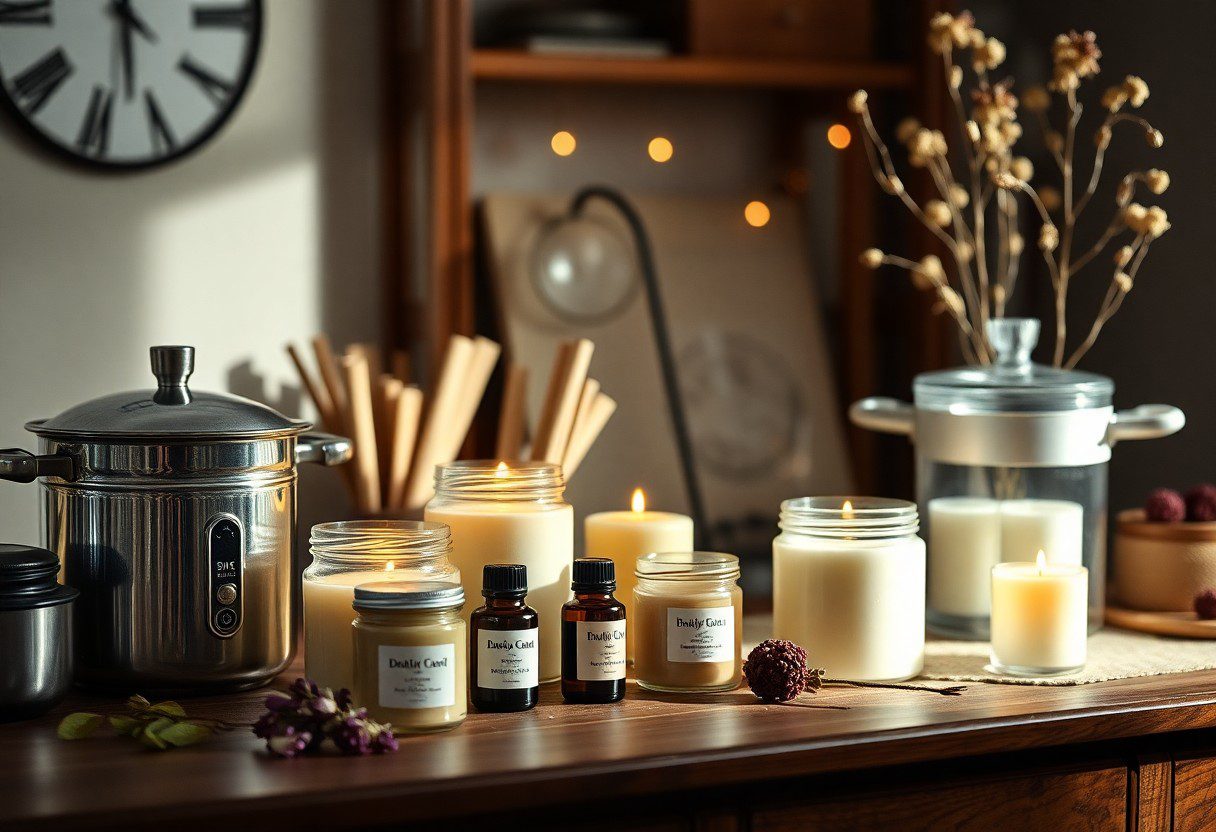
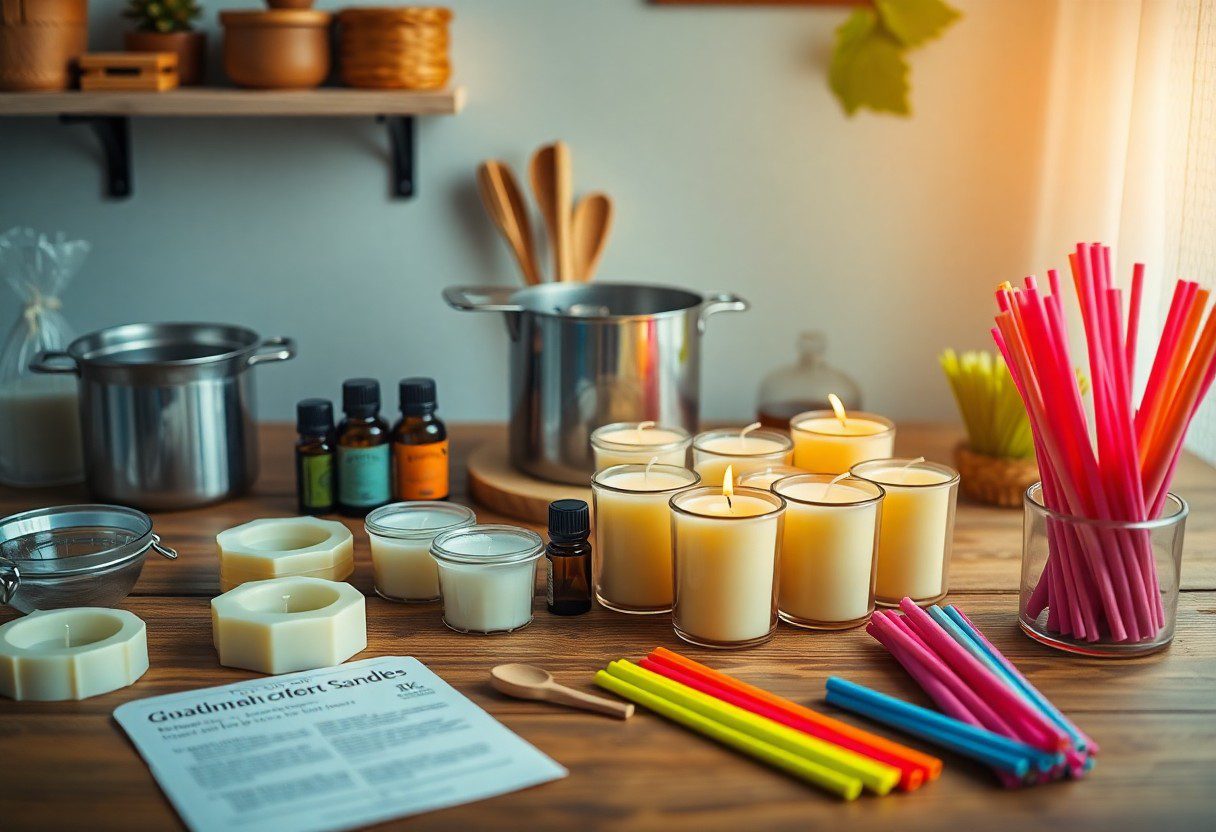
For your DIY pillar candle project, you will need a selection of vital materials. This includes different types of wax, wicks, fragrances, molds, and a few specialized tools for the perfect finish. With these items in hand, you’re ready to start creating beautiful candles that can enhance any occasion.
Wax Types
Along with your project, understanding the different wax types is vital for achieving the desired look and burn quality. Here’s a quick overview:
| Paraffin Wax | Most common and affordable. |
| Soy Wax | Eco-friendly and burns cleanly. |
| Beeswax | Natural and has a sweet aroma. |
| Palmoil Wax | Versatile and sustainable as well. |
| Gel Wax | Allows for creative designs. |
Any of these wax types bring unique qualities to your candle-making project.
Wicks and Fragrance
To elevate your candles further, consider choosing the right wicks and adding delightful scents. Select wicks that are suitable for the type of wax you’re using for optimal burning performance and to prevent soot production.
Also, the fragrance oils you incorporate should complement the atmosphere you wish to create. Opt for quality fragrance oils for a long-lasting scent throw, which enhances the overall appeal of your candles.
Molds and Tools
Any molds and tools you choose will play a significant role in shaping your candles. You can select from various molds, including silicone and metal, depending on your desired candle shape.
In fact, using the right mold allows for easy release and ensures precision in your candle’s appearance. Make sure you have necessary tools, such as a pouring pot, thermometer, and safety gear, to ensure a smooth and safe candle-making process. Always prioritize your safety by handling hot wax and tools with care.
Step-by-Step Candle Making Process
Even if you’re a beginner, making pillar candles can be a fulfilling endeavor. Follow this The Ultimate Candle Gift Guide: Perfect Presents for Every occasion that will lead you through the crucials of candle-making. With the right materials and steps outlined below, you’ll be able to craft stunning pillars that enhance any event or space.
Preparation Steps
| Gather Materials | Wicks, wax, fragrance oils, colorants, and containers. |
| Set Up Workspace | Ensure a clean and safe area dedicated to candle making. |
| Safety Gear | Wear protective gloves and eyewear to avoid accidents. |
Preparing the Workspace
At the start of your candle-making journey, it’s important to create a safe and organized workspace. Clear surfaces of clutter, lay down newspaper or plastic to catch any spills, and gather all the materials you’ll need. A well-prepared area will not only help you stay focused but also minimize any potential hazards.
Melting and Pouring Wax
With your workspace ready, it’s time to melt your wax. Use a double boiler setup to gradually heat the wax until it reaches the desired temperature. Pour the melted wax into your prepped containers, being cautious of the heat to avoid burns.
Making sure that you monitor the temperature of the wax is important for achieving the ideal consistency. Always use a thermometer during this phase, as different wax types require specific melting points. Pour the wax carefully into your molds or containers, ensuring smooth surfaces and avoiding trapped air bubbles.
Adding Color and Fragrance
One of the joys of candle making is personalizing your creations with color and fragrance. Once the wax is melted, you can add your choice of dye chips or liquid colorants, stirring well to achieve a rich, even hue. For fragrance, introduce crucial oils or scent blends at the recommended temperatures for the best aroma.
Another aspect to consider is the quality and type of fragrance oil you choose. Using high-quality, concentrated oils often leads to stronger scents that linger longer. Experimenting with various color and fragrance combinations will allow you to fully personalize your candles based on your taste or occasion.
Setting the Wicks
Preparing the wicks is an crucial step in ensuring your candles burn correctly. Cut the wicks to the desired height, making sure they extend above the wax. Secure the wicks in place with a wick holder or a bit of melted wax to keep them centered in the mold as you pour.
Plus, ensuring that the wick is correctly positioned is important for even burning and to avoid tunneling. Checking your wick type is crucial based on the wax you’re using; larger molds may require thicker wicks for a strong flame that keeps the wax pool liquid.
Decorating Your Pillar Candles
Your pillar candles can be transformed into stunning centerpieces by utilizing various decorating techniques. From simple embellishments to intricate designs, there’s no limit to your creativity. Explore the possibilities by checking out Pillar Perfection: A Guide to Crafting Stunning Pillar Candles, and elevate the elegance of your creations for any occasion.
Surface Techniques
One effective way to add personality to your candles is by employing surface techniques. You can use different textures such as carving, stenciling, or even fabric wrapping to create a unique look. These methods can dramatically heighten the aesthetic appeal of your candles while ensuring that they remain visually striking.
Embedding Elements
Candles can become even more captivating by embedding elements within them. Consider including items like dried flowers, herbs, or small decorative stones to give your candles a one-of-a-kind touch. These elements not only enhance the visual appearance but can also infuse your candles with fragrances or evoke lovely memories.
Another exciting approach is to experiment with layers and colors when embedding elements. The combination of different materials can create a dazzling effect that captivates every observer. However, it’s important to choose elements that are safe for candle use, avoiding anything flammable or harmful, which can impact the burn quality and safety of your candles.
Painting and Finishing Touches
Around your candles, a little paint can go a long way. Use acrylic or specialized candle paint to add pops of color or intricate designs, making your candles reflect your personal style. Finishing touches such as glitter, ribbons, or decorative beads can also be added for an extra flair, ensuring that your candles stand out in style.
Touches like these not only enhance beauty but also add individuality to your candles. You may choose to apply a protective coating to ensure the paint and embellishments last over time. Be mindful that some paints may emit smoke or soot; thus, selecting high-quality, candle-safe materials is important for a successful, long-lasting finish.
Tips for Sturdy and Long-Lasting Candles
Once again, to achieve sturdy and long-lasting candles, consider the following tips:
- Use high-quality wax.
- Choose the correct wick size.
- Ensure optimal wick placement.
- Follow appropriate cooling techniques.
Any attention to these details can significantly enhance your candle-making process.
Wax Quality
Tips for selecting the best wax include opting for high-quality paraffin, beeswax, or soy wax. Each type of wax brings its own unique benefits, such as burning time, scent throw, and appearance. Ensure your wax is free from additives or impurities, as these can affect the overall performance and longevity of your candles.
Wick Size and Placement
Among the factors that contribute to a candle’s performance, the wick size and placement play a vital role. Choosing the right wick ensures that your candle burns evenly, minimizing soot and maximizing burn time. Proper placement is equally important; the wick should be centered and positioned correctly to facilitate uniform melting.
Indeed, if the wick is too large, it can lead to an aggressive flame and wasted wax. Conversely, a wick that is too small may result in insufficient melting and an uneven burn. Aim for a balance that accommodates your chosen wax type and candle diameter to create a clean, effective burn.
Proper Cooling Techniques
Cooling your candles correctly is necessary for ensuring a smooth finish and reducing the chances of cracks. Place your candles in a cool area and allow them to cool gradually, avoiding drafts or sudden temperature changes.
Proper cooling helps solidify your candles consistently, leading to a more polished look without any unsightly blemishes. Taking the time to let the wax set naturally will also improve the overall structure and integrity of your candles, creating a safer, longer-lasting product.
Occasion Ideas for Pillar Candles
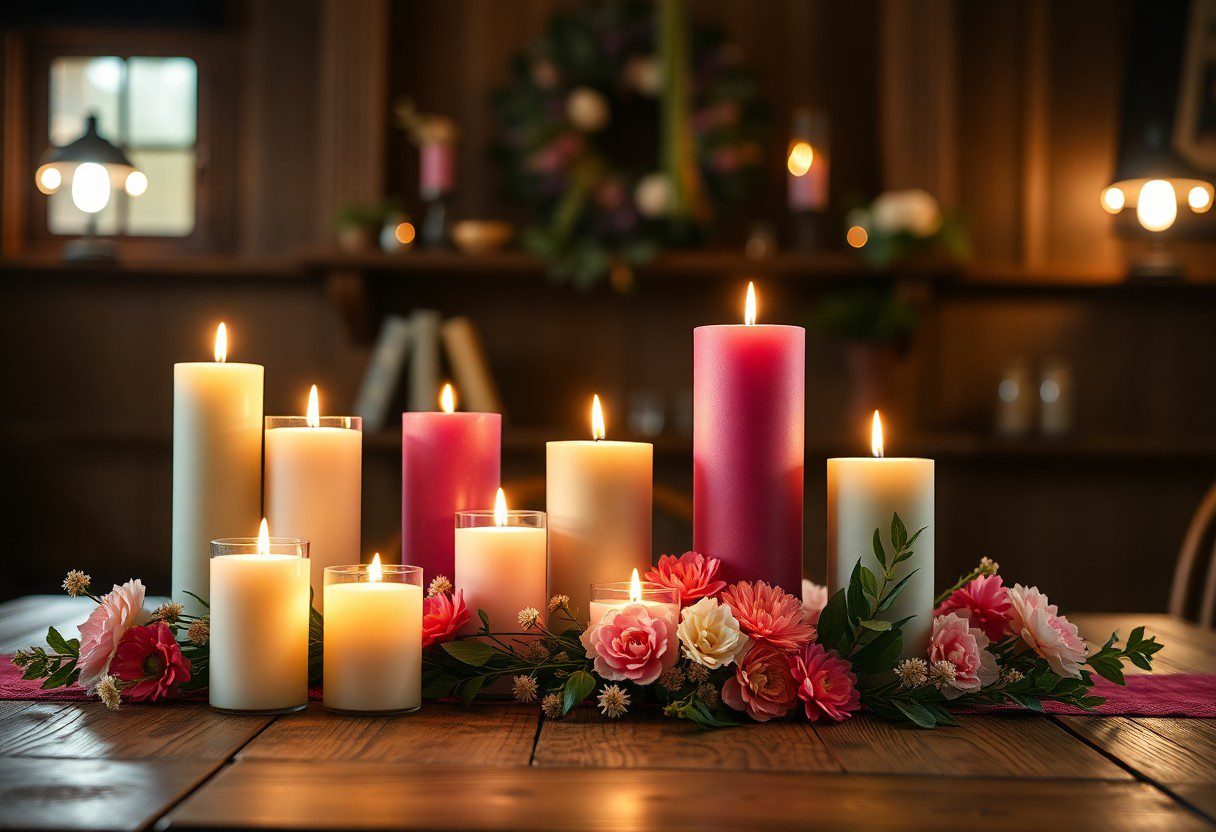
Many people enjoy using pillar candles to enhance various occasions, making them an excellent addition to any event. Whether you’re celebrating a festive gathering, hosting a dinner party, or simply elevating your home ambiance, these stunning candles can add warmth and beauty. With your creativity, you can customize them to suit any theme, ensuring they complement the atmosphere perfectly.
Home Decor
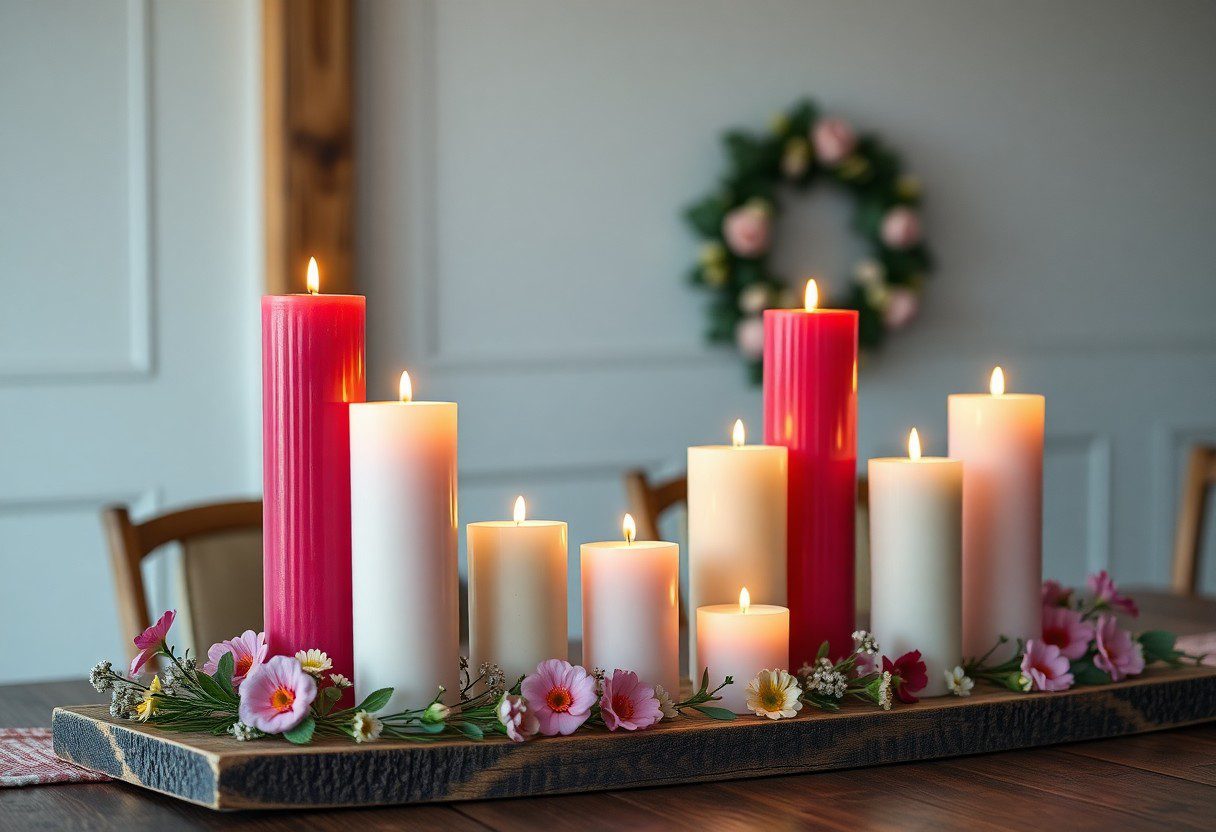
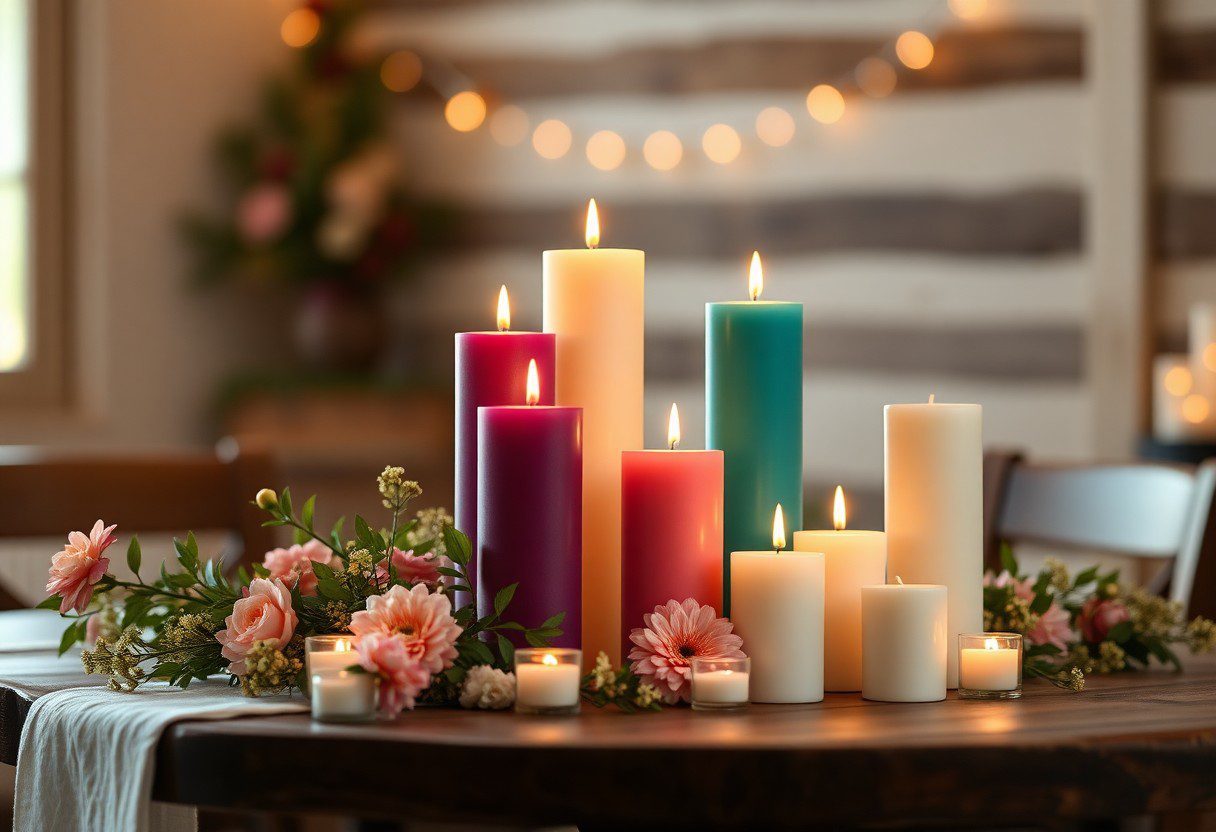
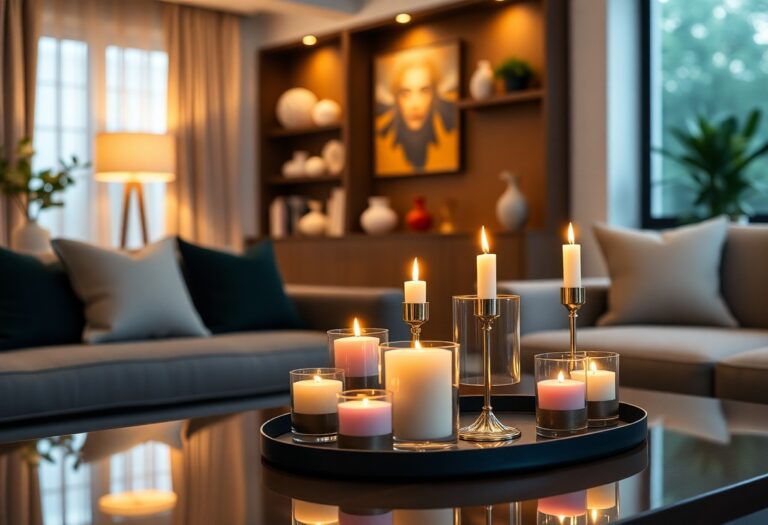
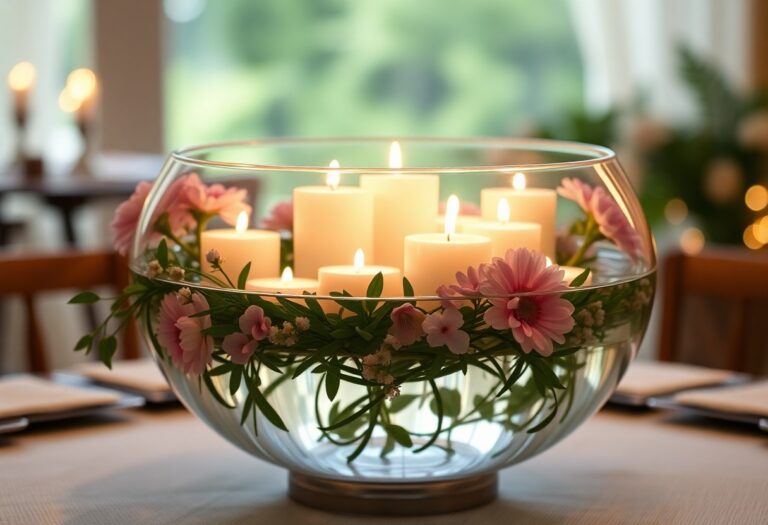
The right pillar candles can transform your living space into a welcoming oasis. You can arrange your candles on mantels, tabletops, or shelves, letting them create a soothing glow that enhances your decor. Play with different heights and shapes to create visual interest, allowing your candles to serve as stylish statement pieces for your home.
Special Events
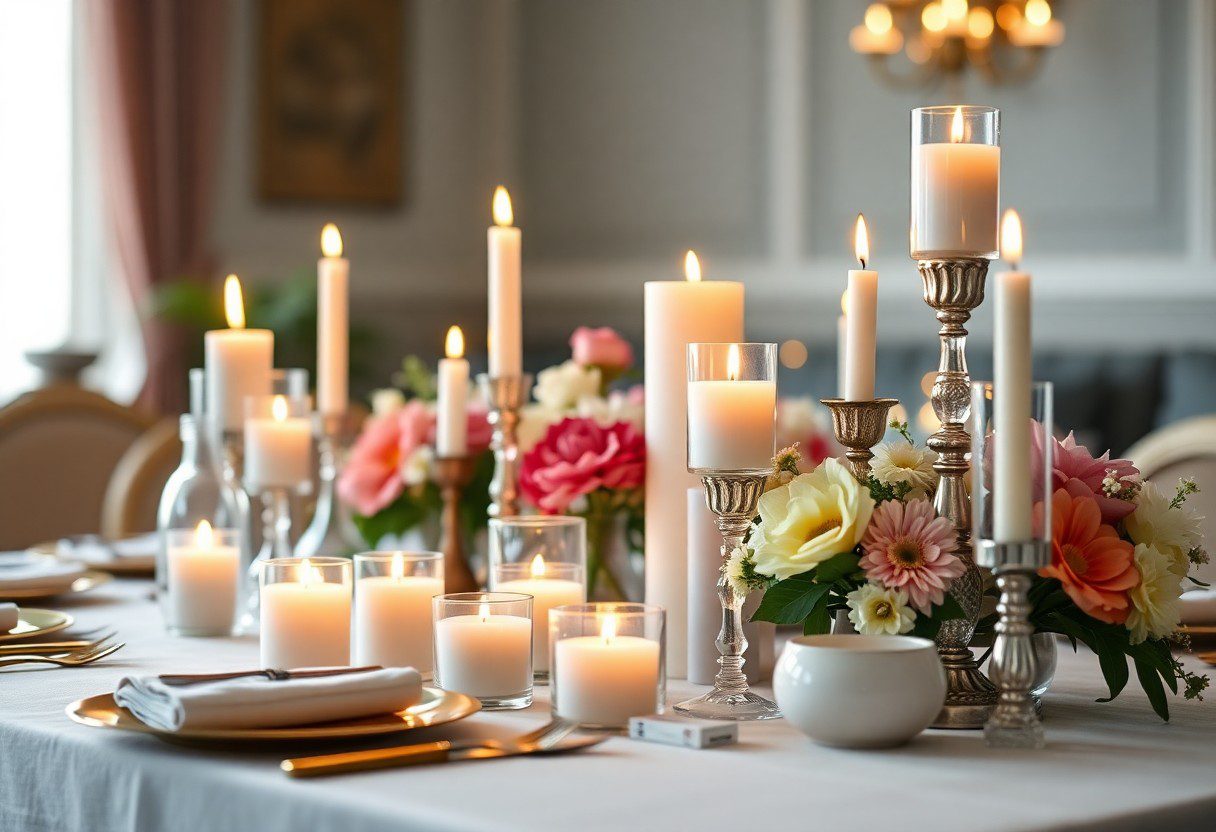
Special occasions like weddings, anniversaries, and birthdays transform with the help of pillar candles. These candles can be used as centerpieces, accentuating table settings while infusing romance and elegance into the atmosphere. The flicker of candlelight creates a delightful ambiance that enhances the emotional connection shared among guests, making your celebration unforgettable.
Occasionally, you can use pillar candles to mark significant moments, like milestone birthdays or anniversaries. These events can be made even more cherished when you personalize your candles with colors or scents that reflect the theme. Additionally, placing candles near food stations or throughout your venue adds a touch of sophistication and warmth, making every detail feel special.
Gifts
With pillar candles as gifts, you provide a thoughtful, personal touch. They are versatile and can be customized for anyone’s tastes. From vibrant colors to unique scents, your options ensure that your gift perfectly matches the recipient’s personality, making it both practical and memorable.
Gifts of pillar candles can convey warmth and sentiment. By choosing eco-friendly ingredients and stylish designs, you showcase your attention to detail and care for the recipient. Plus, you can include a personalized message or pairing them with other items, such as decorative holders, to amplify their appeal. These candles are not just gifts; they are treasures that illuminate your loved ones’ lives.
Common Mistakes to Avoid
After commenceing on your DIY pillar candle-making journey, it’s important to steer clear of common pitfalls to ensure your creations turn out beautifully. Avoiding mistakes related to temperature control, scenting, and improper storage will enhance your results. With careful attention and the right techniques, you can create stunning candles that impress at any occasion.
Temperature Control
To achieve the best results in your candle-making process, maintaining the correct temperature during melting and pouring is vital. Use the following guidelines to ensure your candles turn out perfectly:
| Melting Temperature | Ensure the wax is melted to its optimal temperature to prevent uneven textures. |
| Pouring Temperature | Pour the wax at the recommended temperature to avoid cracks and uneven surfaces. |
Over/Under Scenting
Scenting your candles can significantly impact their appeal. However, it’s easy to either oversaturate or undersaturate your wax, leading to undesirable outcomes.
Another point to keep in mind is that too much fragrance can cause your candle to burn improperly, potentially overwhelming the senses or even leading to soot. Conversely, adding too little fragrance results in a lack of aroma, rendering your efforts futile. A good rule of thumb is to use around 1 ounce of fragrance oil per pound of wax.
Improper Storage
Beside recipe and technique, your candles’ longevity and quality heavily rely on how you store them. Exposure to harsh conditions can diminish their scent and appearance.
Plus, be cautious of storing your candles in direct sunlight or areas with drastic temperature changes, as this can cause melting, fading, or warping. Keeping your candles in a cool, dry space helps maintain their integrity and ensures they perform well when lit.
Final Words
Presently, creating DIY pillar candles is a rewarding endeavor that allows you to personalize your space for any occasion. By selecting the right materials and following simple techniques, you can craft stunning, sturdy candles that enhance your home decor or serve as thoughtful gifts. With practice, you will master various designs and scents, making each candle uniquely yours. Embrace this creative process, and enjoy the warmth and ambiance that your homemade candles will bring to your life.
Q: What materials do I need to create my own pillar candles?
A: To create stunning and sturdy pillar candles, you will need the following materials: high-quality candle wax (such as paraffin, soy, or beeswax), a wick (choose a size suitable for pillar candles), a double boiler for melting the wax, a thermometer to monitor the wax temperature, a candle mold to shape your pillars, and optional additives like fragrance oils or dye for customization. You may also want protective gear like gloves and goggles, along with a stirring tool for mixing fragrances or colors into the wax.
Q: How do I ensure my pillar candles burn evenly and safely?
A: To ensure your pillar candles burn evenly and safely, it’s important to use the correct wick size for the dimension of your candle. A wick that’s too small will result in tunneling while an overly large wick can cause excessive soot and reduce burn time. Make sure to pour the wax at the appropriate temperature, ideally around 170-180°F (77-82°C), to prevent air bubbles and ensure a smooth finish. Also, always allow the candle to cure for at least 24 hours after pouring before lighting it to enhance burn quality. Consider conducting a test burn to monitor the performance of your specific candle recipe.
Q: Can I customize my DIY pillar candles for special occasions?
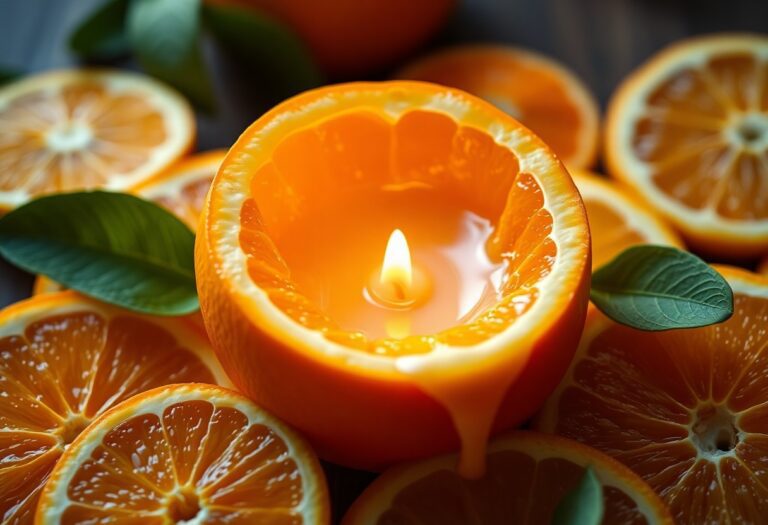
A: Absolutely! Customization is one of the most enjoyable aspects of making DIY pillar candles. You can add fragrance oils to create specific scents that match the theme of your occasion, such as vanilla for a cozy gathering or citrus for a fresh vibe. Additionally, you can incorporate color dyes to match your event’s color scheme. Using decorative molds, embellishing the surface with texture, or adding embedded items like dried flowers or herbs can also personalize your candles. Just ensure any materials you add are heat resistant and safe for burning to maintain safety and quality.

